7 tips for beginner growers
Things I wish I knew before I started growing
Making mistakes is good. You learn from them and, hopefully, refrain from doing them again.
Some mistakes though, in the garden or on the allotment, can cost money or ruin a harvest for a whole year.
I have learnt the following things while growing my own food, so that you don’t need to go through the pain of learning yourself.
1. Save your money
It’s easy to run out to the shops with a list of things that you need to buy before starting off. It’s also very easy to ignore some advice, such as: “Start small” or “Grow just one thing first”.
Where is the fun in spending a whole year just learning to grow the simplest crop… such as radish?
You can grow as much or as little as you like in your first year, but a small piece of advice would be: You don’t need to spend lots of money doing it.
- Pick up pots for cheap, or reuse things from the house. They don’t need to all match or be fancy designs. The plant is unlikely to know the difference. You can then build up your collection over time by learning what works and what doesn’t. For example, I now know to use a larger pot than I need to, to stop the soil drying out. All of my tiny pots are now stacked in a corner taking up space.
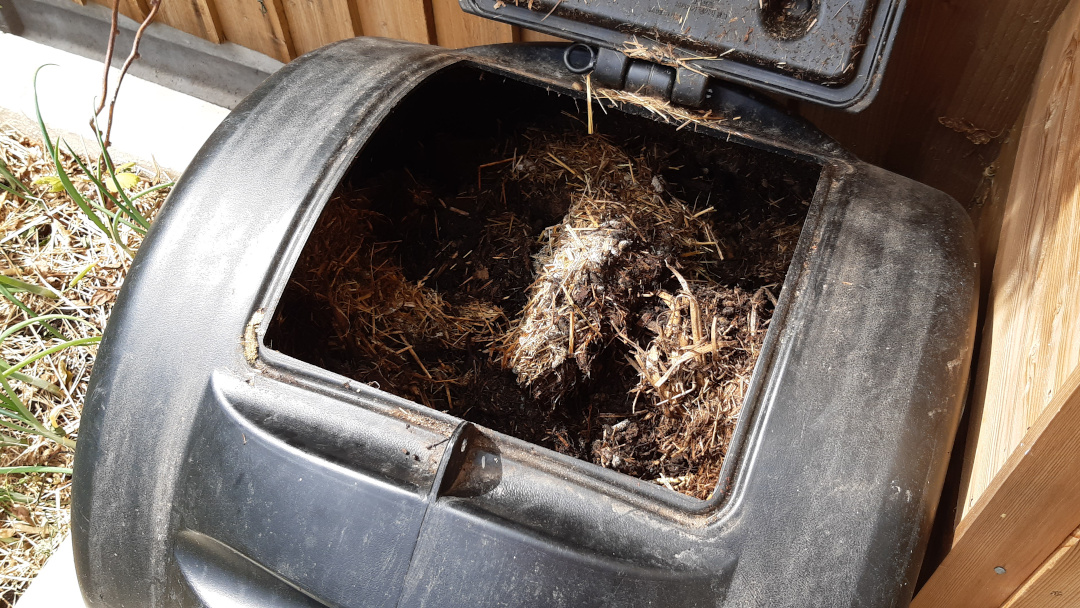
- Cheap out when making your own compost: The biggest mistake I made was buying a £250 composter that supposedly makes compost in 3-6 months. It doesn’t and nor is that important. For a normal sized garden, that’s the same price as around 5-8 years worth of compost to cover your beds. You really don’t need that much compost once you’re established and it can be made by filling some black sacks (a couple of pounds from the supermarket?) with organic matter and tucking them away somewhere for a year. <div class="image">
![Compost bin Compost bin]() </div>
</div> - Tools: This is a big one for me. You don’t need lots of tools to grow most food. I mostly use the following:
- Gloves: Don’t go for gardening ones, a simple set from a builders merchants would do the same for a fraction of the price
- Dibber: My favourite tool, it saves loads much time and means I probably don’t need a spade or trowel. If you have an old tool with a handle, that you aren’t going to use, make a dibber from it instead.
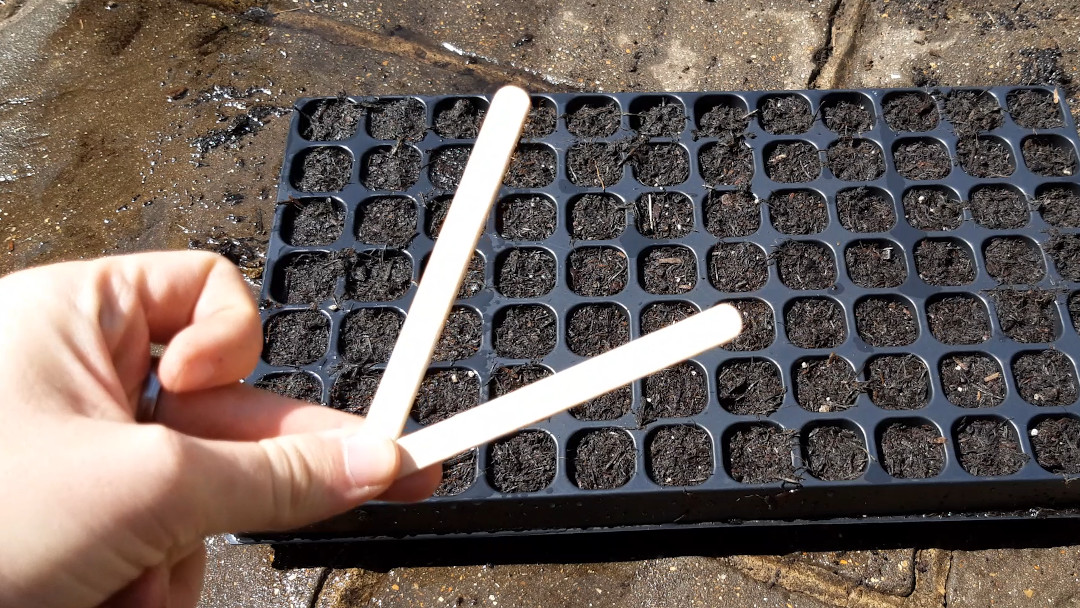
- Labels: My memory is shockingly bad so I need to label everything. You don’t need to go out and buy labels though. We use lolly pop sticks: Better for the environment and we are buying them anyway.<div class="image">
![Lollipop stick labels Lollipop stick labels]() </div>
</div> - Twine: Very useful for tying things up. Not much more to say other than you’ll need it.
- A decent watering can: I’ve probably spent £200+ on buying watering cans over the years. I wish I had just got myself a good quality one right away and saved some money. Get a fine rose for it and it’ll last you forever.
You don’t need much more than that really.
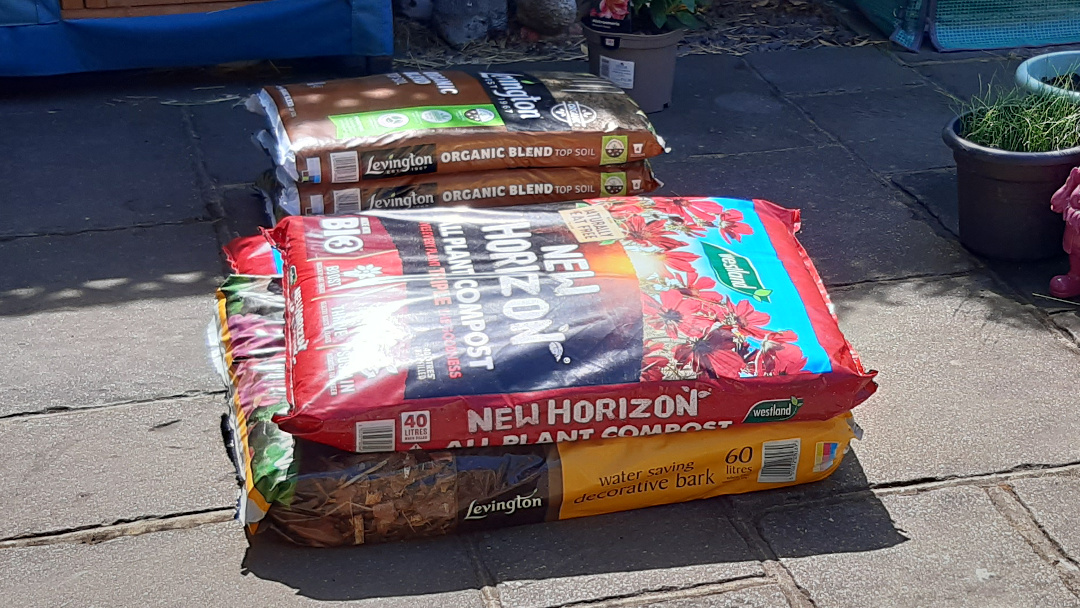
- Potting soil: I’ve written another post on this but in short, don’t buy expensive potting soil or special mixes. A simple 1:1 of topsoil and multipurpose (or home-made) compost will do the trick for pots and to get seeds sown in. <div class="image">
![Compost mix Compost mix]() </div>
</div>
2. Sow more than you need
Our garden is constantly bothered by slugs and, though I go out each night to find them with a torch, I can keep the numbers to a bearable amount at best.
My advice for you is to sow more than you need in the event that, either:
- A seedling is damaged by pests
- A seedling is damaged by frost or sun scorch
You can always thin them later.
So it’s better to transplant out double the amount you need, and lose some or thin to the desired amount… rather than transplant how many you need and lose half of them.
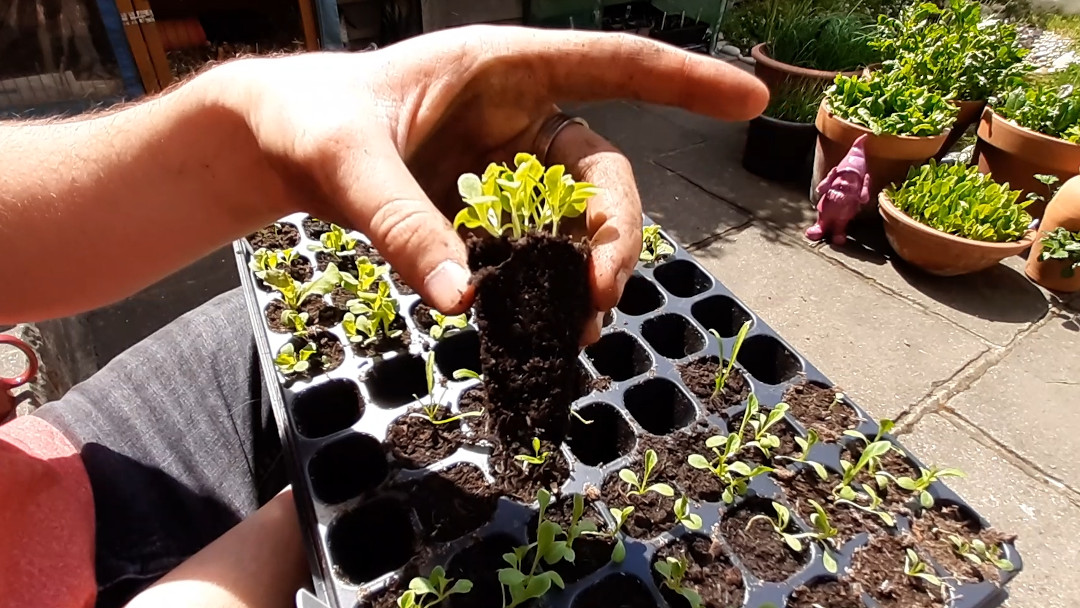
Most plants really don’t mind being crowded together and a little tip is to take the recommended spacing between plants and half it.
E.g. if the packet says “40cm between rows”, you can safely plant them at 20cm and double the amount of crops you can grow in the same space.
3. Mulch!
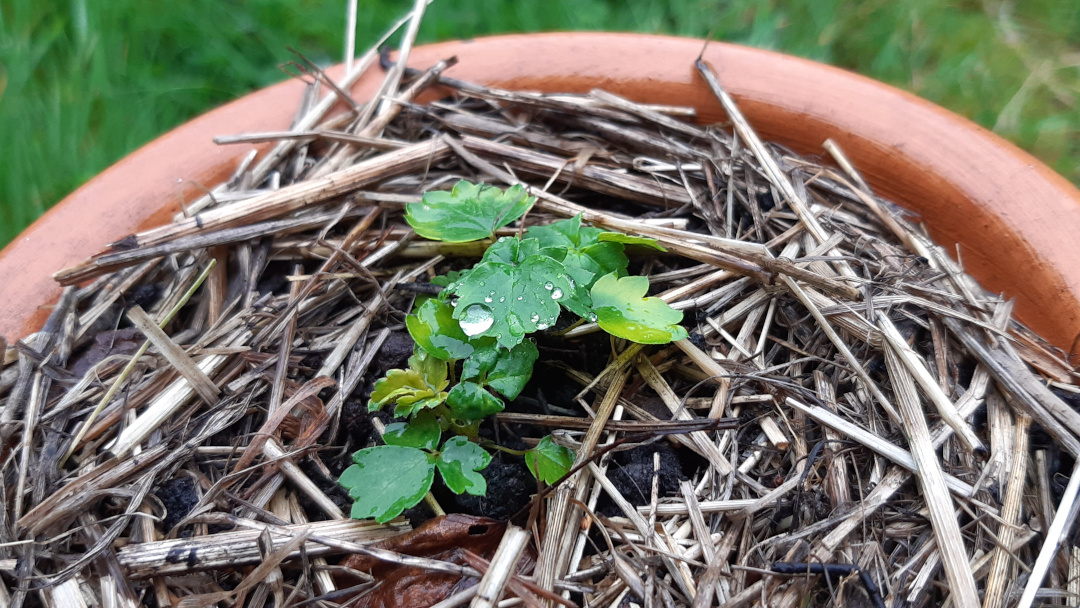
Mulching is the act of covering your soil with something that will break down. For example: hay, grass cuttings, leaves, newspaper, cardboard.
Mulching crops protects them from frost, adds nutrients to the soil below, protects the insects and bugs in the soil to keep it healthy and reduces the soil moisture loss from the heat of the sun.
I use the left over hay and droppings from our guinea pig hutch:
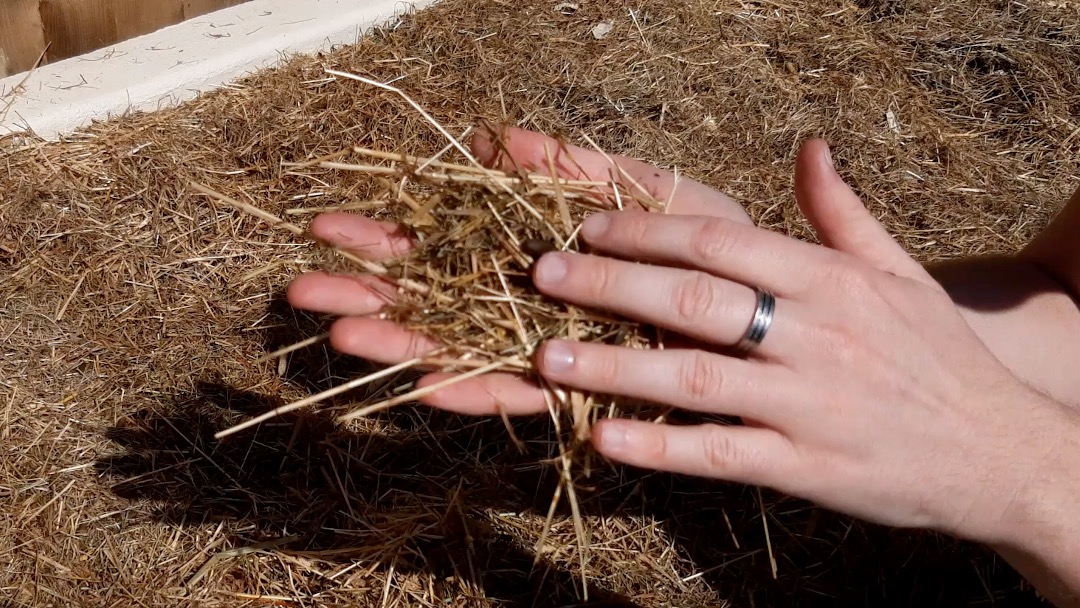
If you can mulch, then do.
4. Organise
At first, you won’t know what needs to go in the ground when, or at what time of the year you need to be thinking about growing for the next season.
That’s fine, you can prepare yourself.
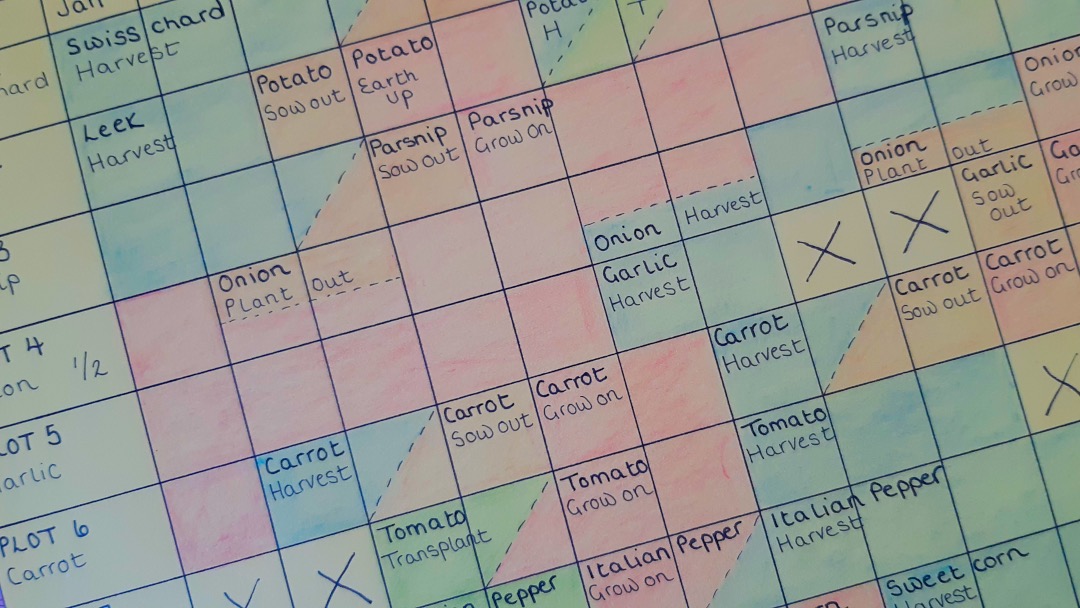
I wrote a post about creating a year planner where the aim is to break your growing area into “Plots” and having a couple of things growing in each plot throughout the year.
This means there is always something to do, eat or sow.
Once you have a few years under your belt, you wont need this planner, or it would have changed based on what you like to eat, but it’ll be a good guide until then.
5. Don’t be fooled by that first warm day of the year
I have done this too often and each time it disheartens me. When the spring comes, it’s so tempting to start sowing everything on that first warm day.
It’s also annoying when you’re being told “Wait for the last frost”, because each day lost is another day when something can be growing.
The thing it, it really doesn’t make that much of a difference. You can sow at the start of March and risk it, or wait until May and have pretty much the same results.
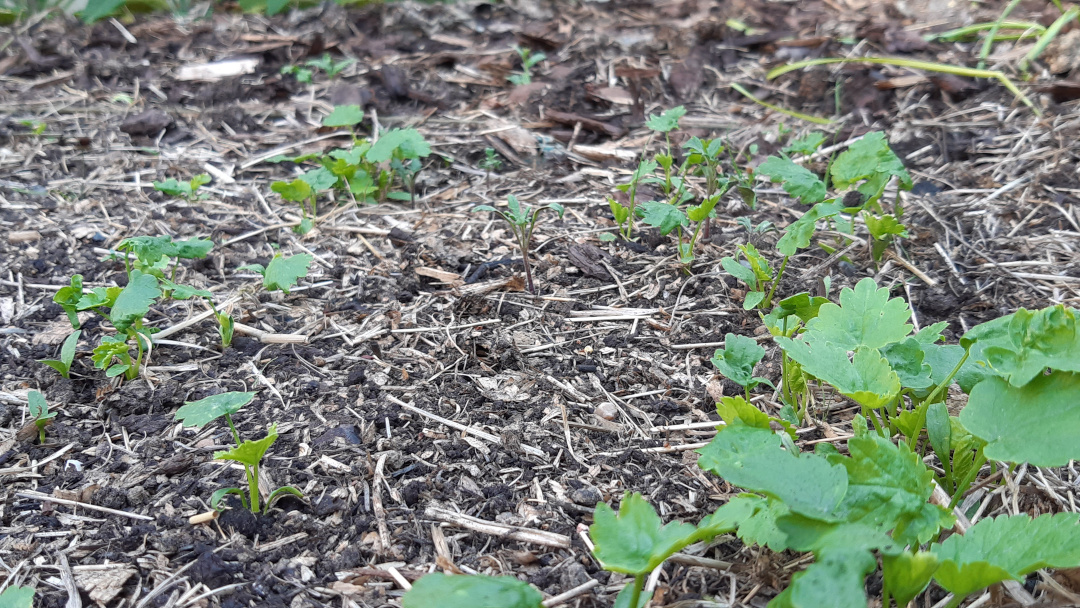
If you’re going to get things going early, get yourself a warmer environment to keep the seedlings safe until the frost has passed:
- A growhouse keeps the frost out: See my post on getting a growhouse here
- Get some fleece: It keeps the frost and cold winds off your crops and will keep them alive. This is the stuff I use and it makes a huge difference. Lay it over your sown seeds and pop a stone in each corner
- Keep the seedlings on a windowsill: They will be larger when they go in the ground but that just means they’ll have more energy to deal with the transplant shock
6. Watering
Watering is another area where we can simplify. The trick is to water more, but less often:
- With pots, water until water starts to come out of the bottom.
- With a raised bed or the ground, a full watering can per square metre is a good amount
Knowing when to water is also pretty straight forward. Push your finger into the pot or ground, if it feels cold and damp on your fingertip, it doesn’t need watering.
The only exception is seedlings, water these more often because their roots are not as deep as your finger yet.
7. Don’t worry too much
I feel a little disappointed in myself writing something so cheesy, but let me explain.
There is a lot of information out there about compost, soils, pest protection, fertilizers, the types of seeds, their hardiness, crop rotation, chitting, sowing, transplanting, thinning… it’s too much at first (which is maybe why you’re here).
You don’t need to know most of that right away.
Just do the following:
- Choose a sunny area or fill a pot and put in a sunny position
- Sow something into it
- Keep it watered
- When it looks done, pick it and eat it
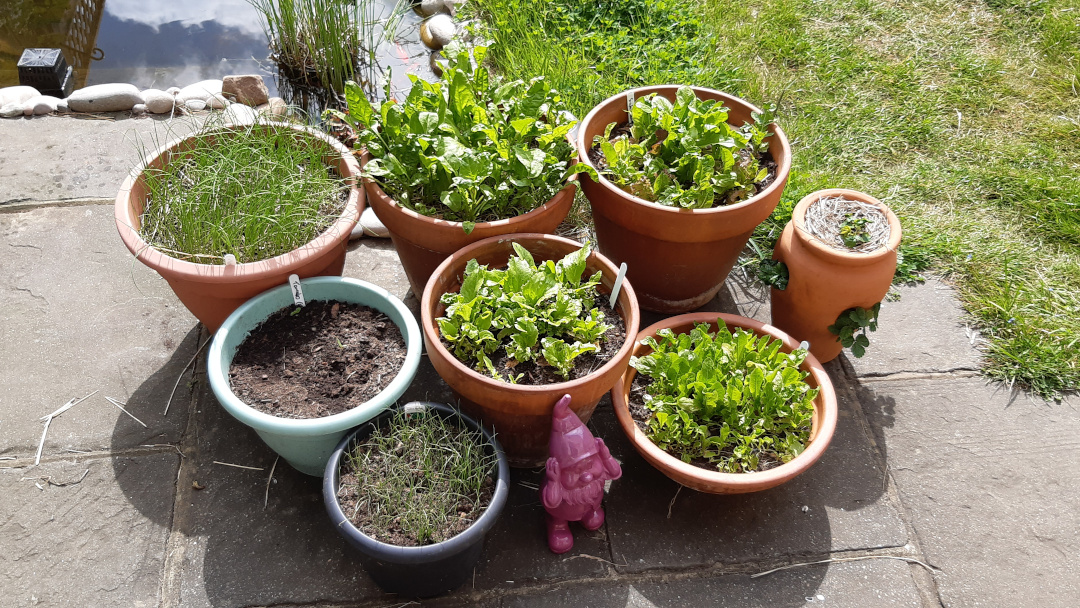
It may not be the biggest, the brightest or get you 1,000 likes when you post a picture of it later… but it will be yours, and it will be tasty.
The rest will come in time.
I often spend more time researching, reading and writing up articles than I do in the garden. Just get out there and keep it simple.
Share your learnings
I hope this quick tips article helps you and gets you started on a good foot.
I’d love to hear from you though. What do you wish you knew before starting in the garden? What have you learnt this year? Let us know in the comments.
If you enjoyed this article, consider joining us on social media where the community shares their stories and tips:
Article written on May 29, 2020
Updated May 29, 2020
 </div>
 </div>
 </div>