Courgette
A week by week diary
I recently learned a wonderful recipe for grated courgette on pasta, with a beaufitully creamy sauce mixed in. It was so good, I decided to grow as many courgettes as I could.
This is a week by week diary of the growing, maintenance and harvesting of courgette.
Quick tips
- Sow 2 seeds into each module of a seedling tray
- Germinates better in lit environment
- Prefers full sun
- If growing under cover, harden off carefully and when there is no chance of frost
- Seeds can be sown from April → May under cover or direct
- Plant size: Height = 50cm, Spread = 1m
Dates
Use the following dates to grow courgettes:
| Jan | Feb | Mar | Apr | May | Jun | Jul | Aug | Sep | Oct | Nov | Dec | |
|---|---|---|---|---|---|---|---|---|---|---|---|---|
| Sow indoors | I | I | ||||||||||
| Direct outdoors | O | O | ||||||||||
| Harvest | H | H | H |
Pests
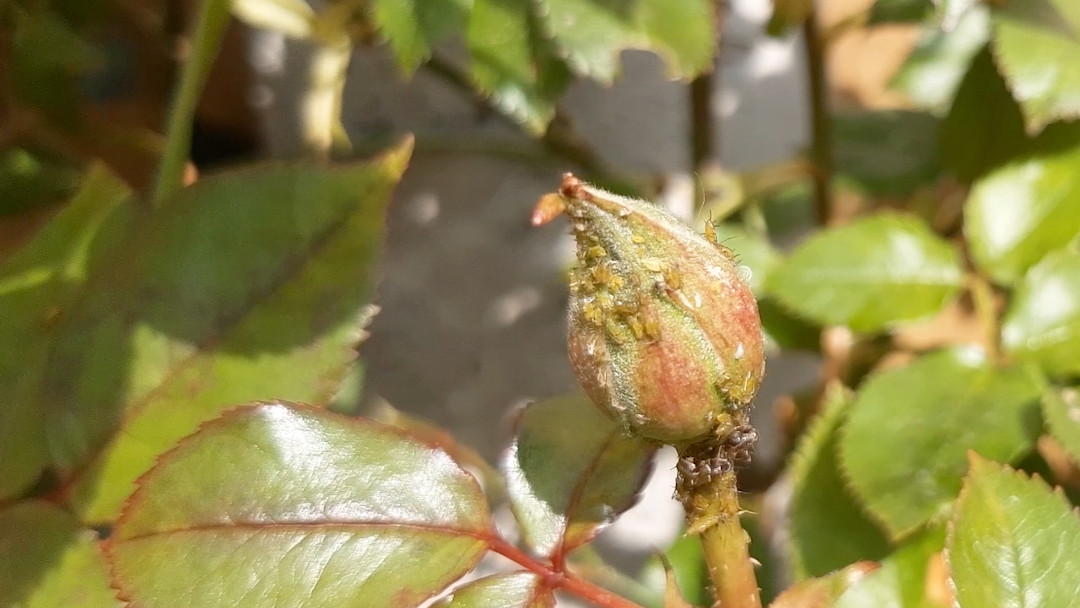
Courgette are susceptible to the following pests:
Type of courgette
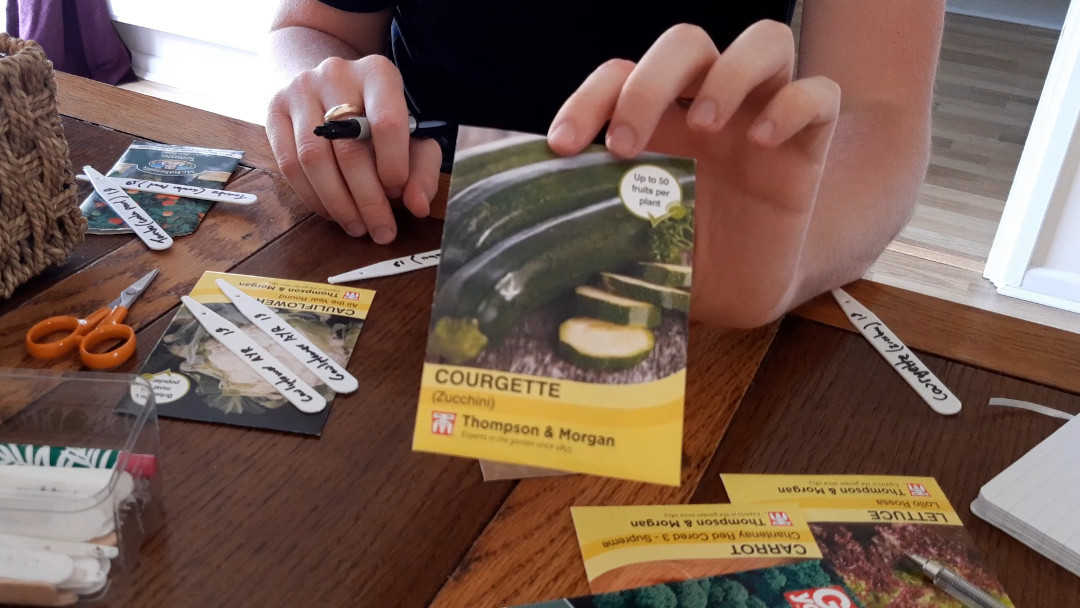
We are growing the “Zucchini” courgette which we found at our local garden centre. I wasn’t able to find the exact packet online but these found here from Thompson & Morgan are very similar.
Watch it
I have compiled this growing diary into a short video for you:
Growing diary
I started this diary, and sowed these seeds, on the first week of May (19th week of the year).
Week 1: Sowing
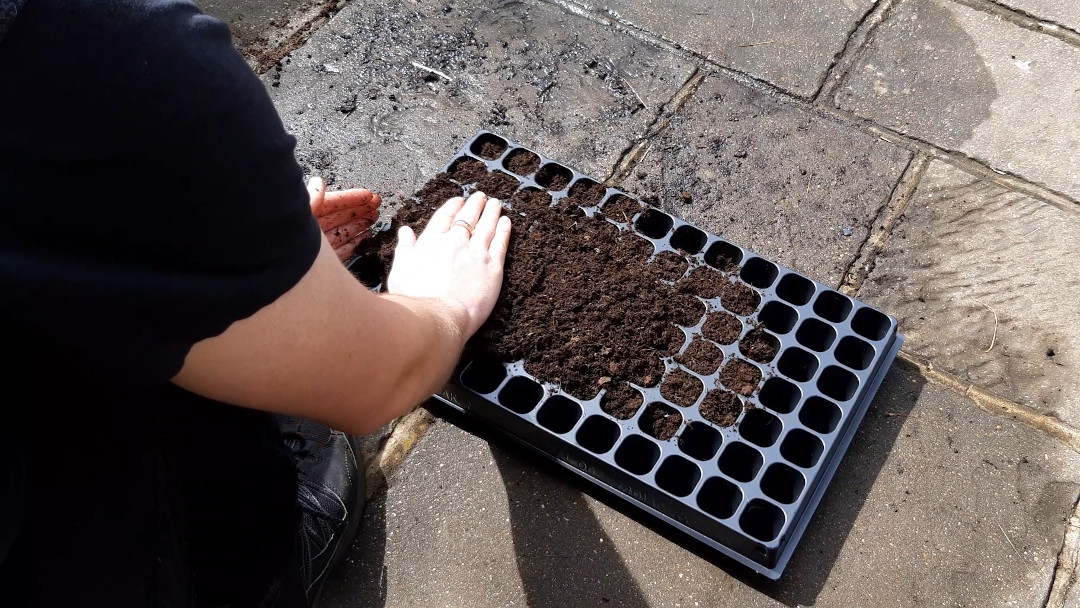
Sowing courgette seeds is similar to many vegetables. First start by filling your chosen seed tray (I’m using the 84 cell tray as I’ll be sowing other veg at the same time) with a seed, or general, compost. You don’t need to press too firmly, the seedlings will have an easier time pushing down their roots if it’s a little fluffy. Make sure each module is full though and there aren’t any large air pockets.
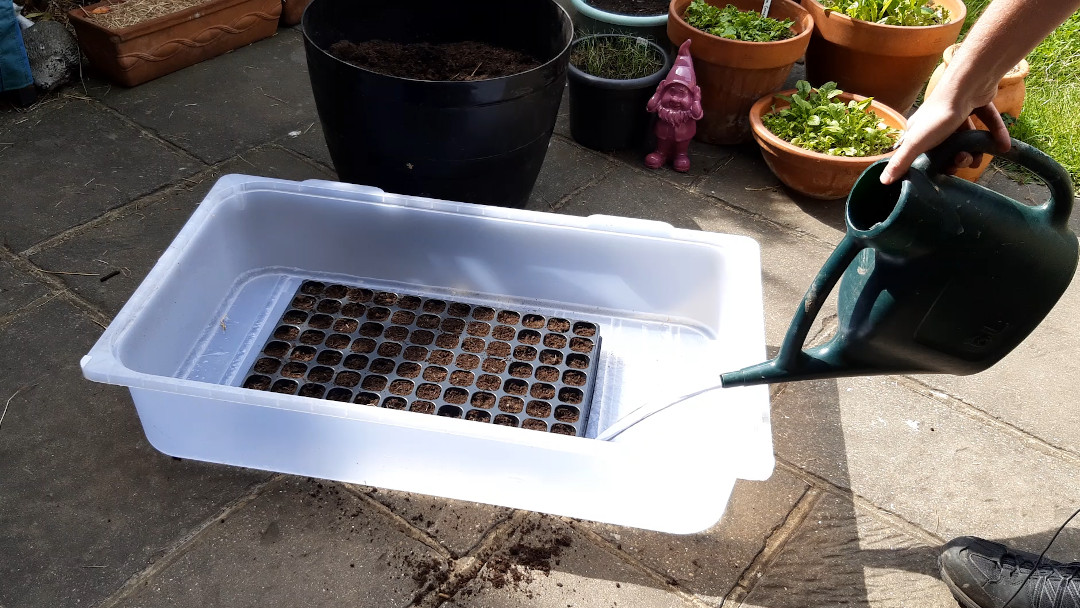
Next, water thoroughly or sit the tray in water to allow the compost to soak up as much water as possible. This will ensure the seedlings have a good starting drink of water to get them going and will mean the compost wont dry out too quickly.
The seeds are quite large so I would recommend sowing 2 seeds per cell. Whichever ends up being the strongest will be the one we keep.
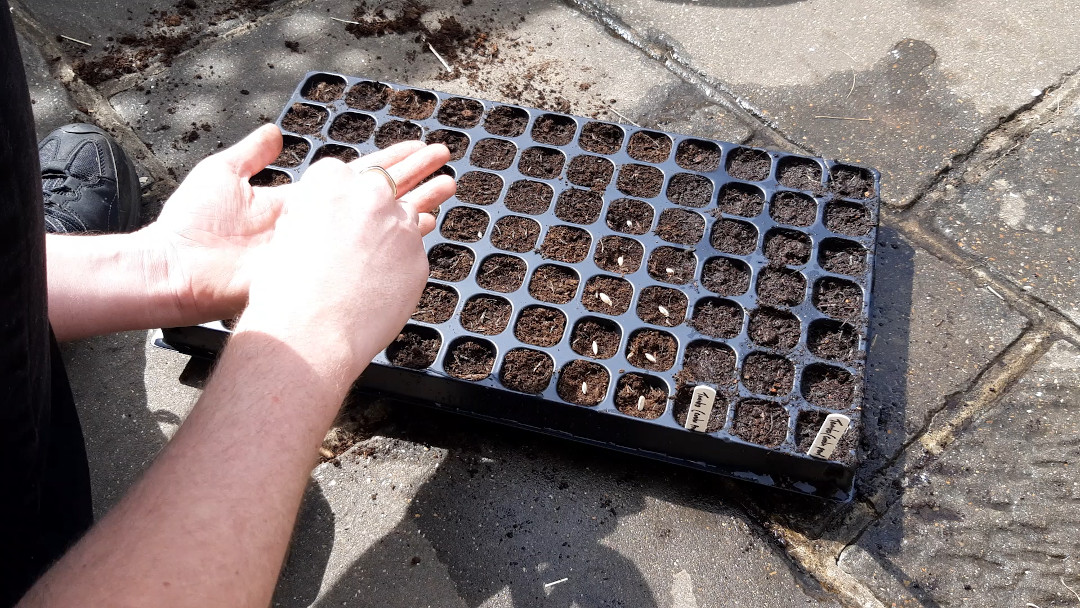
Sprinkle a little compost over the seeds, patting down gently and making sure the seeds are covered. Lastly, give them a splash of water.
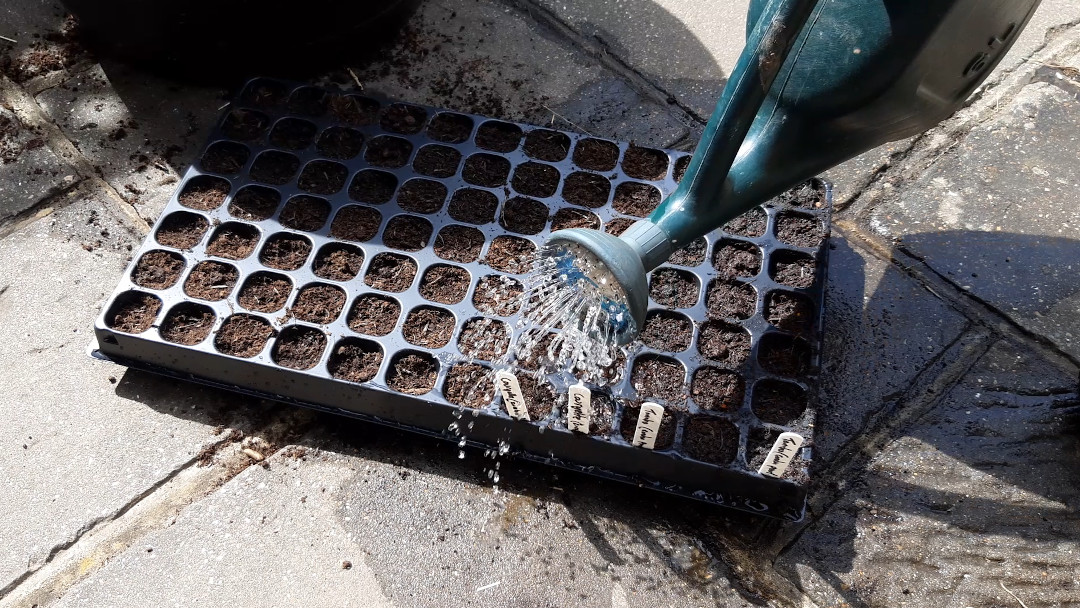
Put your label in place so you remember what you have planted.
Tip: Instead of writing a label for each column of your seed tray, write two and put them in the outermost columns that you used. If you always do this, you know that everything between the labels is the same.
If you’re getting your seedlings going indoors, put this on a sunny windowsill. If, like me, you’re growing in a grow tent (which I would recommend) then this tray can go near the top, if you have space, as courgette seeds will benefit from a little light.
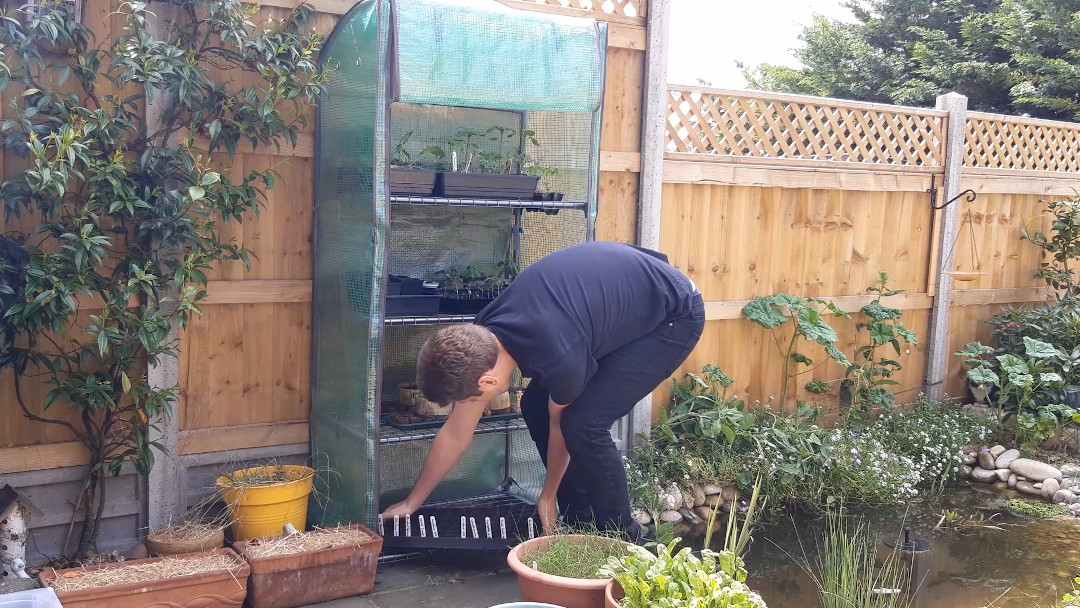
Week 2: Starting to germinate
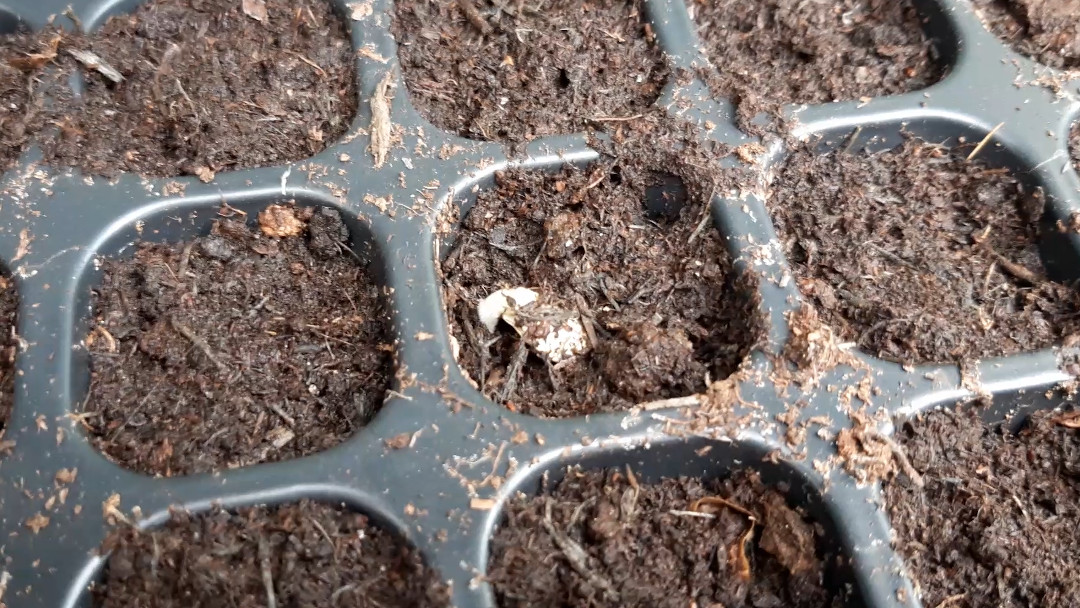
Courgettes take between 7 and 10 days to germinate. I wasn’t expecting to see much action but it looks like one which was closer to the surface has already started pushing out of it’s large casing. I expect the others to do the same over the week.
Week 3: Healthy seedlings
It always amazes me how much energy is packed into one little seed and the seedlings are looking very thick and healthy.
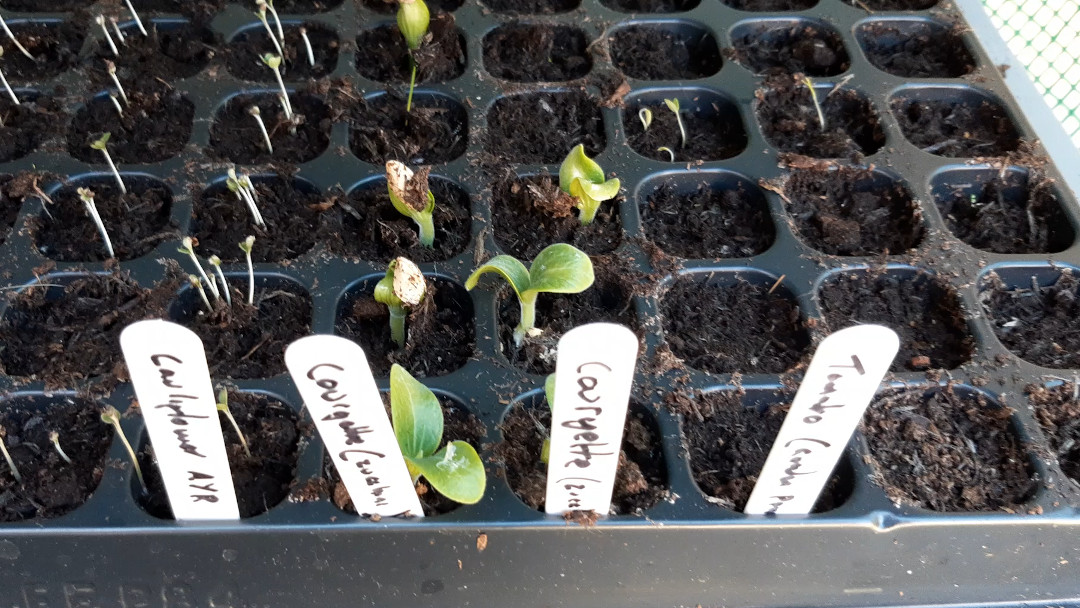
It’s important to keep them well watered, especially if you have a few random hot days which we did this year. They’ll start growing very quickly now so they should be put as high up in the growhouse as possible.
The risk of frost is still not entirely gone so we won't put them outside just yet.
Week 4: Hello big boy!
Holding out for the last frost was a good idea and they’ve not complained too much about staying in the growhouse. The seedlings are looking very strong and are developing their proper leaves.
To give the other seelings in the growhouse a chance to get more light, these will now go into pots.
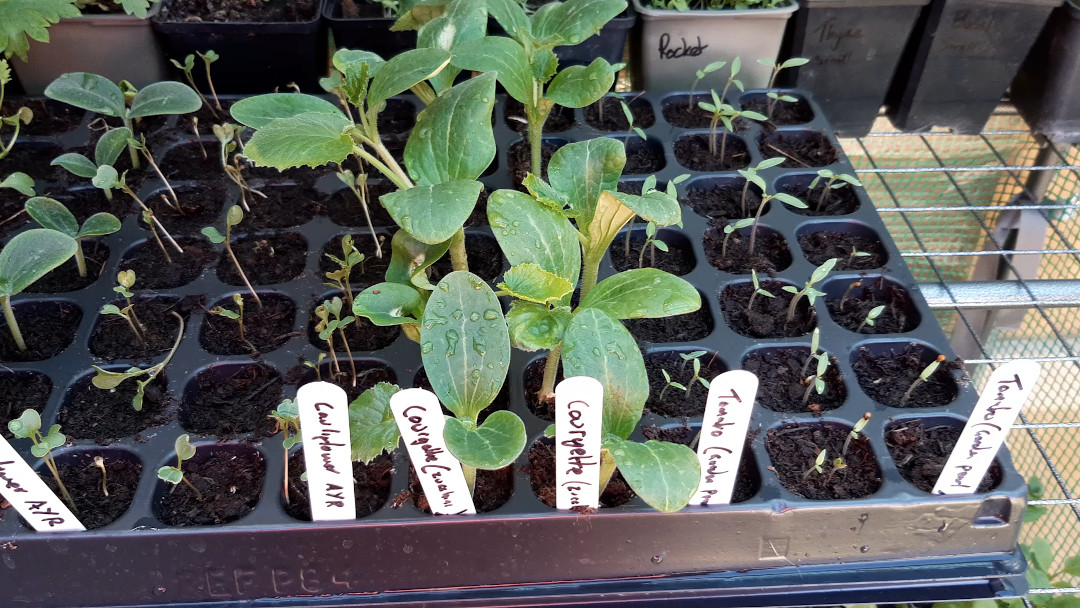
According to a little research, you need one courgette plant per adult in your household. Therefore, we need two but I have the space so I’ll go for 4 I think.
I have four pots and will transplant two into each, therefore, I need to pick out the strongest eight seedlings. In a few weeks time I’ll then plant the largest outside and remove the smaller from each pot.
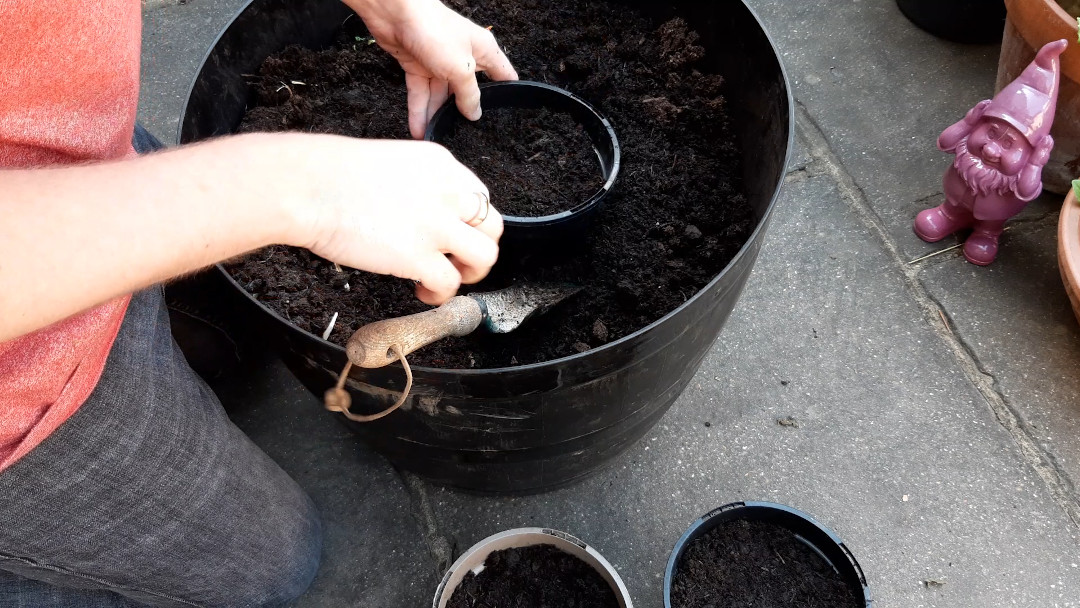
Fill pots with soil
I’m using my 1:1 mix of topsoil and compost for the potting soil. For more information, please check my post on soil.
Make the holes
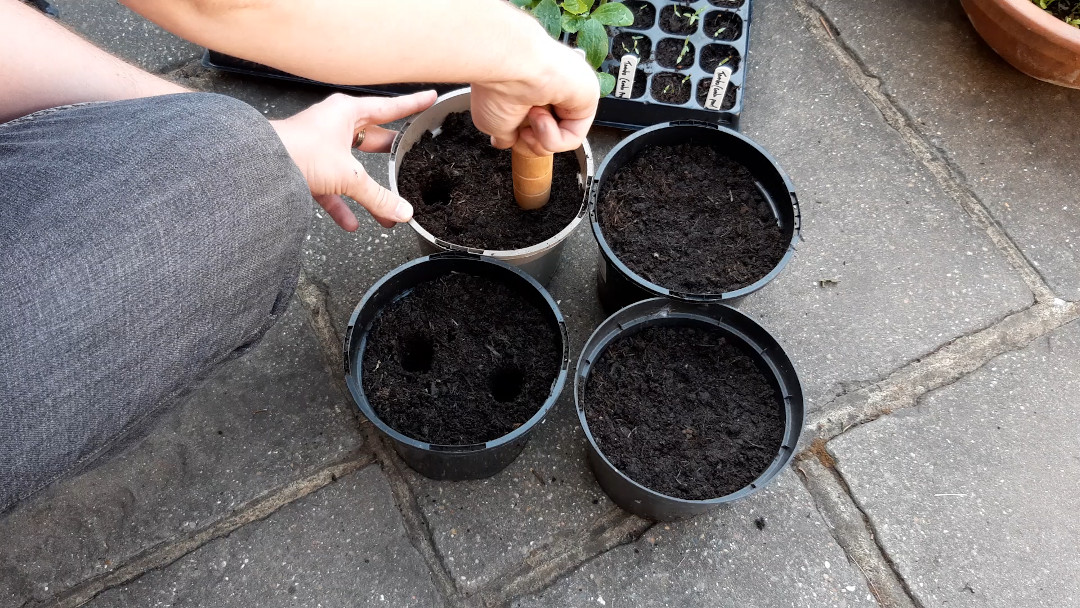
This is my favourite bit. Using a dibber (make your own if you don’t have one, it makes transplanting SO much easier), make a two inch deep hole for each seedling.
If you have a dibber, the lines on it are spaced an inch apart for reference
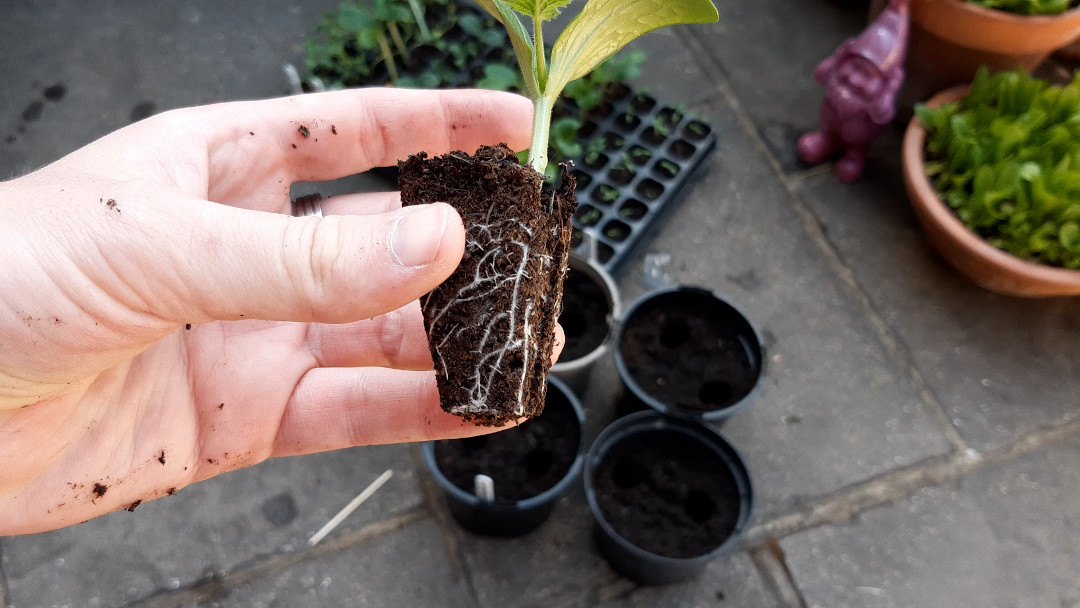
Ease pods from cell
Using the flat end of a pencil, poke out the pod from the cell using the hole in the bottom. If this is a little tricky, water the soil first so it holds together.
Transplant
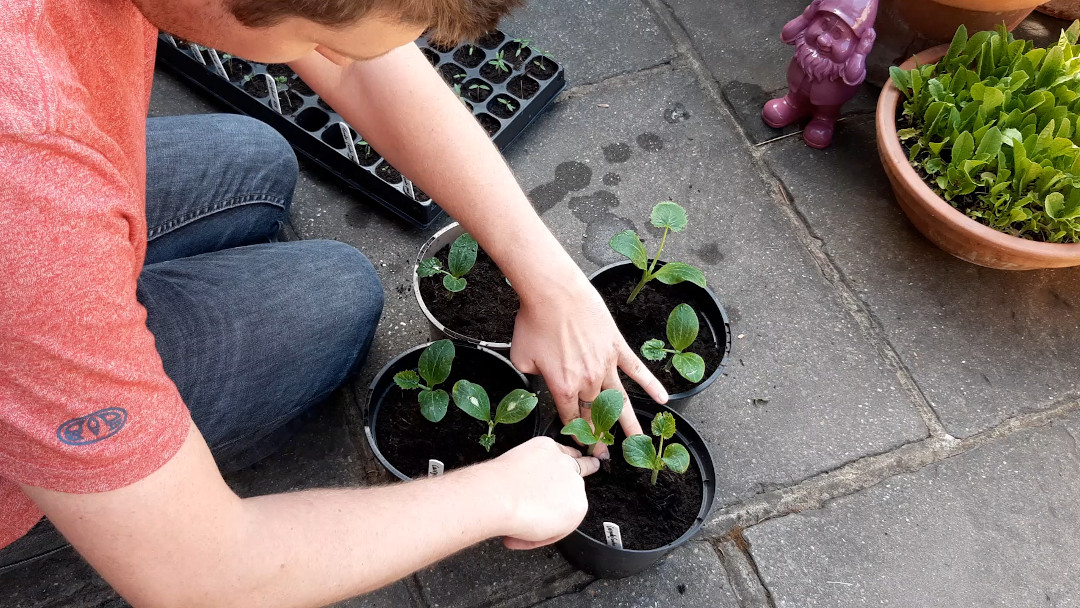
Place each pod into each hole and press down so the top of the cell is flush with the top of the soil. Place your fingers either side of the stem and gently push down.
Water
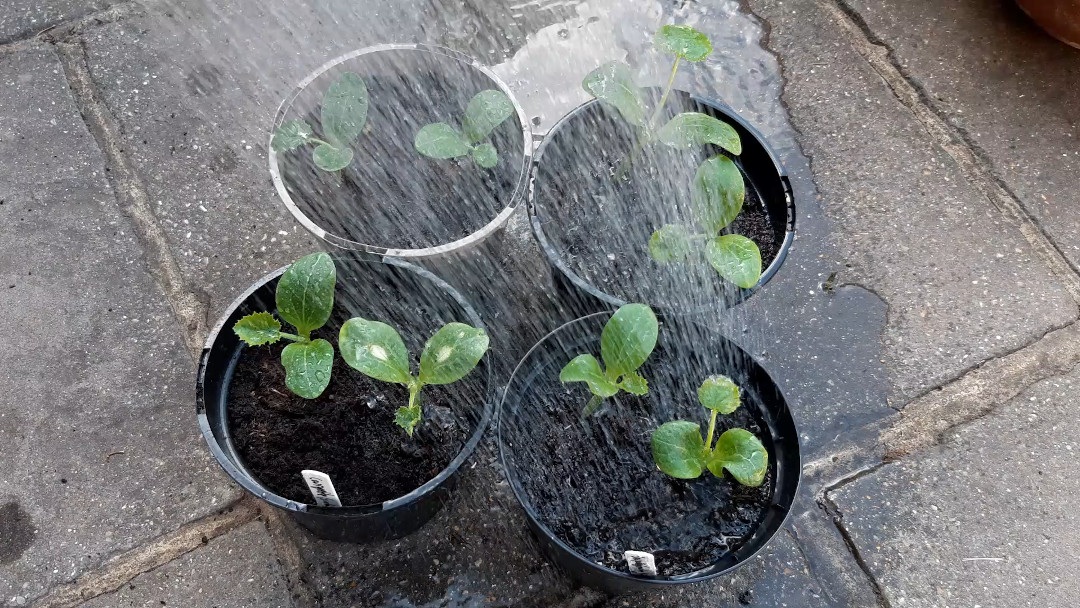
Lastly, give them a really good water. Transplanted seedlings can get shocked by being moved and their roots disturbed. We limit this by using a similar soil in both the tray and the pot and by watering the roots in well after moving them.
Week 5 → 6: Growing well
The courgettes seem to like their new home. I’ve placed them in a sunny, warm, position in the garden which is also protected from any strong winds.
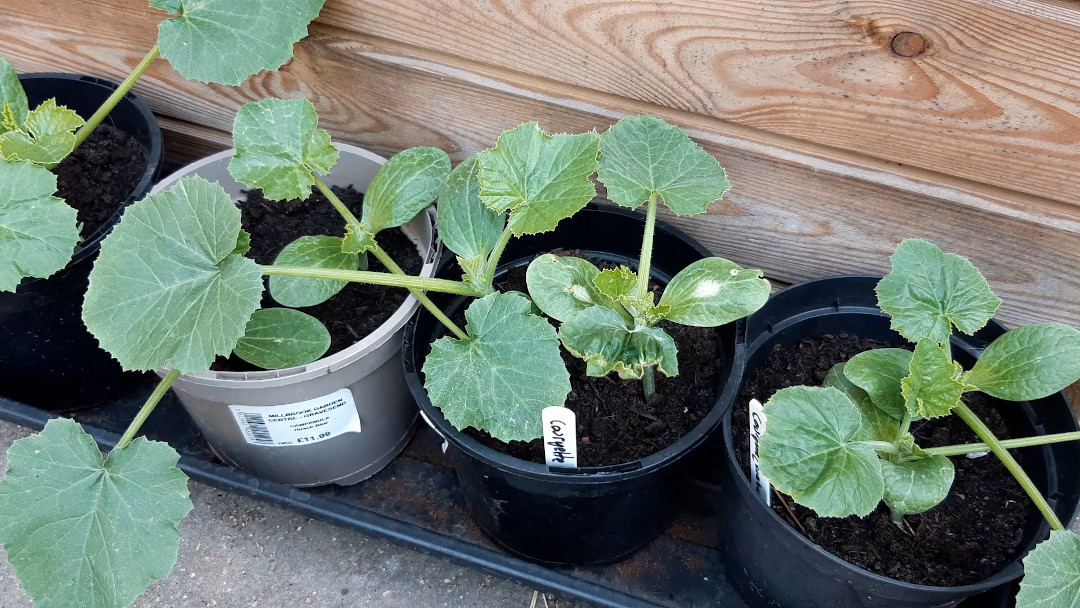
Keeping the courgettes in pots also keeps them away from most pests.
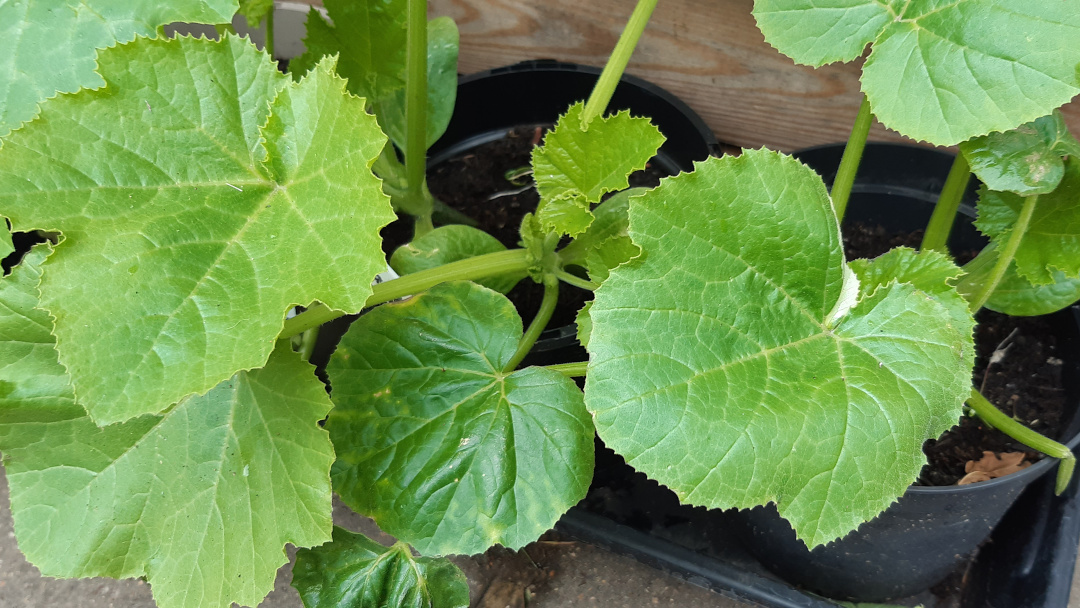
The pots aren’t that deep, so I’m having to water them every day to keep them from drying out.
Week 7: Almost ready for transplanting out
The courgettes are really strong and healthy.
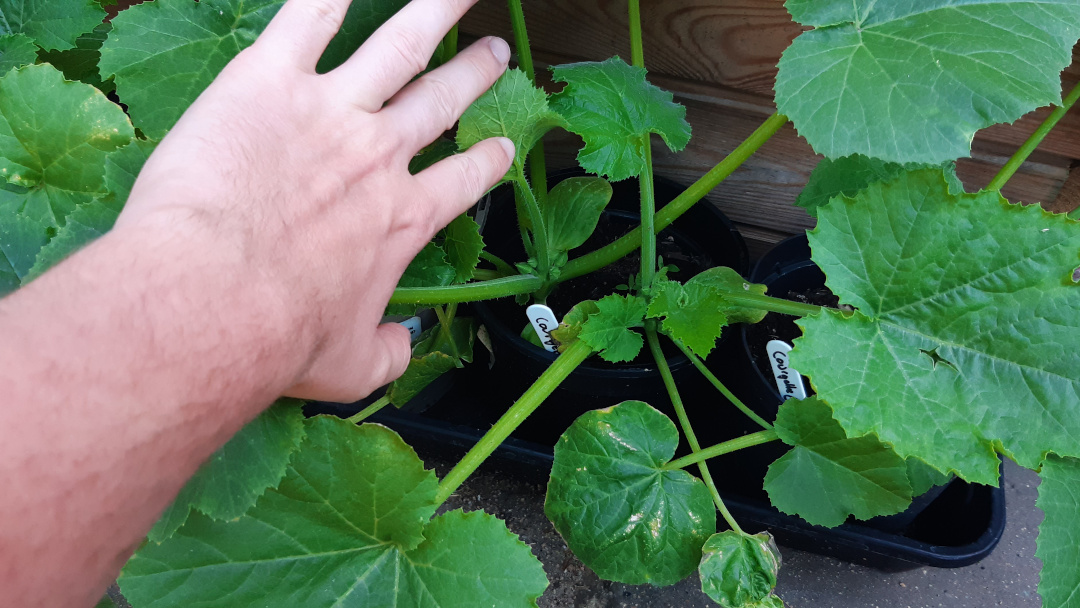
We should thin them out now so they aren’t competing for pot space and water. This will leave us with 4 strong plants.
For more information on thinning plants, see our post here.
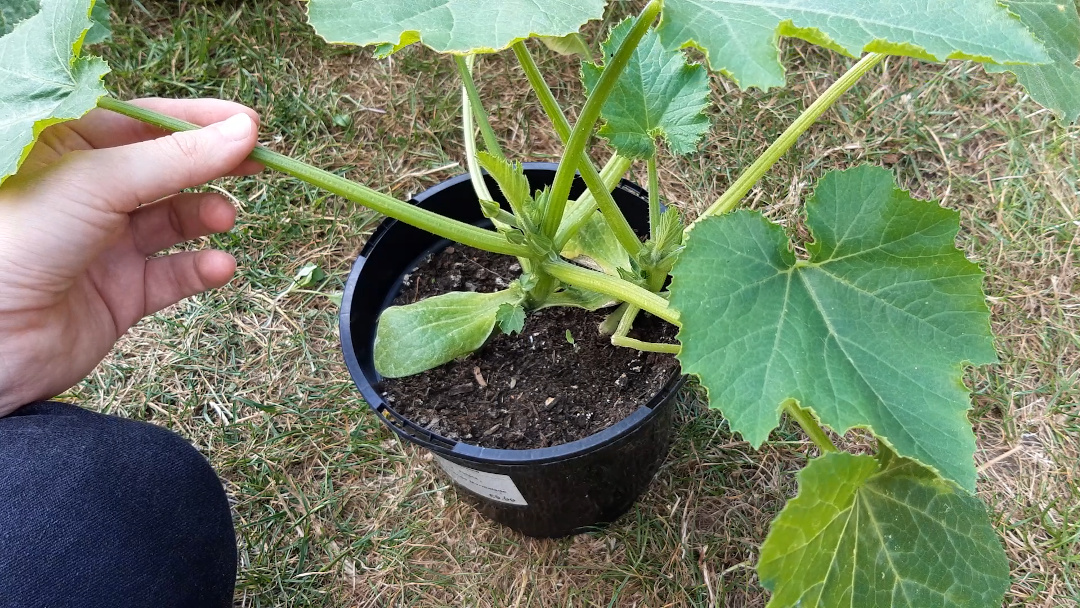
Choose the strongest plant
When choosing the strongest plant, look for the following things:
- The number of leaves
- The size of the leaves
- Any damage to the stem or foliage
- Developing leaves or fruit
Try to choose the plant which has the most strong and thick leaves, which shows the least damage.
Cut the other at the soil level
With the other(s), cut them at the base of the main stem, as close to the soil level as possible.
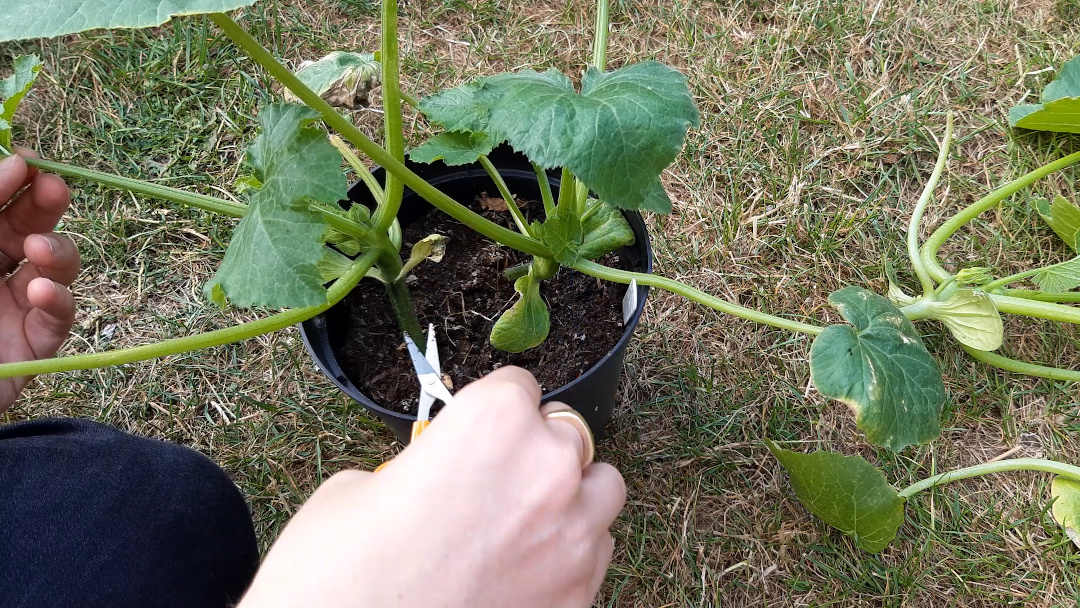
It looks brutal but having one strong plant will provide much more food than two smaller, stifled, plants.
Week 8: Ready to transplant
These courgettes are ready to be transplanted into their final growing position.
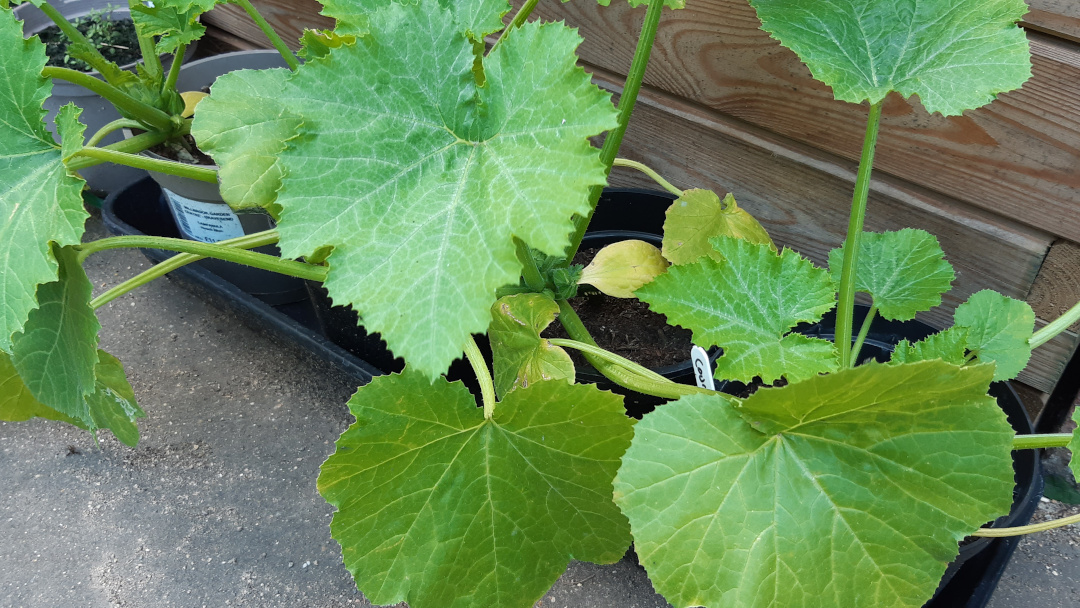
Choose your position
Courgette plants can spread to around 1m wide, give them plenty of space to grow to their full size and somewhere which gets a lot of sun.
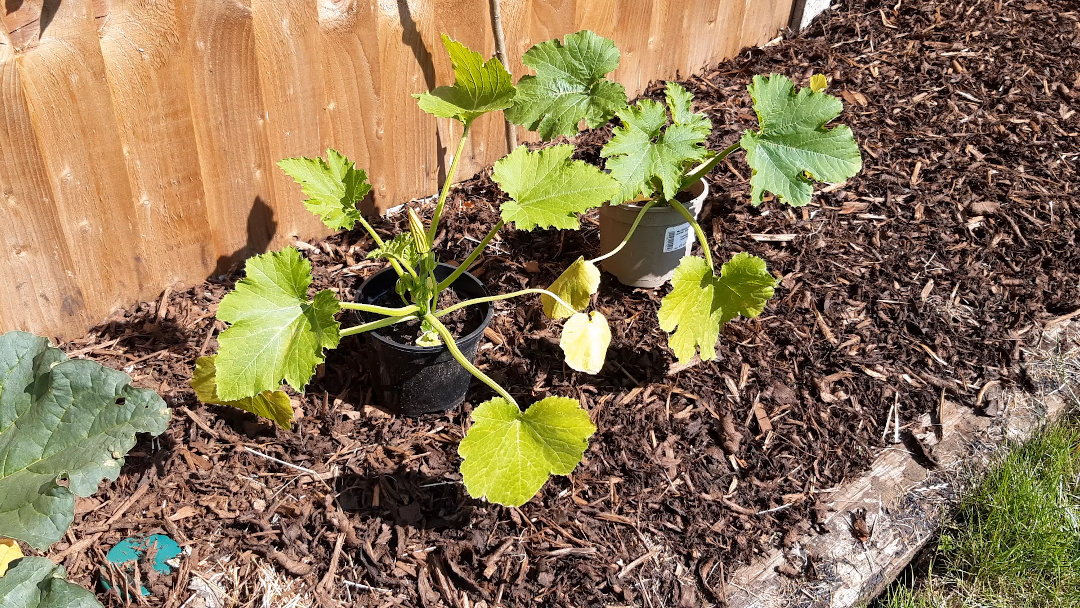
Make the holes
Dig out a hole the width and depth of the pot the courgette is currently living in.
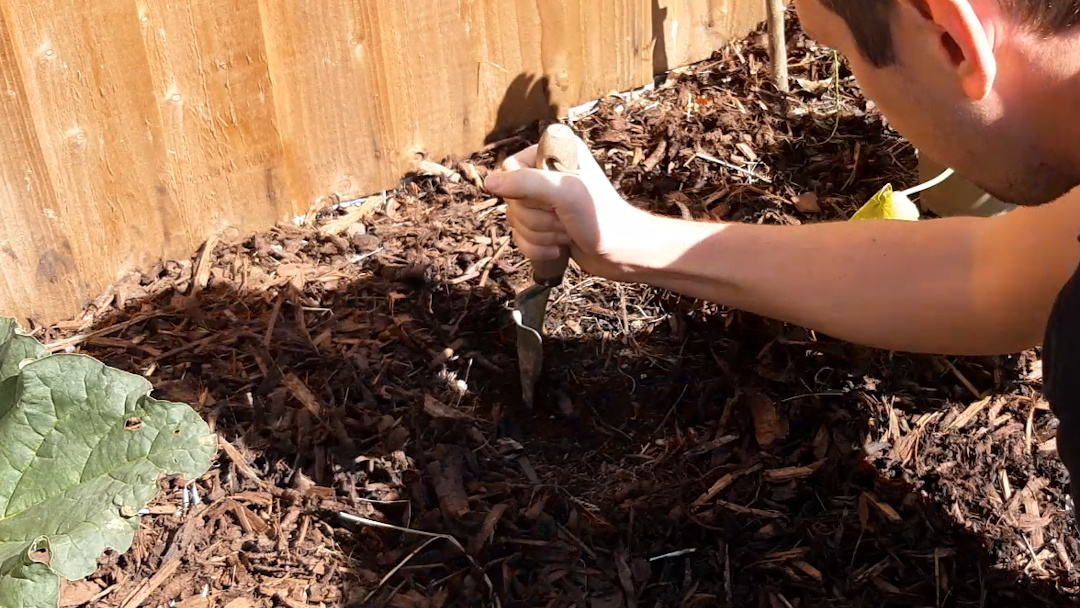
Ease plant from pot
If the plant doesn’t come out easily, try squeezing the side of the pot to encourage it to drop into your hand. Don’t hold onto or pull the plant, instead place your thumb on one side of the plant and your hand on the other side and catch it as it slides out.
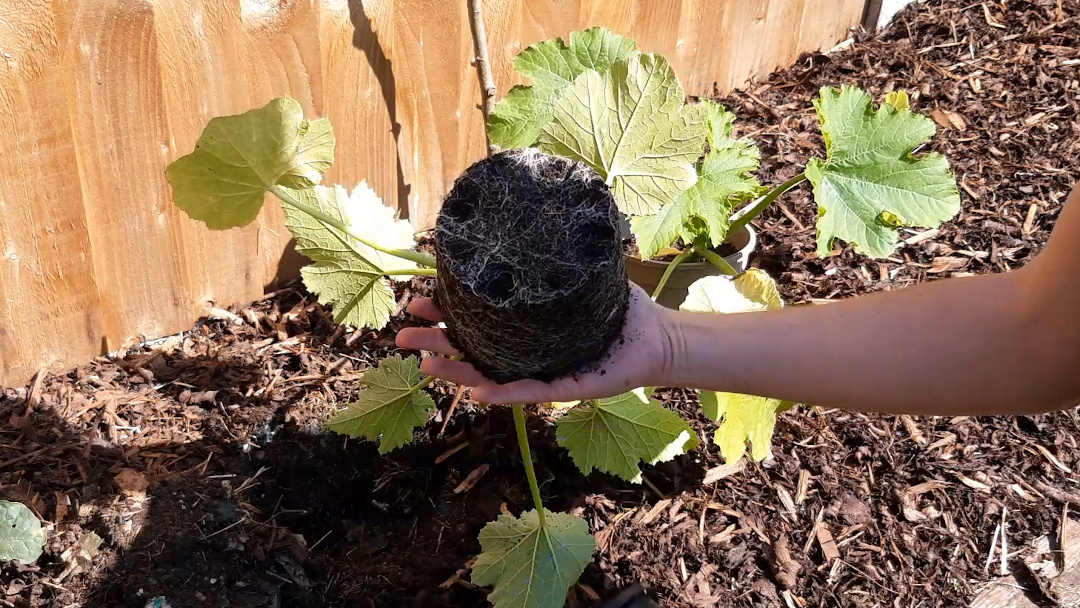
Transplant
Place the plant into the bottom of it’s hole and gently bring the soil up to surround and support the stem.
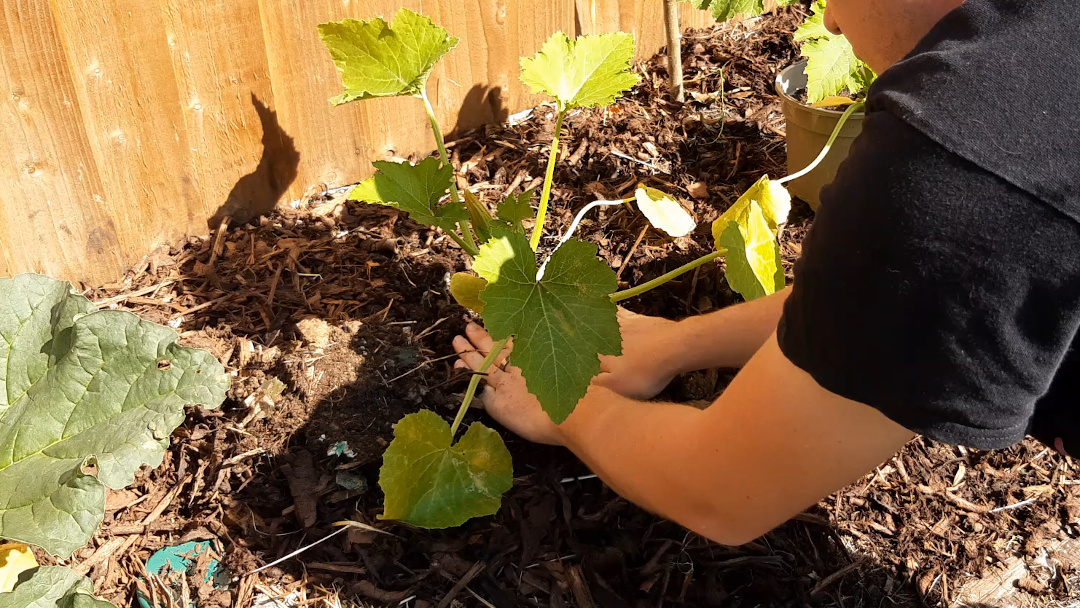
Water
Lastly, give them a really good water. Transplanted plants can get shocked by being moved and having their roots disturbed and need to be watered a little more often than your other established plants.
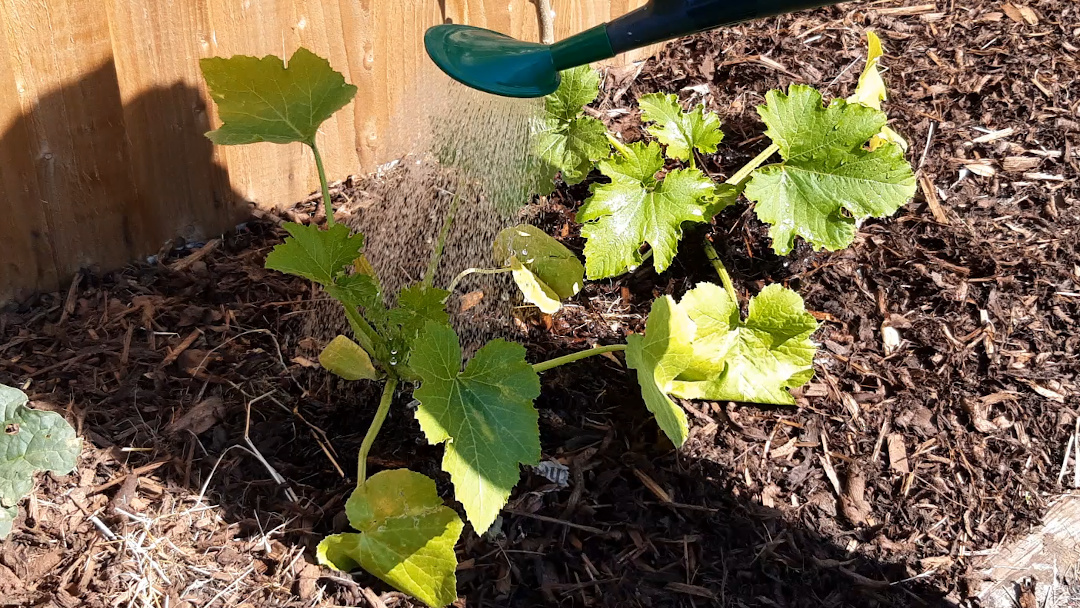
Week 9: Fruits starting to develop
Hurray! We have some courgettes starting to grow. Keep the plant well watered, as it is using much more than normal to grow its produce.
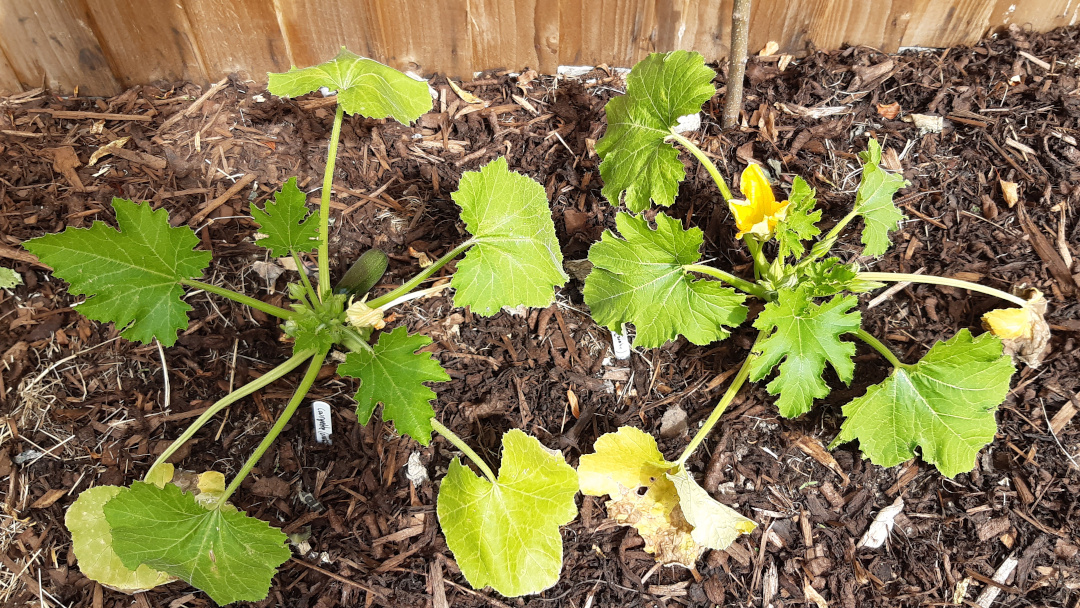
It also wouldn’t hurt to give it some liquid feed every week.
Week 10: Harvest time
A sign of a happy courgette plant are these large yellow flowers that’ll open in the morning of a sunny day.
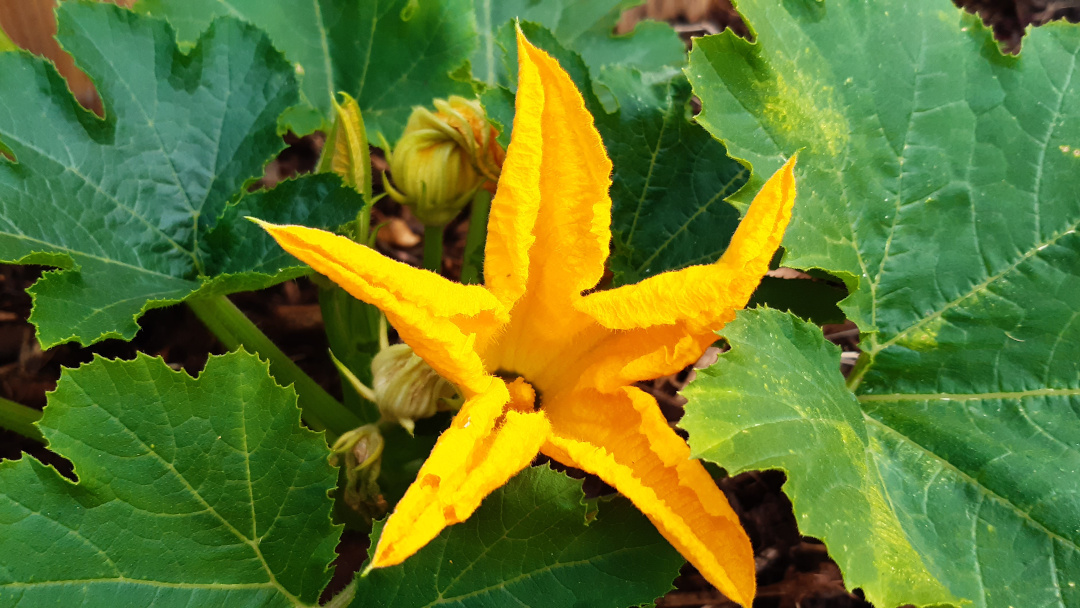
Once pollinated, these will develop into courgettes which can be harvested when at a useful size.
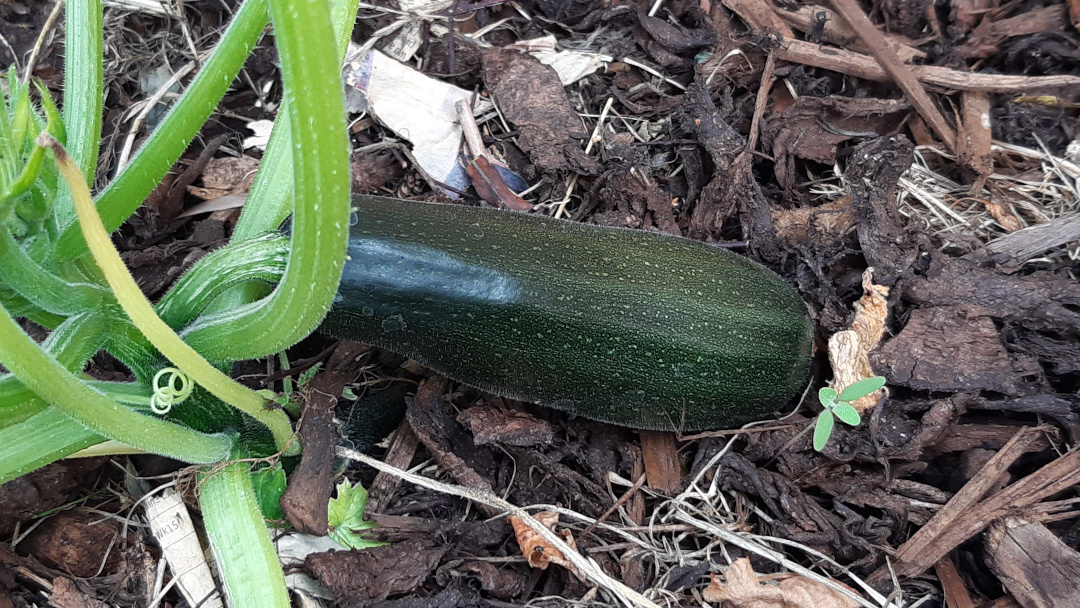
Like most plants, harvesting the crops will encourage the plant to develop more fruits.
I’ll stop the growing part of this diary here as it will continue to bear fruit now for the next few weeks and months.
Just keep in mind:
- Give it a liquid feed every week
- Keep it watered
- To prevent the fruit from rotting, pop some mulch under neath (for example, newspaper or hay)
Harvesting
Harvesting is simple. Grab yourself a sharp knife and cut off the courgette from the stem:
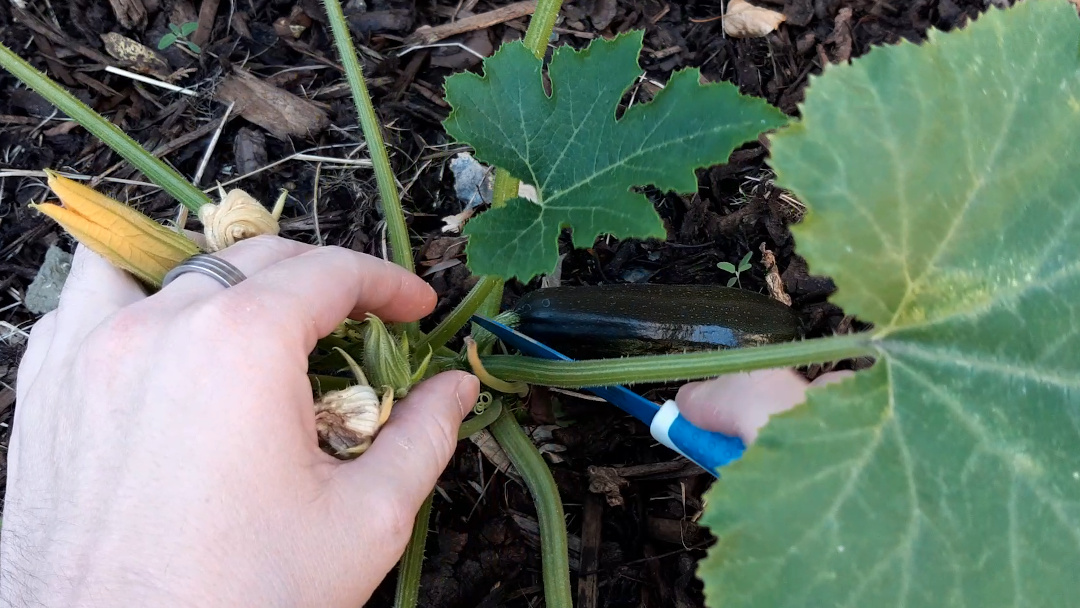
The fruits can grow very quickly, so check the plants every day or two to make sure you don’t miss your chance for a tasty dinner.
Article written on May 11, 2020
Updated Jul 27, 2020
