Cauliflower
A week by week diary
This page may contain affiliate links. For a better user experience, you'll never see any adverts on this website but the small commision from affiliate links keeps it going.
A Sunday lunch isn’t complete unless it includes cauliflower cheese! Or so I thought when I was growing up. Now, I do a little more, with this easy to grow vegetable, than just piling a load of cheese onto it. It makes a creamy soup and we mix it with some pasta, and cheesy sauce, for a cauliflower bake.
This is a week by week diary of the growing, maintenance and harvesting of cauliflower.
Quick tips
- Sow 3/4 seeds into a seedling tray
- Cut away the smaller seedlings as they grow, leaving the strongest
- Prefers full sun
- Seeds can be sown from:
- December → May if kept under cover
- March → June sowing directly in the ground
Dates
For harvesting during the summer, use the following dates:
| Jan | Feb | Mar | Apr | May | Jun | Jul | Aug | Sep | Oct | Nov | Dec | |
|---|---|---|---|---|---|---|---|---|---|---|---|---|
| Sow indoors | I | I | I | I | I | I | ||||||
| Direct outdoors | O | O | O | O | ||||||||
| Harvest | H | H | H | H |
Pests
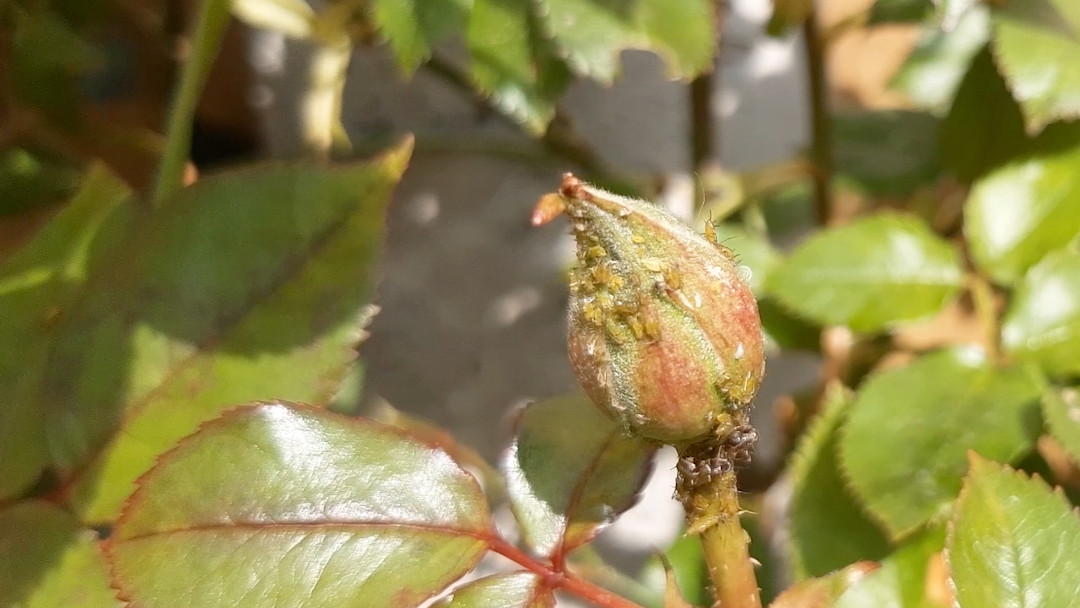
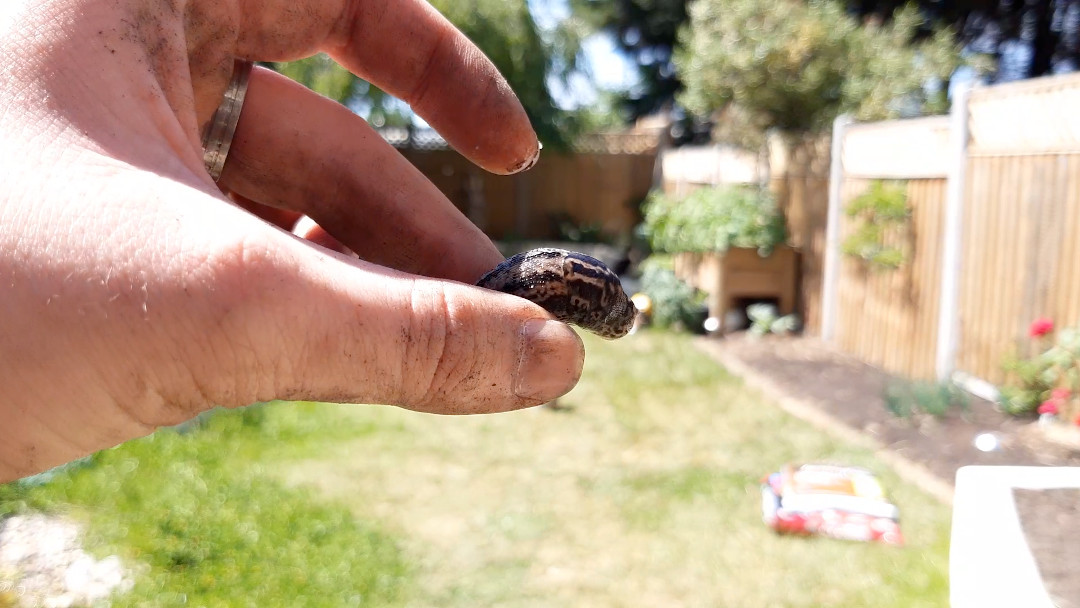
Cauliflower are susceptible to the following pests:
Type of cauliflower
We are growing the “All the Year Round” cauliflower which you should be able to find quite easily. You can find them here from Johnsons or here from Thompson & Morgan.
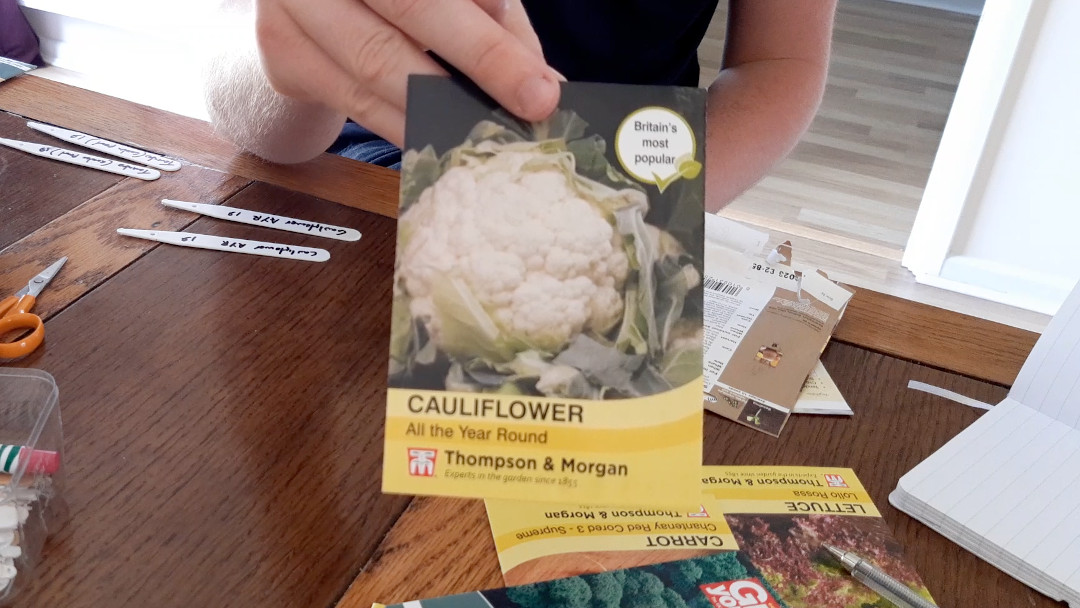
The “All the Year Round” variety can be overwintered and will survive temperature down to -7°C, which means you can have this growing all year round.
Growing diary
I started this diary, and sowed these seeds, on the second week of January (2nd week of the year).
I’m running an experiment with this cauliflower, to see if sowing in compost or coir is better. The advice should be the same, regardless of what you use, but the resulting size/quality of the crop may be different. We’ll see.
Week 1: Sowing
Sowing cauliflower is similar to many other vegetables. First start by filling your chosen seed tray (I’m using this one here) with a seed, or general, compost. You don’t need to press too firmly, the seedlings will have an easier time pushing down their roots if it’s a little fluffy. Make sure each module is full though and there aren’t any large air pockets.
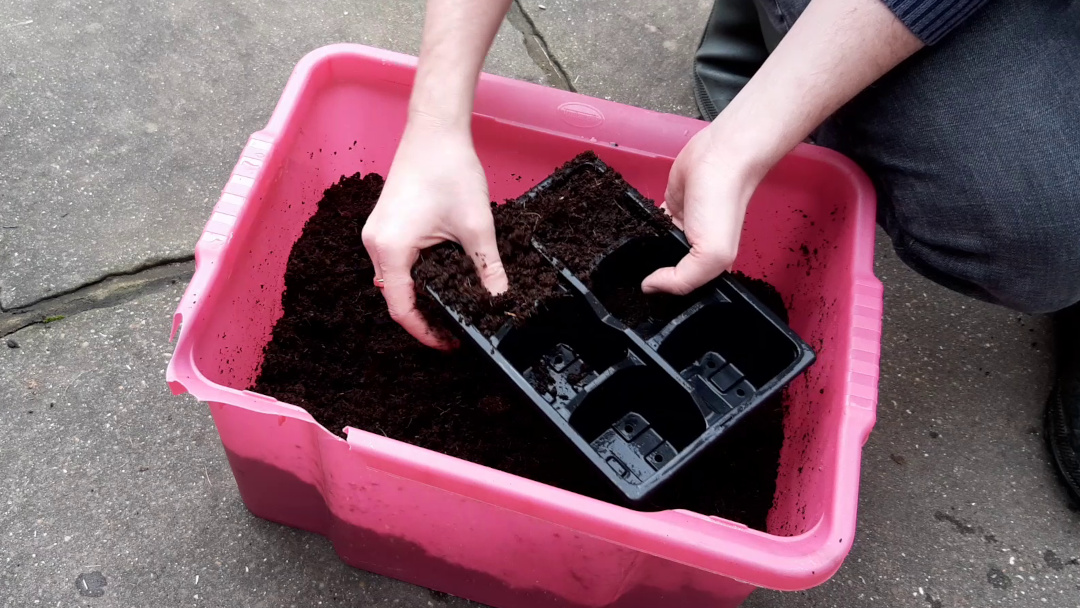
If your compost is dry, give this a water and make sure it’s soaked in as much water as possible.
Using a pencil, or cocktail stick, make a small hole in the top of each cell. Then drop 1-2 seeds into each hole.
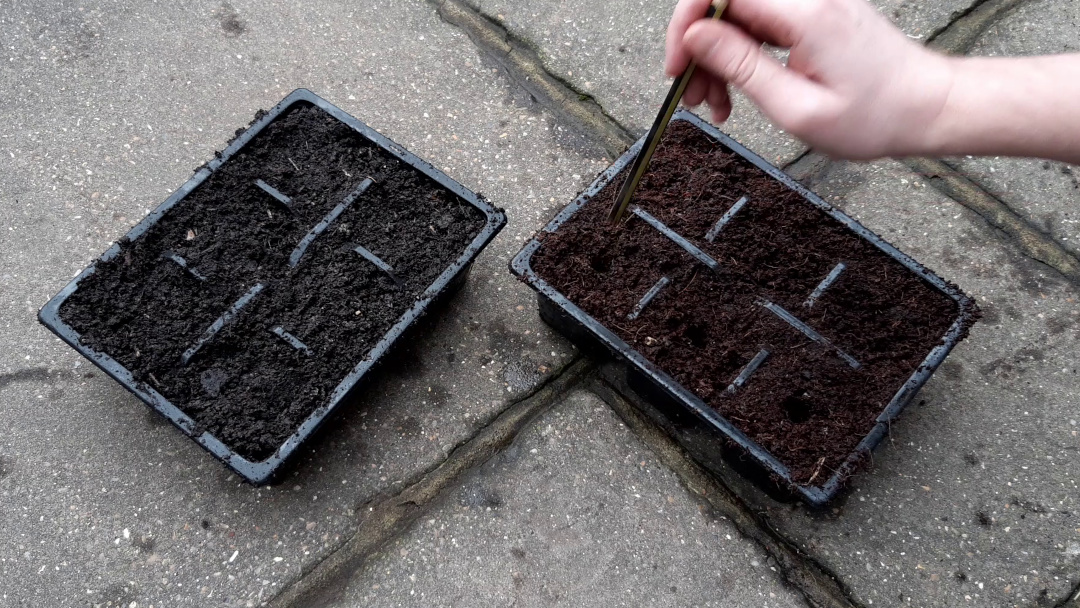
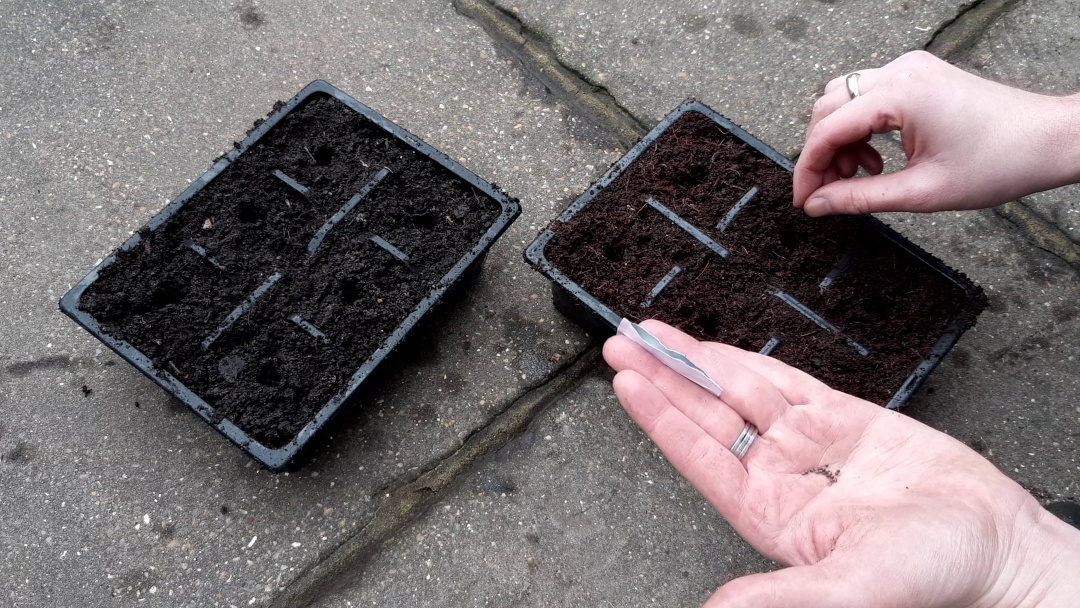
Cover the seeds back up with the compost, or sprinkle over a little more, so it has contact with the seeds.
Put your label in place so you remember what you have planted.
If you’re getting your seedlings going indoors, put this on a sunny windowsill.
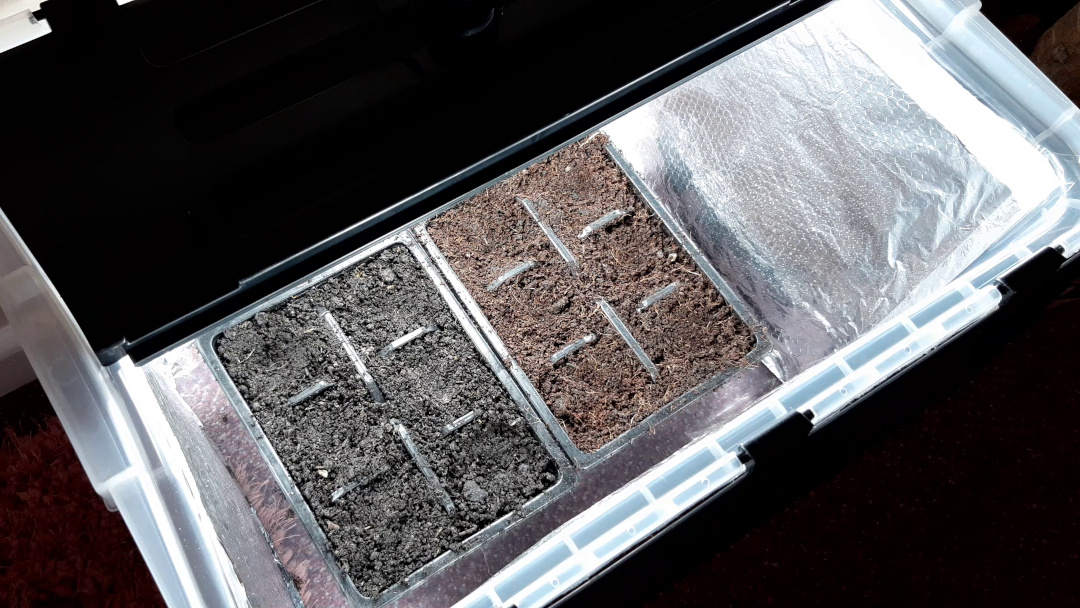
As I’m running a side-by-side test on these seeds, they are going into my growbox, so that the seedlings get an equal amount of light.
Week 2: Germination
Checking at the start of week 2, we can see that the seedlings have already poked out of the compost.
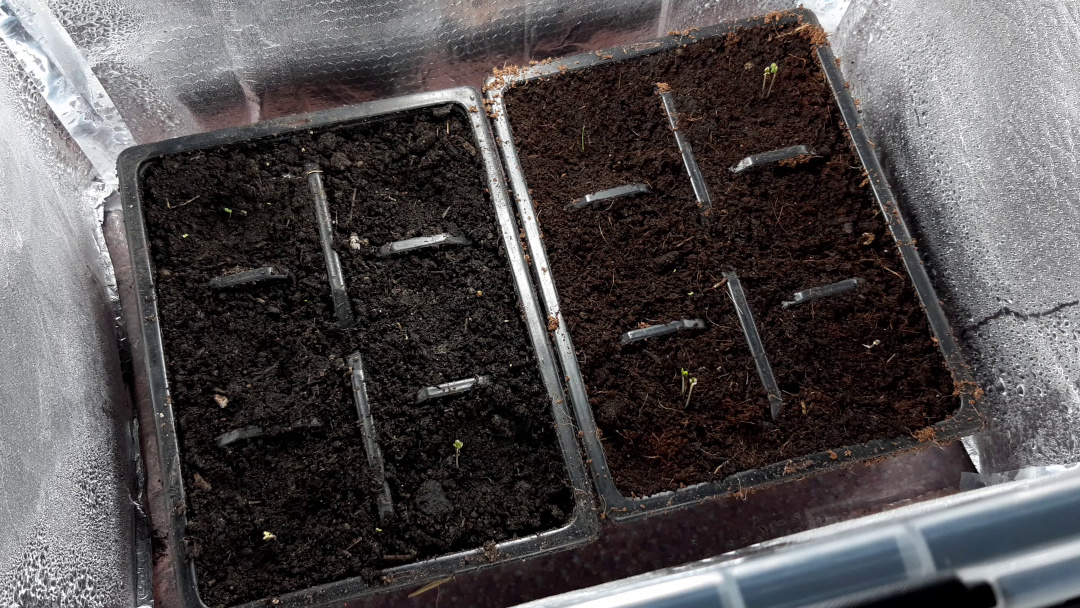
It’s nice and warm inside so these seeds had no trouble germinating. If your tray is set on a colder windowsill, they may take a little longer to germinate.
Week 3: Coming soon
I will update this page with the cauliflower’s progress. If you have any questions or tips, please put them in the comments so we can all benefit from your experience.
Article written on Jan 27, 2021
Updated Jan 27, 2021
