Pumpkins
Get the soup maker out
I tried growing pumpkins only once in the past. I followed all the steps and did everything correctly. What I did not expect was a single slug eating and hollowing out my pumpkin from underneath. I was left dissapointed and with a very large slug to stare daggers at.
That was then though, and now I know so much more about pests and caring for my crops. This year I will grow pumpkins for soups and to roast the seeds for snacks, and not for the slugs.
This is a week by week diary of the growing, maintenance and harvesting of pumpkin.
Quick tips
- Sow 1 seed into each module of a seedling tray
- Prefers full sun
- The plants trail and take up a large area, keep this in mind before transplanting
- Seeds can be sown from late April → June under cover
- Mulch well to protect fruit from soil & pests
Dates
To grow pumpkin through the summer,use the following dates:
| Jan | Feb | Mar | Apr | May | Jun | Jul | Aug | Sep | Oct | Nov | Dec | |
|---|---|---|---|---|---|---|---|---|---|---|---|---|
| Sow indoors | O2 | O | O | |||||||||
| Harvest | H | H |
Pests
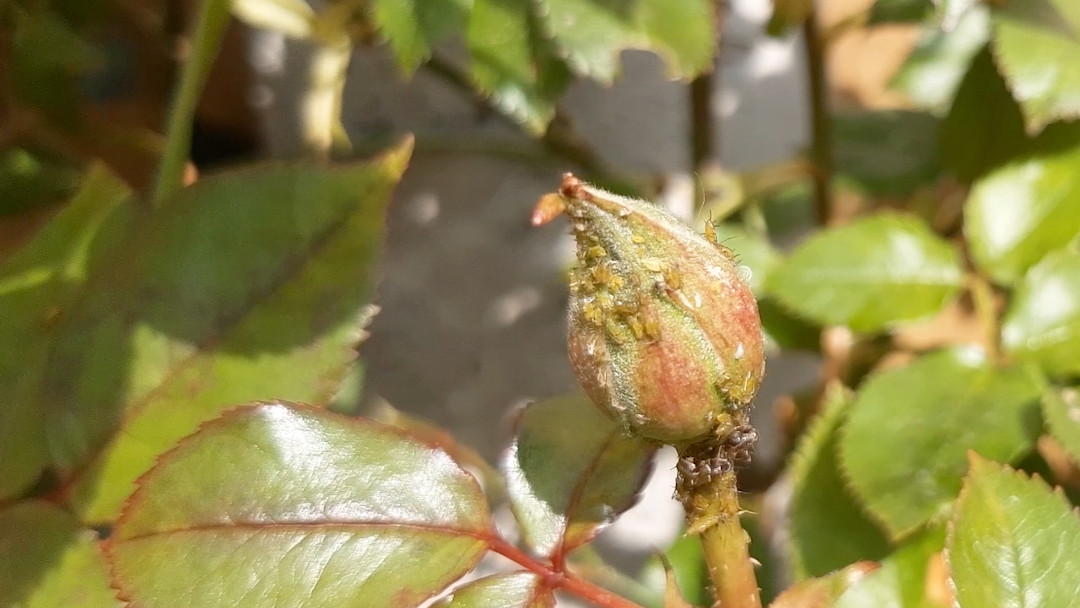
Pumpkin are susceptible to the following pests:
Type of pumpkin
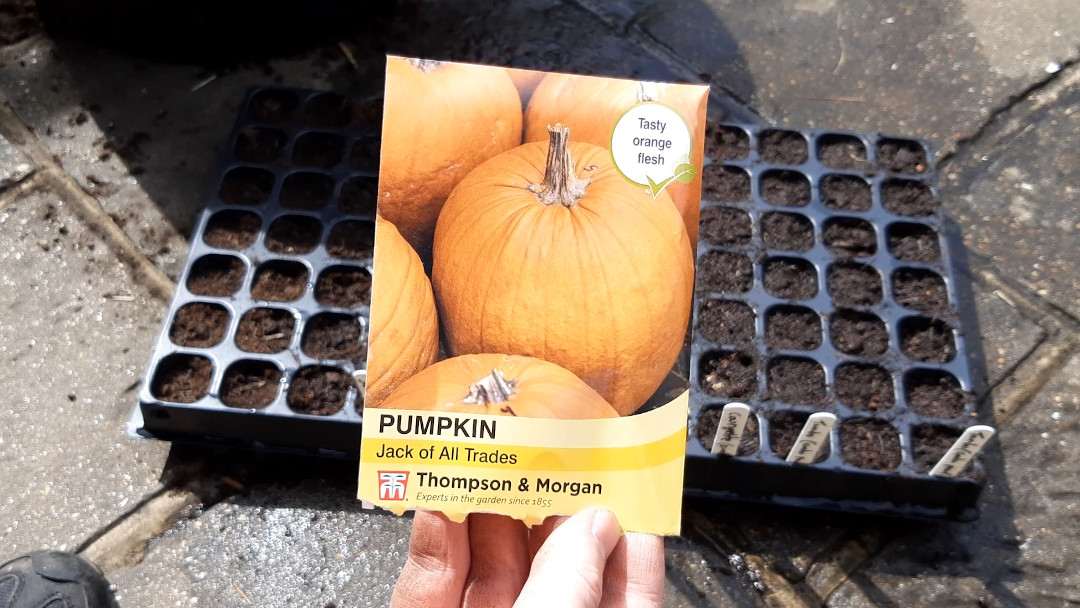
We are growing the “Jack of All Trades” pumpkin which we found at our local garden centre. You can also find it here from Thompson & Morgan.
Watch it
I have compiled the growing diary for pumpkins into a short video for you:
Growing diary
I started this diary, and sowed these seeds, on the first week of May (19th week of the year).
Week 1: Sowing
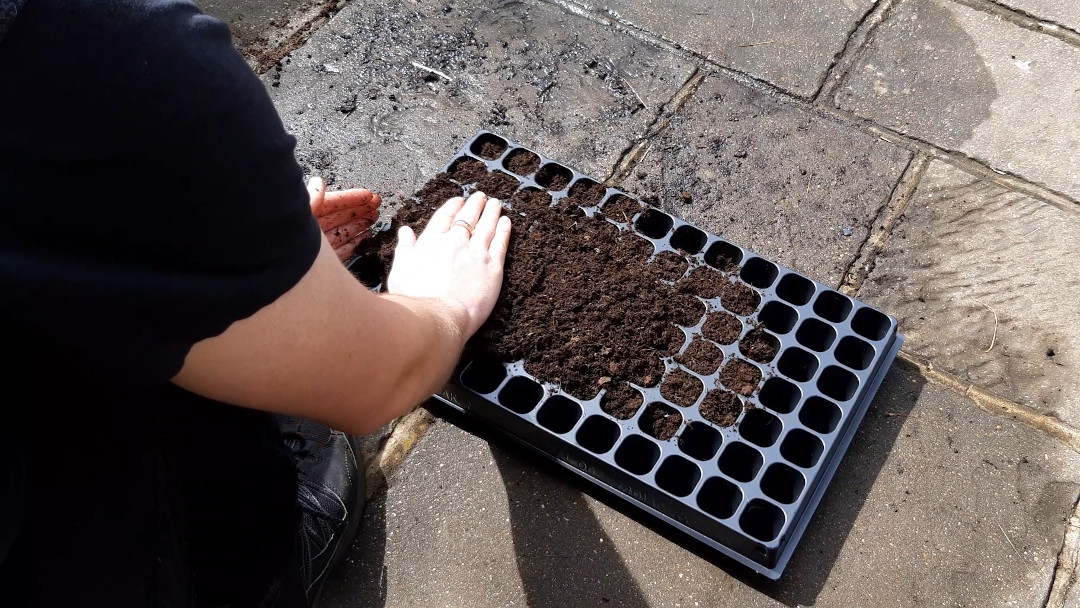
Sowing pumpkin seeds is similar to many other large seed vegetables. First start by filling your chosen seed tray (I’m using the 84 cell tray as I’ll be sowing other veg at the same time) with a seed, or general, compost. You don’t need to press too firmly, the seedlings will have an easier time pushing down their roots if it’s a little fluffy. Make sure each module is full though and there aren’t any large air pockets.
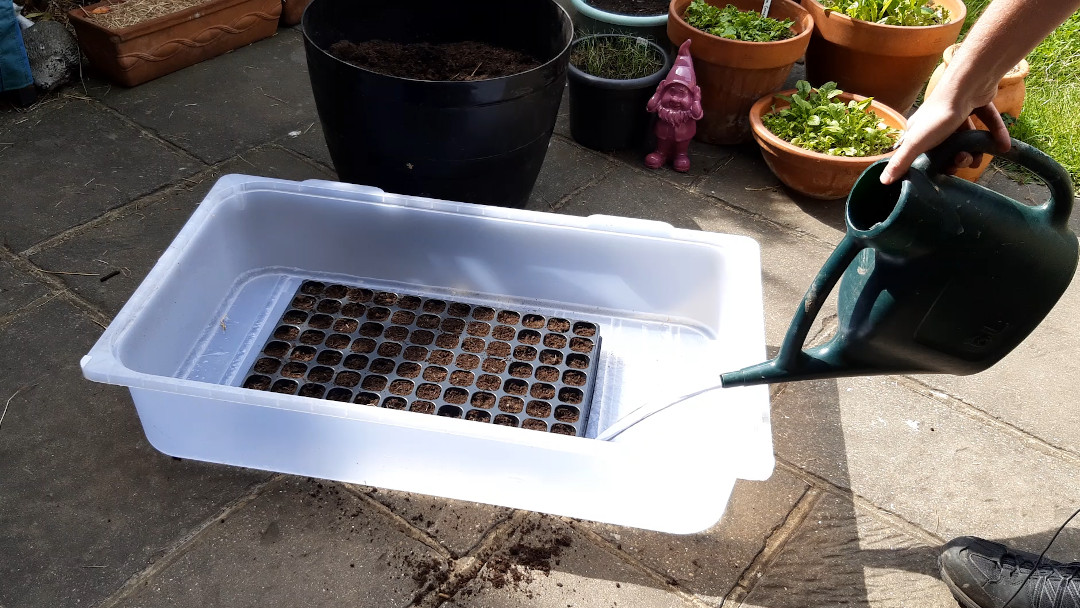
Next, water thoroughly or sit the tray in water to allow the compost to soak up as much water as possible. This will ensure the seedlings have a good starting drink of water to get them going and will mean the compost wont dry out too quickly.
The seeds are quite large so I would recommend sowing just one seed per cell.
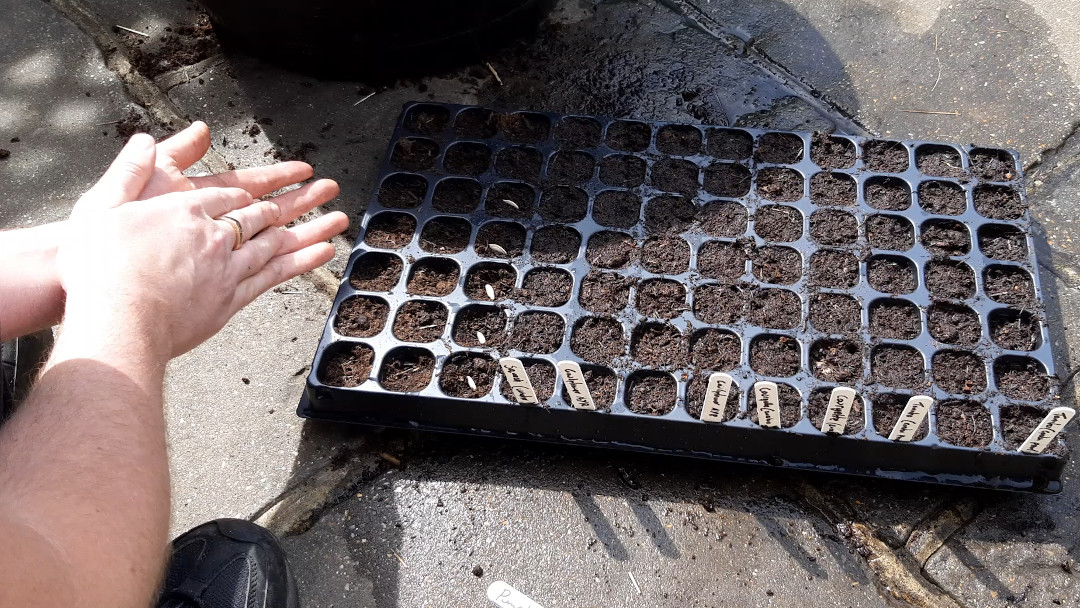
Sprinkle a little compost over the seeds, patting down gently and making sure the seeds are covered. Lastly, give them a splash of water.
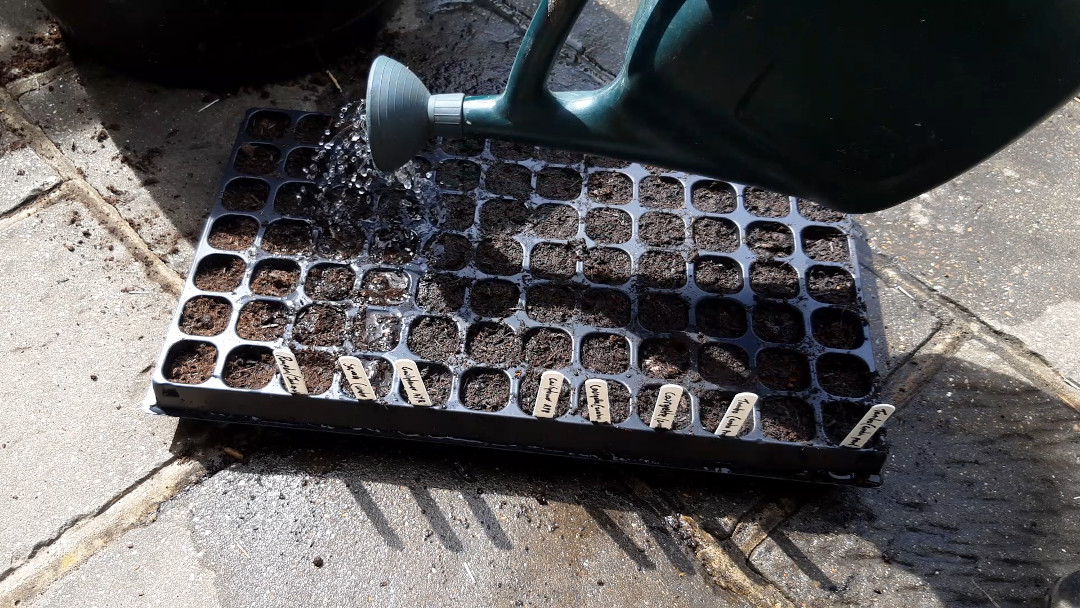
Put your label in place so you remember what you have planted.
Tip: Instead of writing a label for each column of your seed tray, write two and put them in the outermost columns that you used. If you always do this, you know that everything between the labels is the same.
If you’re getting your seedlings going indoors, put this on a sunny windowsill. If, like me, you’re growing in a grow tent (which I would recommend) then this tray can go near the bottom as the seedlings don’t need any light yet.
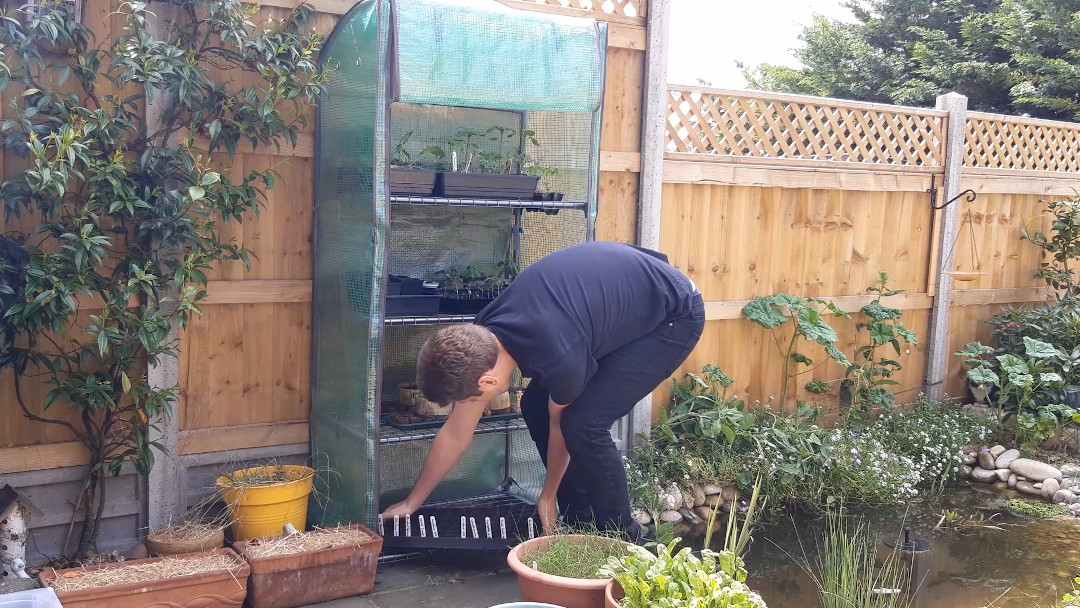
Week 2: Nothing yet
Pumpkin seeds take between 5-7 days to germinate but do need a higher temperature than the average at this time of the year (early May). I’m not suprised they have not woken up yet.
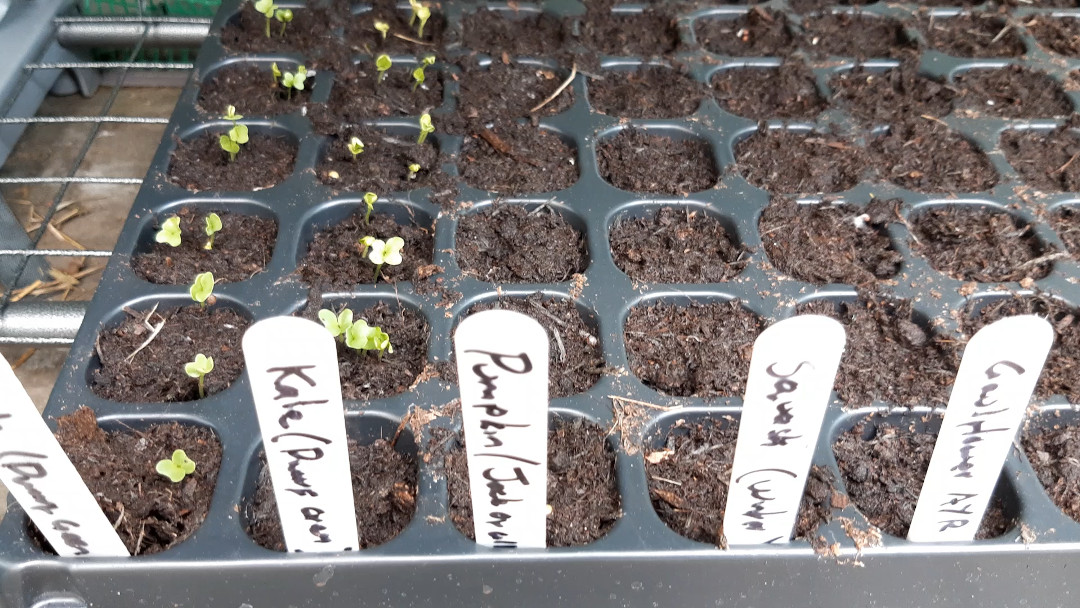
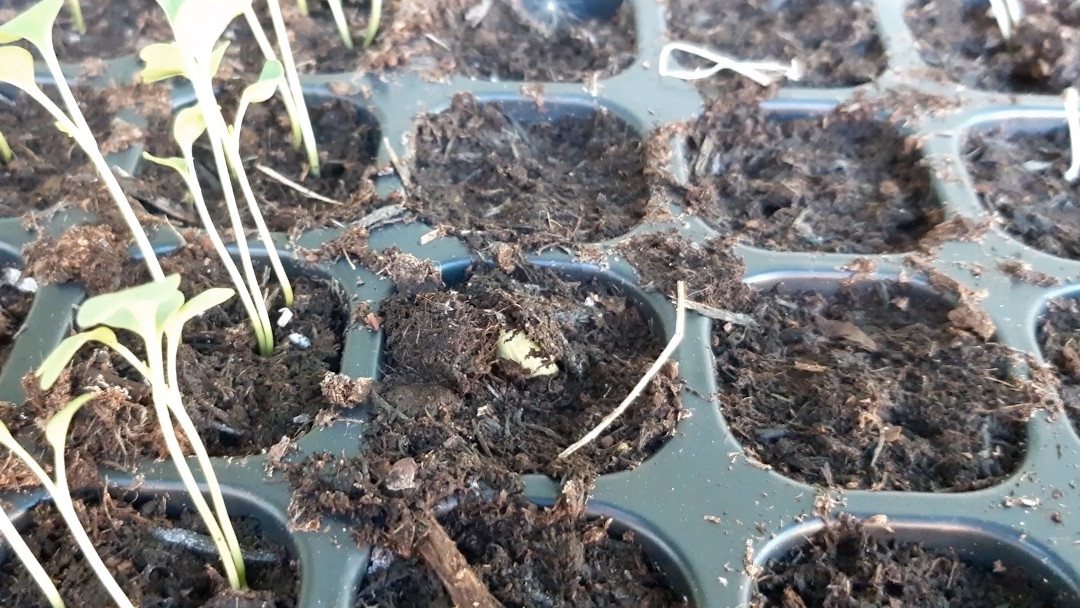
Week 3: We have movement
Just a little, a small suggestion of something happening below the surface.
Week 4: Wowzers
What a difference a week makes, the seedlings have shot up and already outgrown their cell. They are definitely ready to go in the ground.
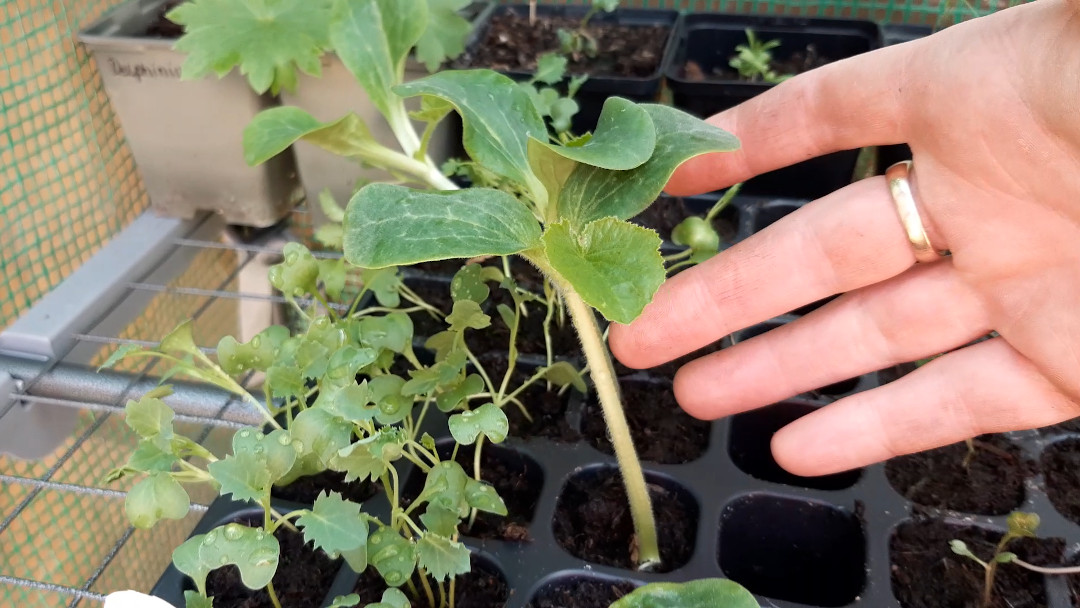
The first step is to choose where you want to grow your pumpkins. I have a large bed and aim to let the pumpkins spill over the edge onto the grass. A large pot would also do the trick.
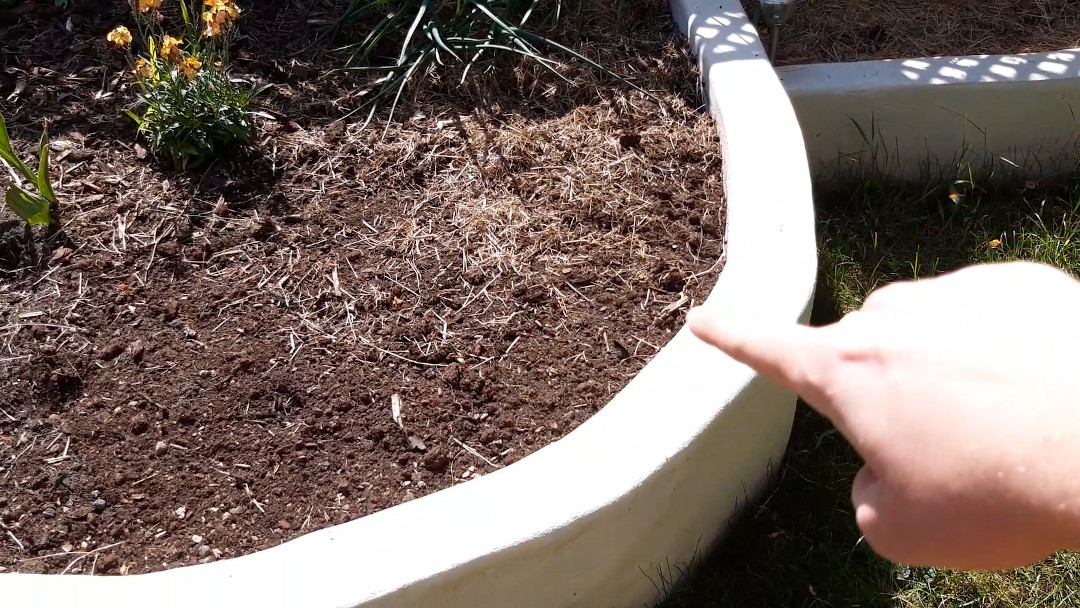
Pumpkins grow quite large and trail, so keep this in mind when choosing a spot.
Note: You don't need to plant all of the seedlings you have grown, pick the strongest ones and pop the others in the compost bin
Make the holes
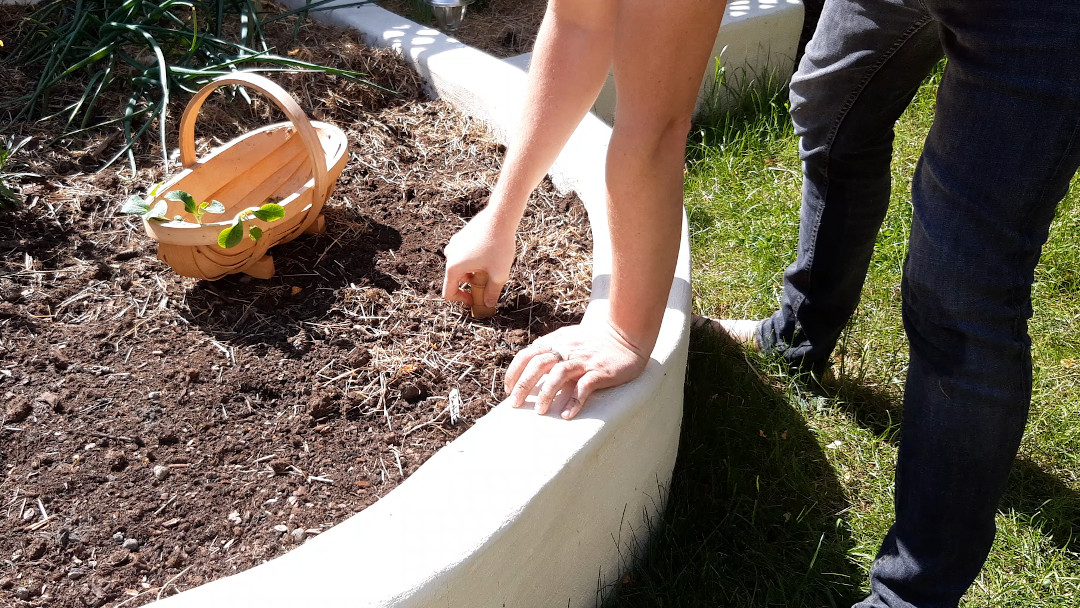
Using a dibber (make your own if you don’t have one, it makes transplanting SO much easier), make a deep hole for your pumpkin seedlings. Usually the hole would match the depth of the cell but as these plants are so tall, we can transplant them deeper for extra support.
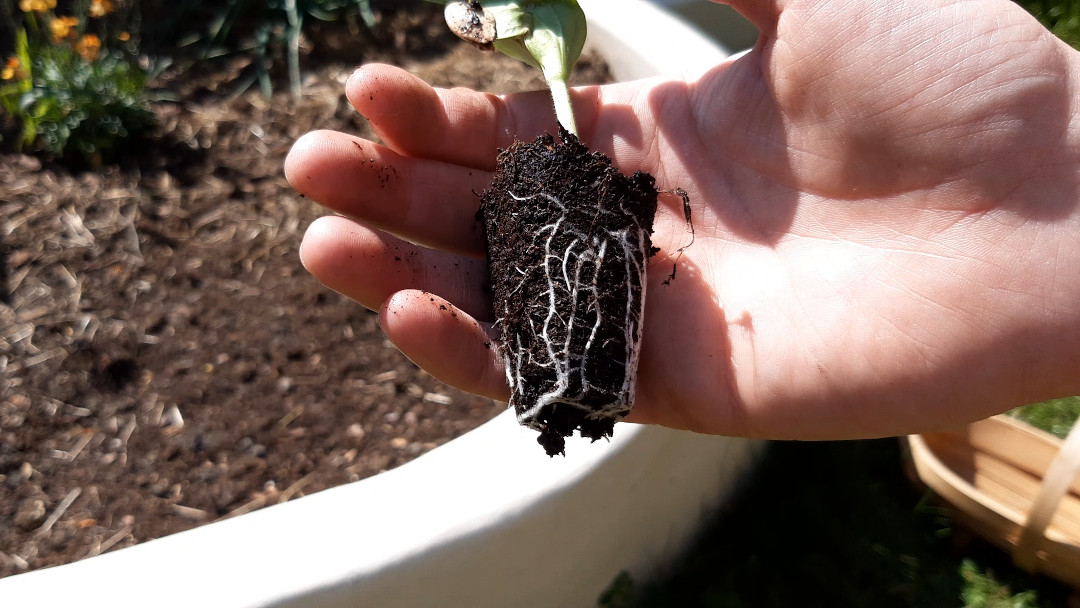
Ease pods from cell
Using the flat end of a pencil, poke out the pod from the cell using the hole in the bottom. If this is a little tricky, water the soil first so it holds together.
Transplant
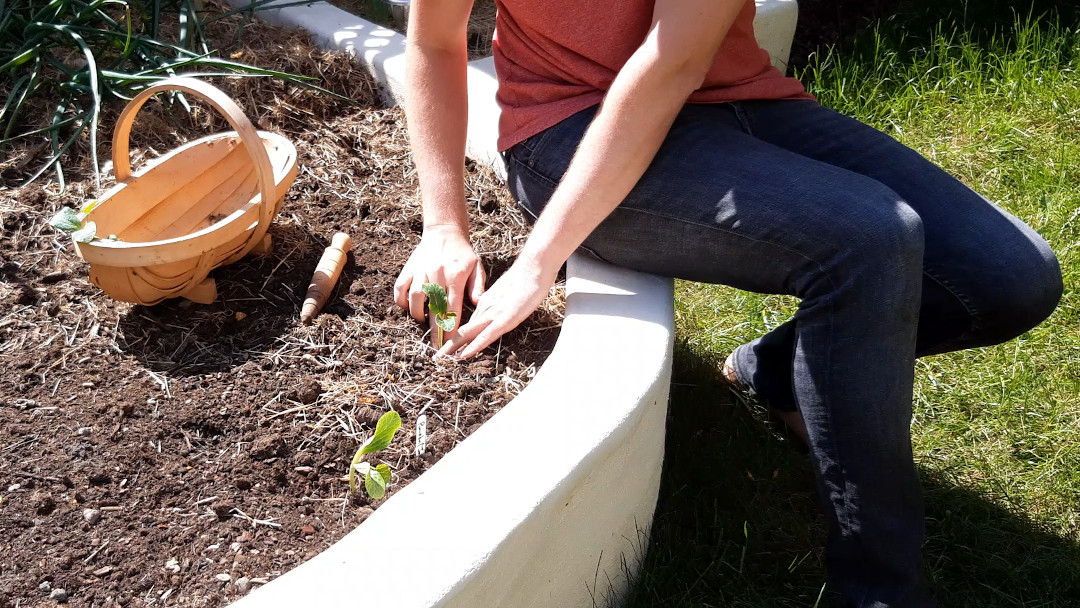
Place each pod into the bottom of each hole and gently bring the soil up to surround and support the stem.
Water
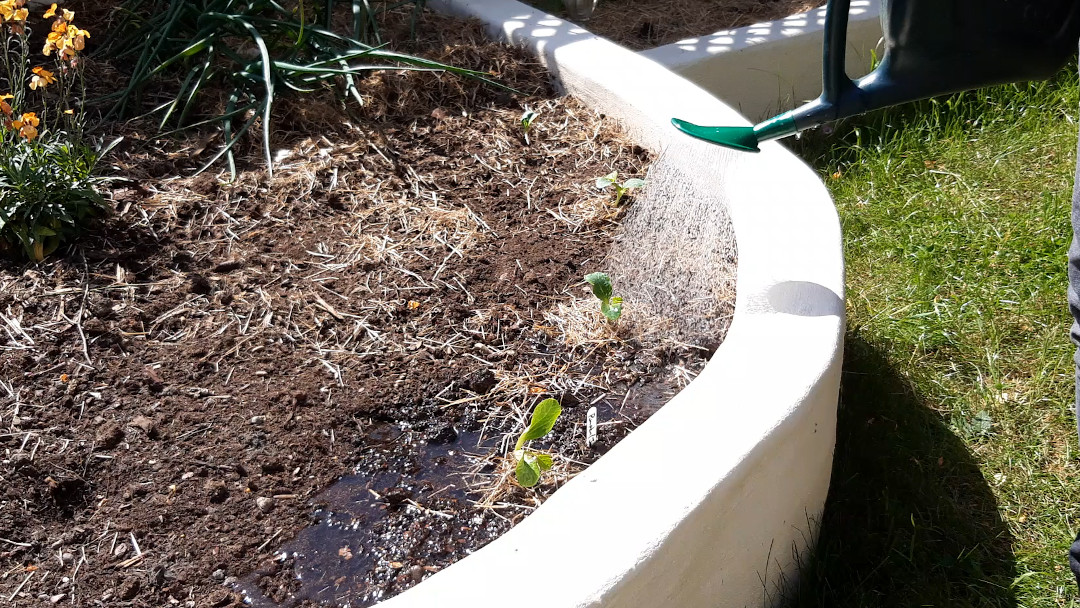
Lastly, give them a really good water. Transplanted seedlings can get shocked by being moved and having their roots disturbed. We limit this by using a similar soil in both the tray and the pot and by watering the roots in well after moving them.
Week 5: We lost one
The slugs raided one night and we lost one of our pumpkins. Which is why we plant more than we need.
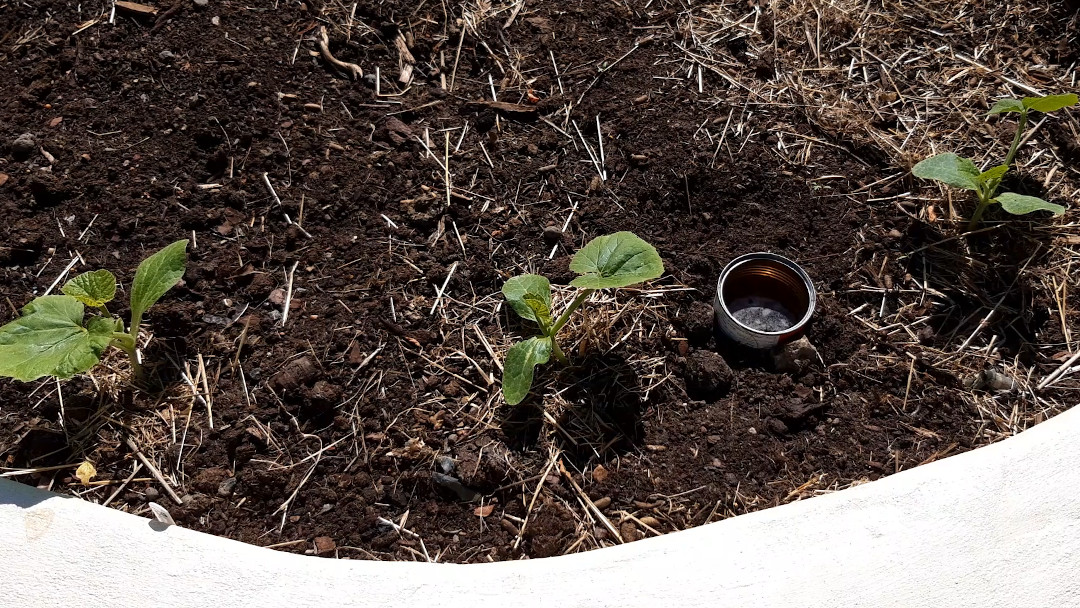
I then put out a slug trap in this area to protect the remaining three, which seems to have done the trick.
The remaining three are looking pretty healthy. This area of the garden doesn’t require as much watering but, with all transplants, you need to be careful that they don’t dry out.
For more information on slug traps, see our post on pests here.
Week 6 → 8: More leaves
The pumpkins are looking very strong and healthy. Keep them well watered at this crucial growing time and pinch out any weeds in the area.
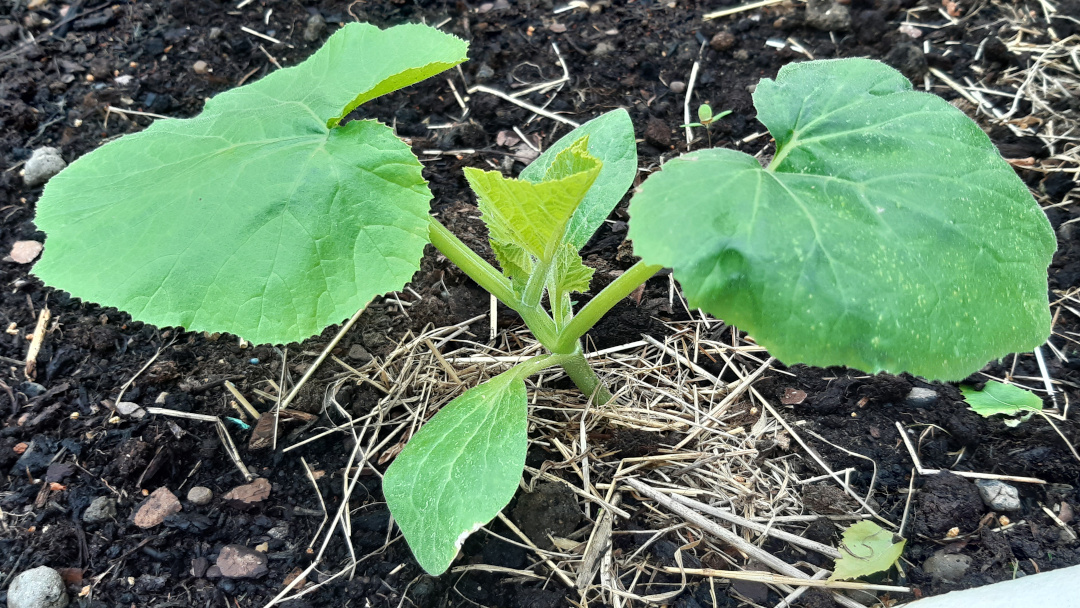
Keep the beer traps topped up and do nightly raids on the slugs & snails if you have any large downpours. We will win this fight.
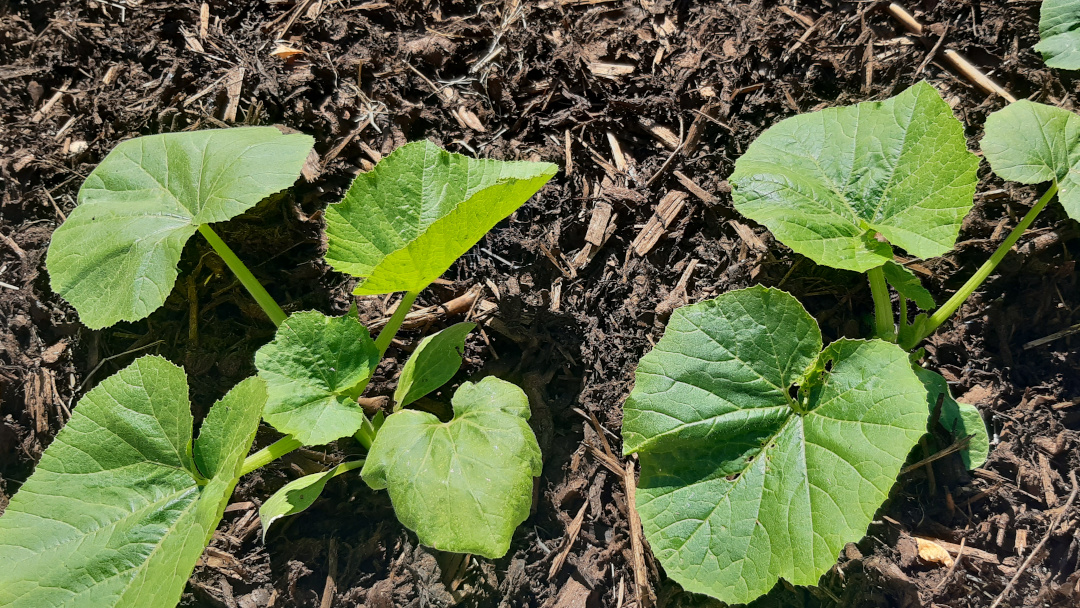
At the start of week 7, I mulched the area with some wood chips in an attempt to keep the birds from digging up the soil. The plants haven’t been affected though.
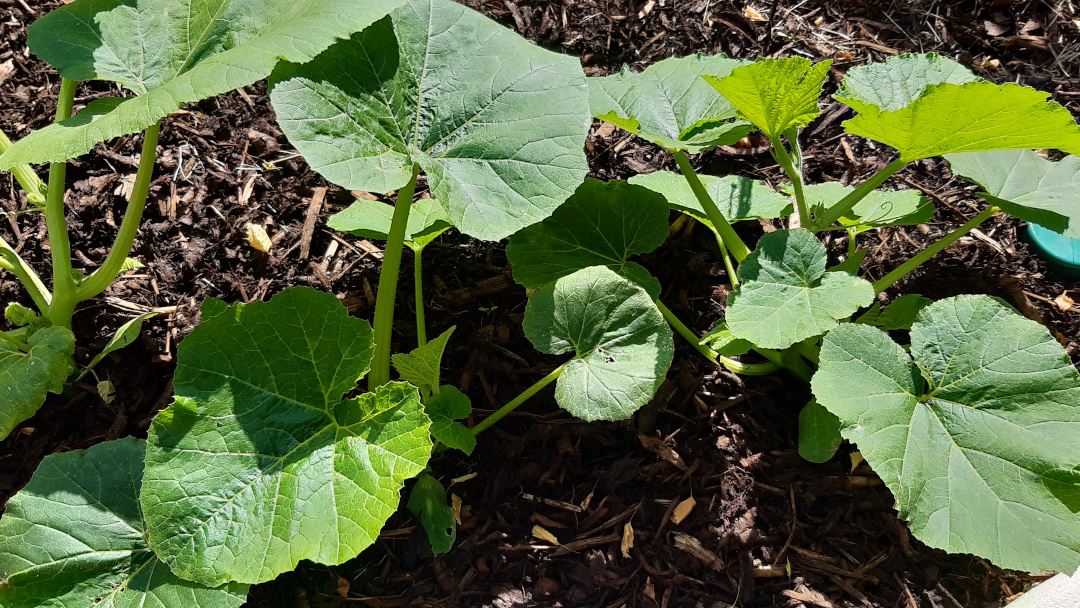
By week 8, the pumpkin plants are developing big thick leaves growing very quickly. We will need to start encouraging them to spill over the edge of the raised bed rather than towards the flower area.
Week 9 → 10: Trailing off into the distance
These pumpkin plants are nearly 3 months old now and they are starting to trail.
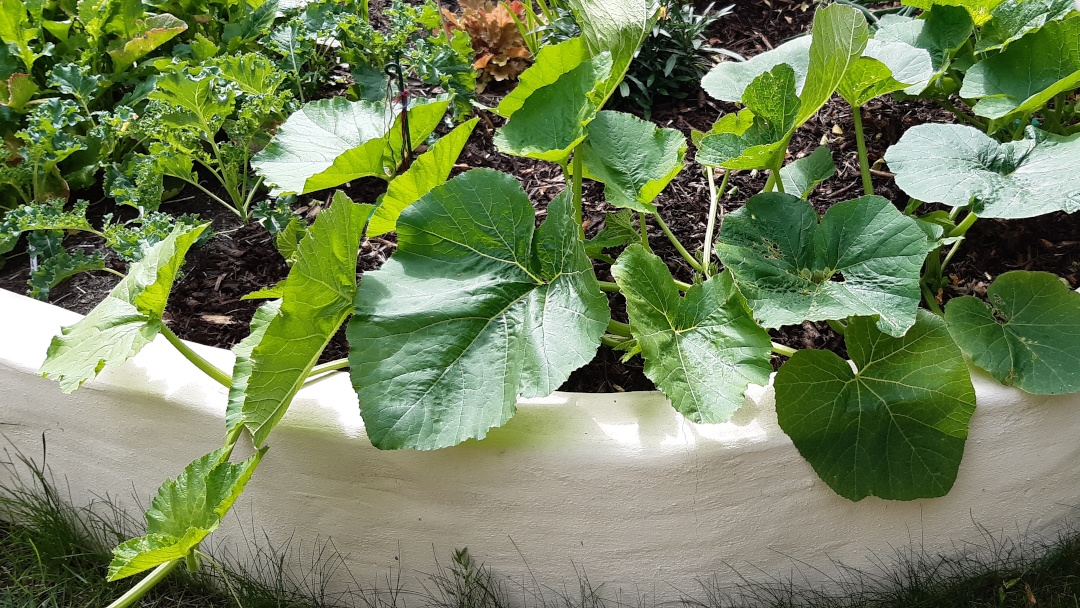
I’m going to encourage these to trail over the side of my raised bed and onto the grass. This is so they don’t take up too much space in the bed and smother everything else growing there.
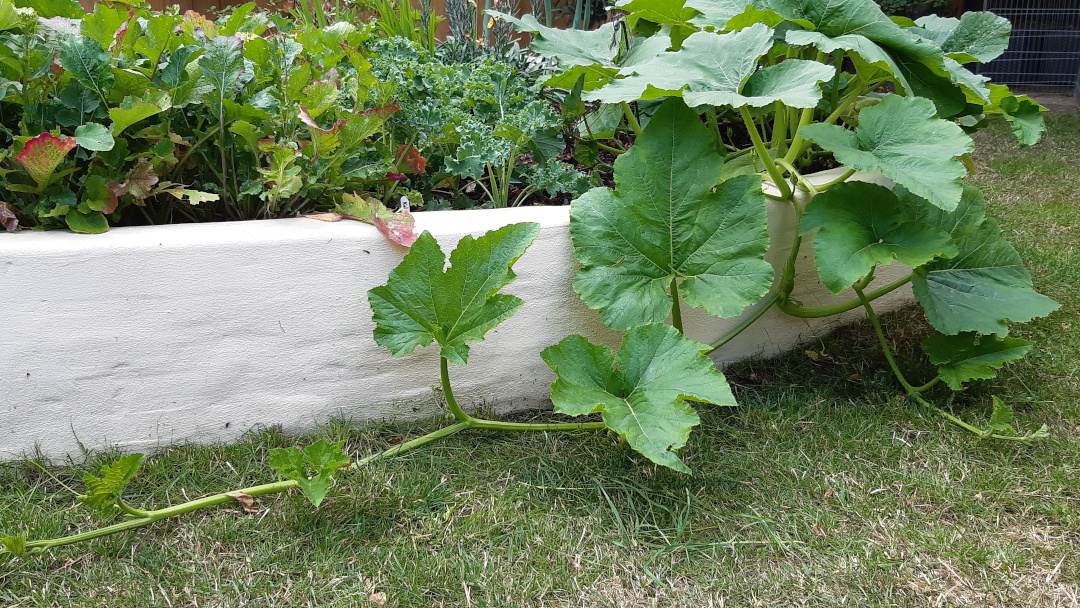
Keep them well watered and when you start to see fruits, give them some liquid feed once a week. I use a general tomato feed.
Week 11: We have fruit!
The trailing of the plant is getting ridiculous, but keeping it looking neat is becoming a daily pleasure.
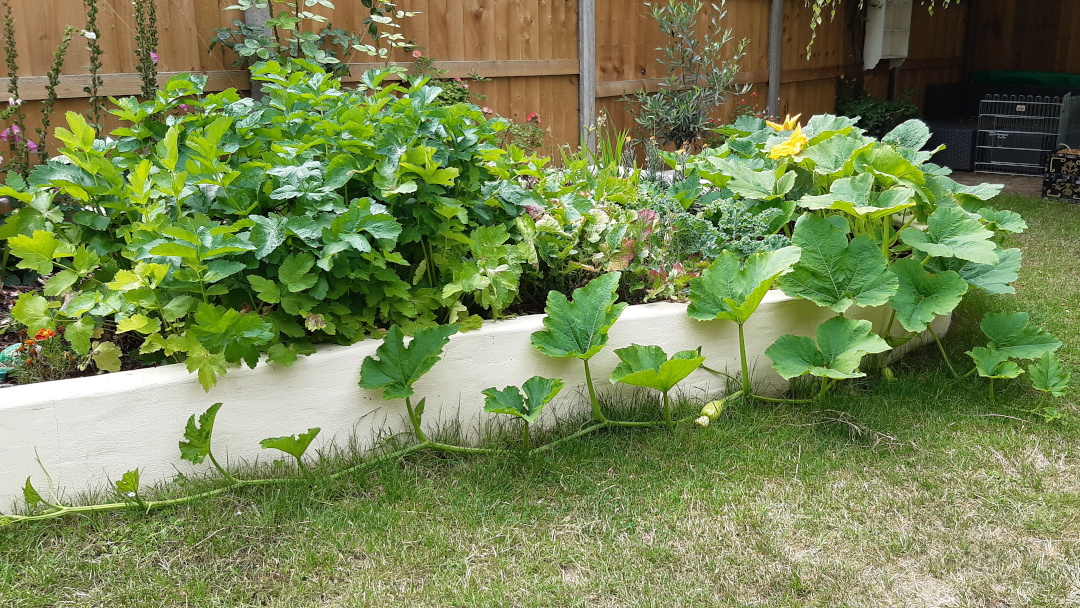
Though all the plants energy isn’t ONLY going into the trailing leaves, we also have some fruits developing.
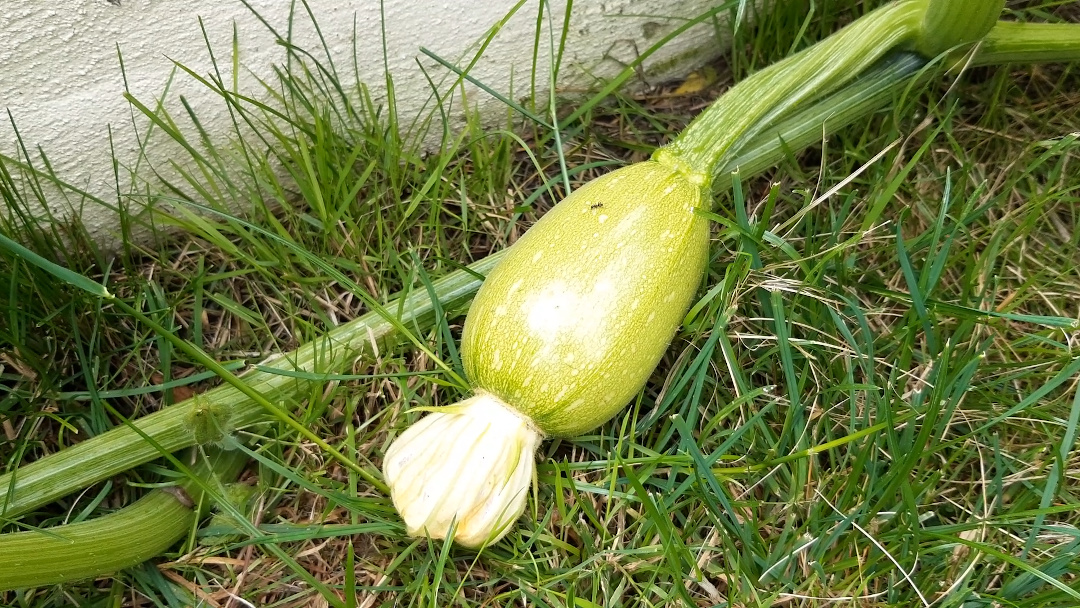
With pumpkins, you want to limit the amount of fruit each plant has to 2-3. This will mean you have fewer fruits but they will be much larger (and lets be honest, we want massive pumpkins right?). It’s a little early to do that, as each plant only has one fruit, but that will probably be a task for next week.
Week 12: Cut trails to focus energy on fruiting
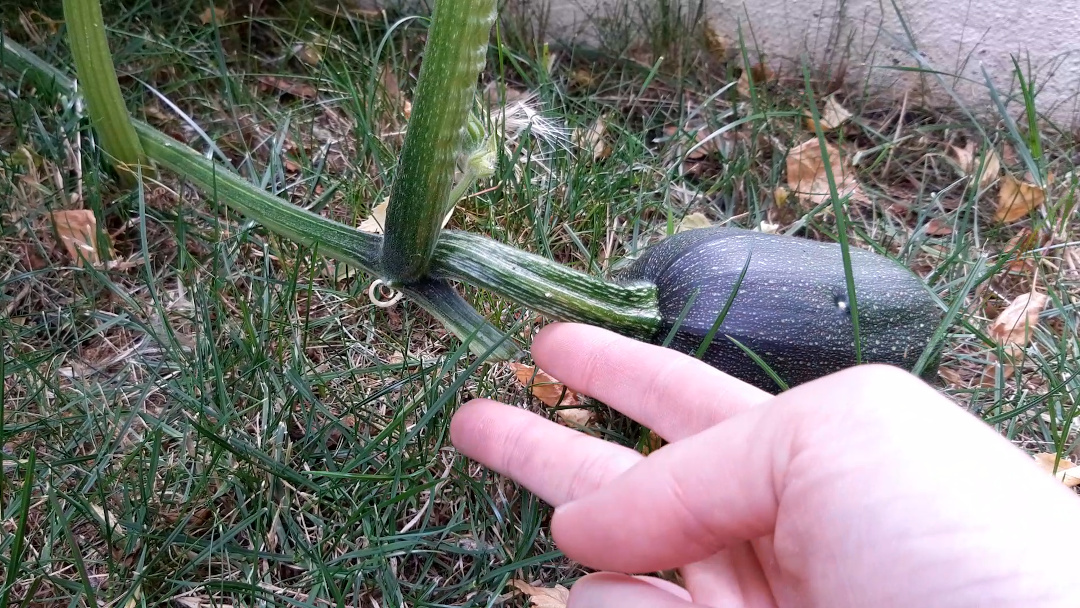
Now that each plant has 1-3 pumpkins growing, it’s time to restrict the growth of the trails.
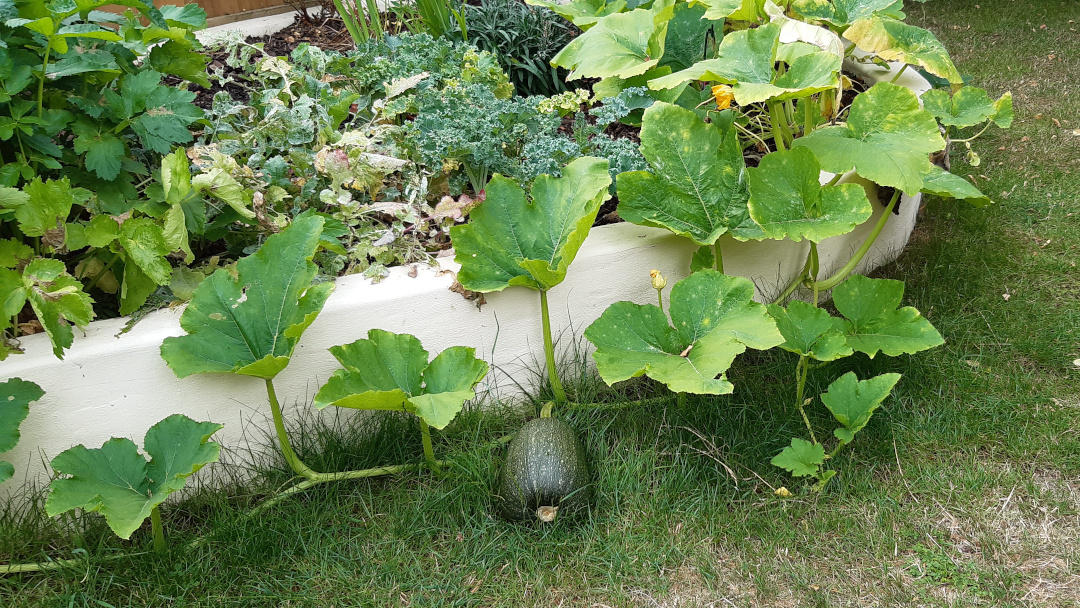
The plants will continue to grow if left alone but this will result in many smaller fruits rather than what we want which is a few larger fruits.
To do this, cut the trails after a leaf, after the last fruit you wish to keep.
For example, on this plant we already have 2 fruits growing, so I have cut the trail after a fruit and leaf:
Week 13 → 16: Fruit growing
While the pumpkins grow, they need to be turned every few days to stop them deforming in shape.
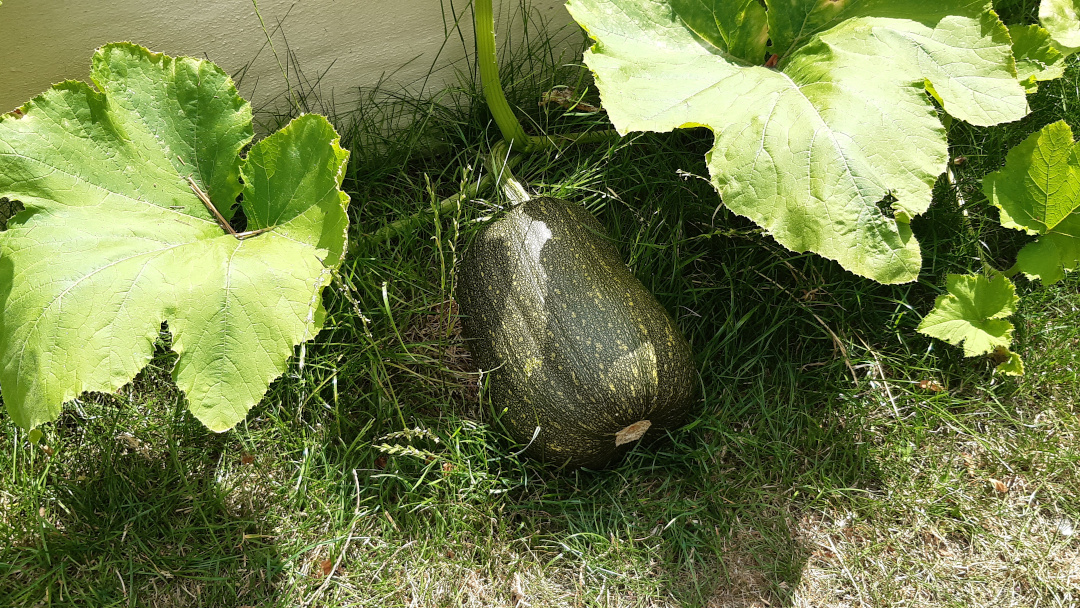
While being careful not to break the connection with the plant, turn each pumpkin 90 degrees every few days. This will keep them growing round and stop the weight of the fruit from squashing itself.
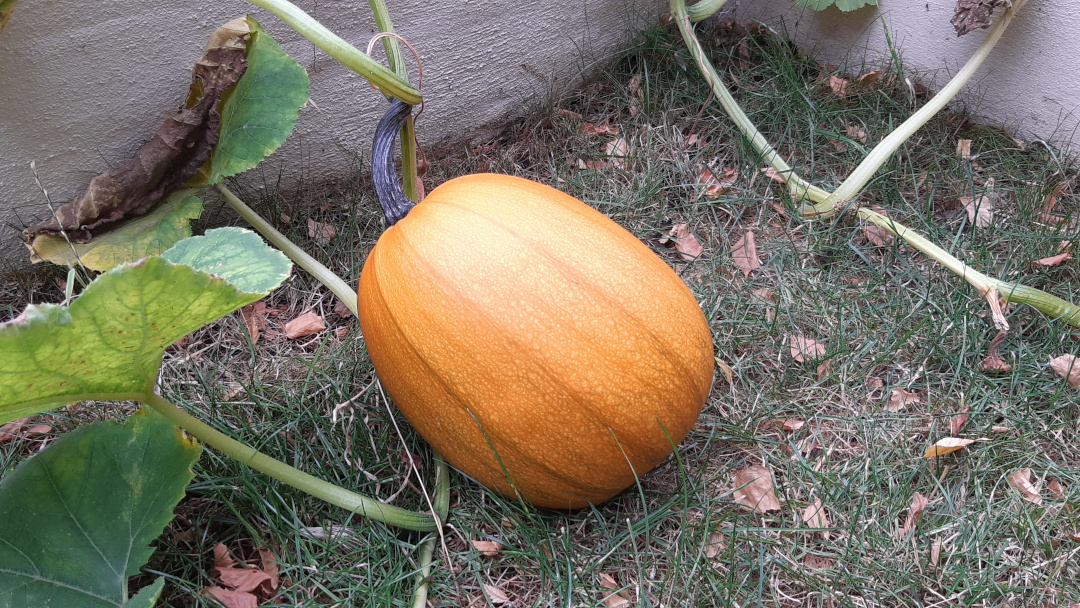
By week 14, the sun is getting through to the fruits and starting to give them their distinctive orangy colour and by week 15, they are looking amazing.
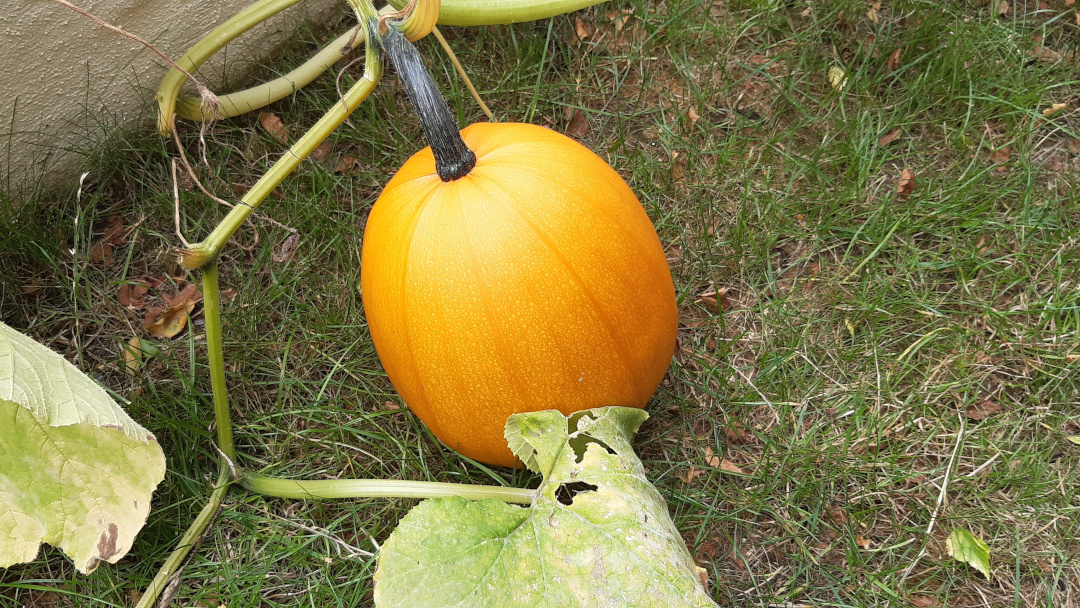
Checking at the start of week 16, we can see that the foliage of the pumpkin plants is starting to die back with the energy being pumped into the fruits. It won’t be long now before we can remove this from the plant.
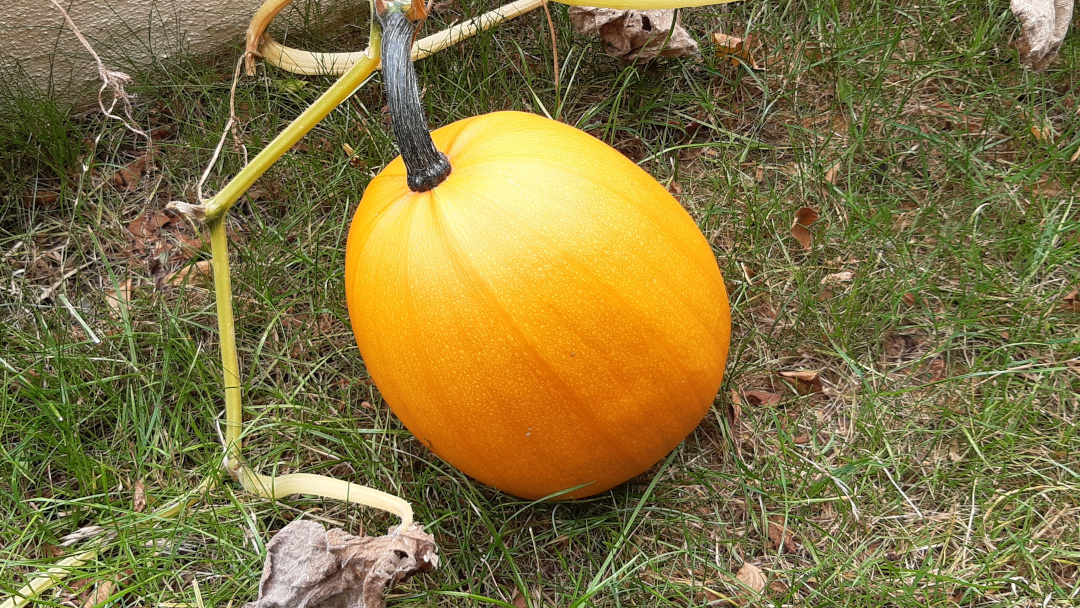
Week 17: Plant dying back
Thank you noble plant for producing the epitome of the perfect pumpkin. Doffs cap.
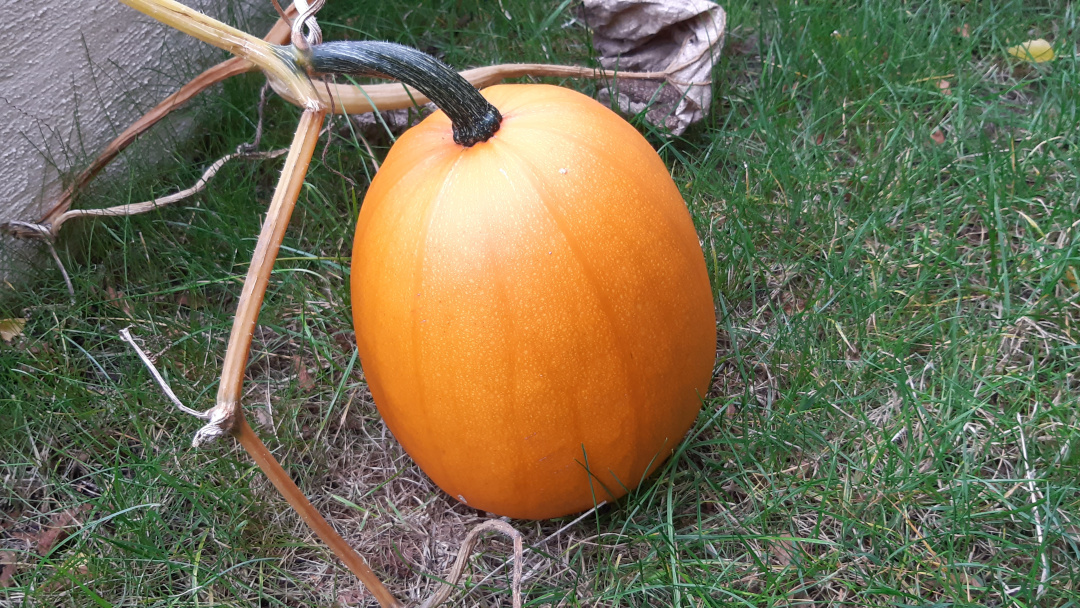
The greenery is dying back while it pumps all of it’s remaining energy into the fruits. I will be harvesting these next week and giving the skin (rind) a little more time to firm up. The more time it has to harden, the better it’ll store.
Harvesting
The pumpkins are ready when the fruits are swollen, a nice deep orange and firm to touch. Give it a tap with your finger and it should sound slightly hollow. Another good sign is when the plant is dying around it.
To harvest, cut the pumpkin off the vine leaving as much possible on the pumpkin, like so:
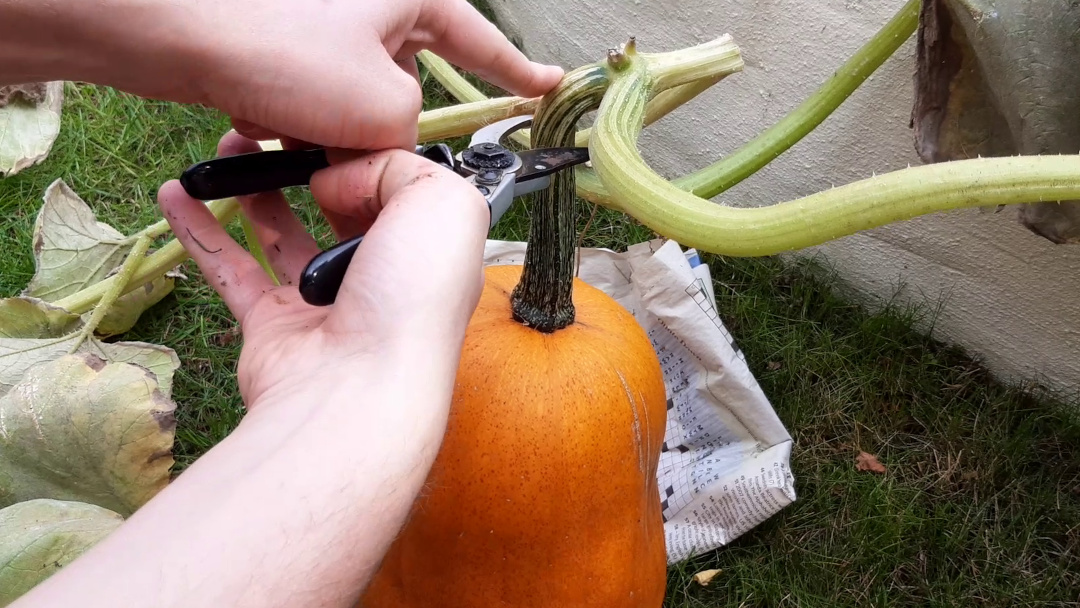
This can be left outside, on some newspaper or straw to ripen a little more if necessary, but take care to only do so during periods of sunny weather.
And that is that. I have three this year: One is going to my dad to make our traditional Christmas pumpkin pie, one will go into some soups and the other will go to my American friend who wants to carve it into something spooky.
Do you think you would grow pumpkins again? They take up a lot of space but they are a joy to grow. Please add your experience and tips below so we can all learn and grow together.
Article written on May 11, 2020
Updated Sep 15, 2020
