Shallots
Much easier to grow and store than onions
I love growing shallots as they are so much easier to look after than onions. Onion sets, though giving you a head start, can be expensive and you only get one onion back.
In comparison, you can pick up shallots cheaply from the supermarket and, once grown, will give you 10-12 bulbs each which can then go back into the ground again. Making the next batch free!
They take up little space and are sturdy. They are also pretty hardy.
This is a week by week diary of the growing, maintenance and harvesting shallots.
Quick tips
- Plant direct
- Harvest when stalks turn orange/yellow
- Save one clump to re-sow right away
- Can be planted from November → March
- Can be interplanted with other crops
- Remove flower spikes as soon as seen
Dates
To grow broad bean for harvest in the spring, use the following dates:
| Jan | Feb | Mar | Apr | May | Jun | Jul | Aug | Sep | Oct | Nov | Dec | |
|---|---|---|---|---|---|---|---|---|---|---|---|---|
| Plant | I | I | I | I | I | |||||||
| Harvest | H | H |
Types of
I would recommend growing from shallots that you like the taste of and I wouldn’t recommend trying to grow from seed, there really is no benefit to the extra work and cost (seeds, potting compost etc)
Growing diary
I started this diary, and sowed these seeds, at the start of December.
Week 1: Planting
Planting out shallots are super simple.
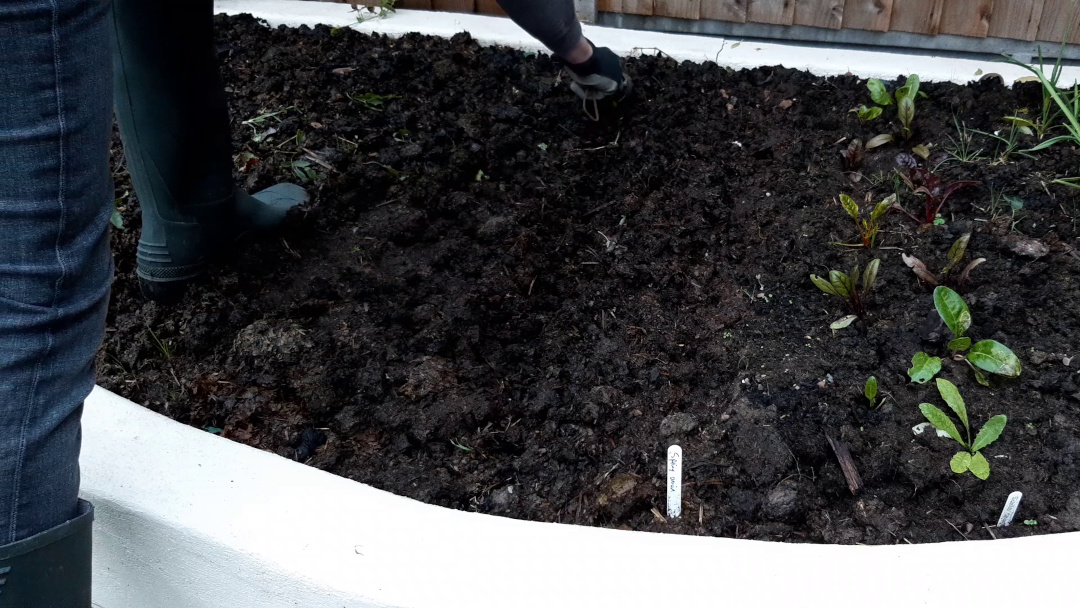
First, make a trench in your growing area which is the same depth as the shallots you are planting.

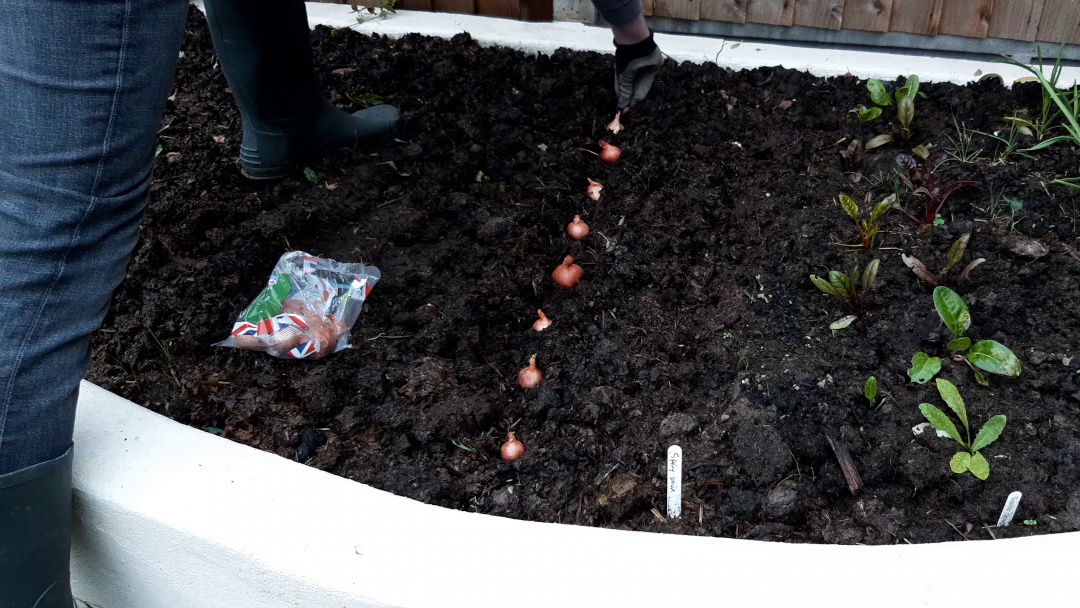
Next, place the shallots in a line, in the trench. The pointy end faces upwards. Space them about a hands with apart.

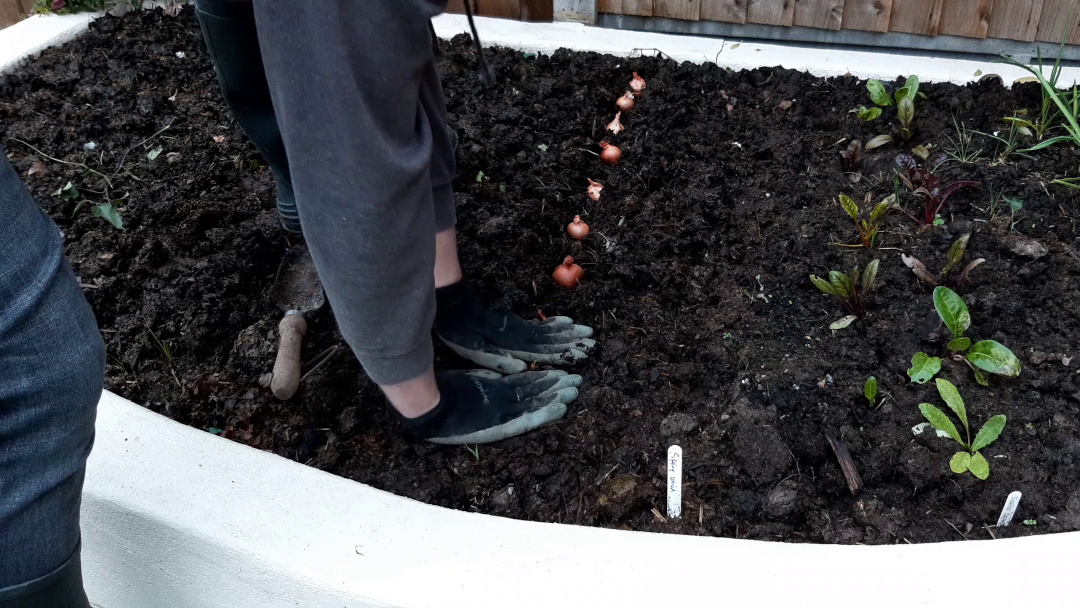
Lastly, bring the soil back round the bulbs so that the top is just pointing out the soil. Firm the soil around the bulbs a little.

That it! Now we wait.
I’ll update this page with the broad_bean’s progress. If you have any questions or tips, please put them in the comments so we can all benefit from your experience.
Article written on Dec 08, 2020
Updated Jan 27, 2021