Swiss chard
Grows well all year round, tasty and colourful
Swiss chard is my favourite vegetable to grow in the garden. I wouldn’t have believed you, when I was younger, if you had told me that one day… I would be upset when I didn’t have a side of chopped up Swiss chard with my dinner.
This is a week by week diary of the growing, maintenance and harvesting of Swiss chard.
Quick tips
- Sow 3-4 seeds into each module of a seedling tray
- or direct in the ground in drills (rows) 20 - 30cm apart
- Overwinters very well
- Seeds can be sown from March → September directly outdoors
- Prefers full sun or part shade
- Harvesting the lower leaves encourages new growth and keeps the plant looking neat.
- Mulch well if overwintering
- If overwintering, it bolts to flower around early spring, when it starts tasting bitter
- Biennial so will flower in its second year
Dates
To grow Swiss chard for harvesting in the second half of the year,use the following dates:
| Jan | Feb | Mar | Apr | May | Jun | Jul | Aug | Sep | Oct | Nov | Dec | |
|---|---|---|---|---|---|---|---|---|---|---|---|---|
| Sow indoors & outdoors | O | O | O | O | O | O | O | |||||
| Harvest | H | H | H | H | H | H | H | H |
Pests
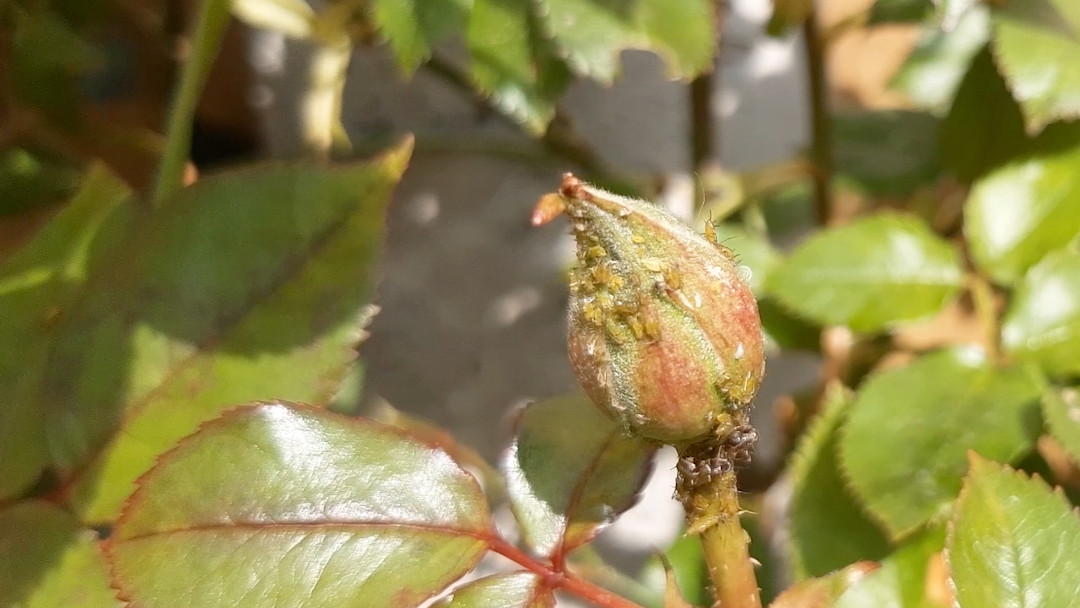
Swiss chard are susceptible to the following pests:
Types of Swiss chard
I often grow the “Bright lights” Swiss chard and will so again this year. The seeds can also be found here from Thompson & Morgan or here from Mr.Fothergills.
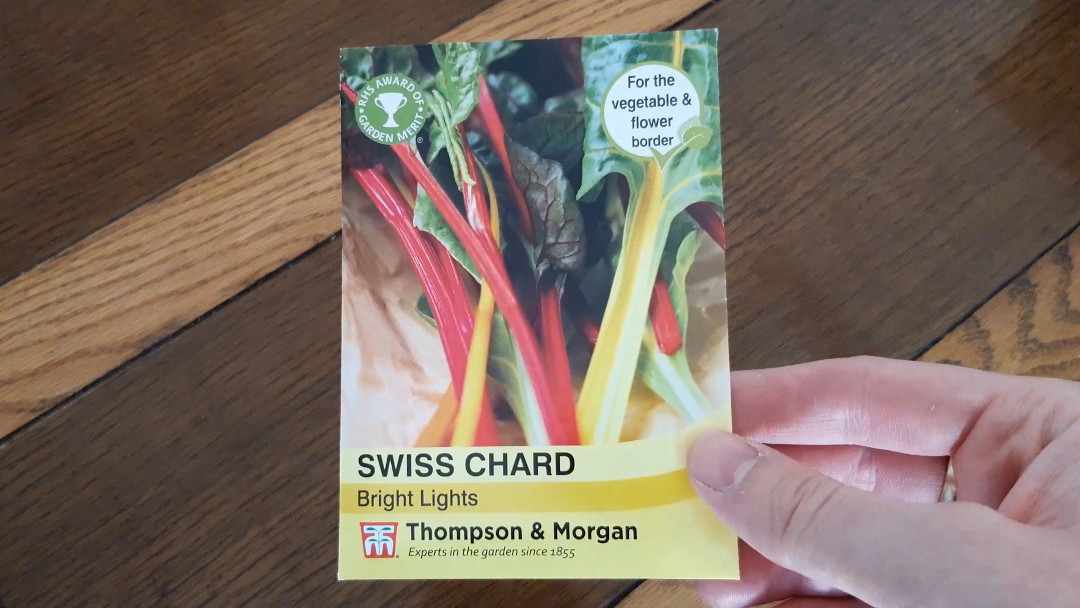
I started this diary, and sowed these seeds, on the last week of May (22nd week of the year).
Watch it
I have compiled the growing diary for Swiss Chard into a short video for you:
Growing diary
Week 1: Sowing
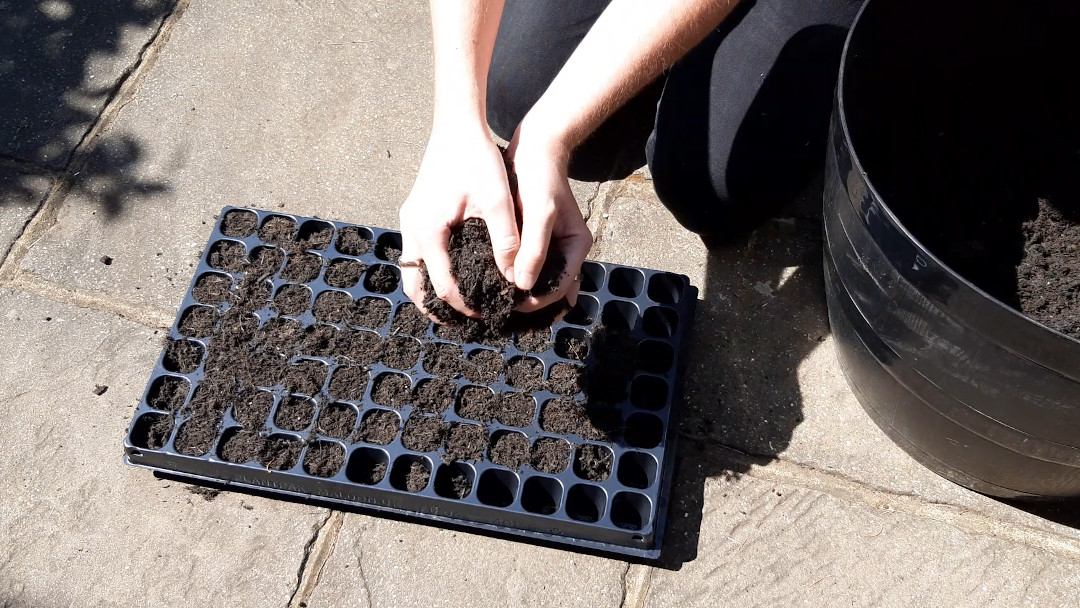
Sowing Swiss chard seeds is similar to many other leafy greens, like kale or lettuce. First start by filling your chosen seed tray (I’m using the 84 cell tray as I’ll be sowing other veg at the same time) with a soil and compost mix. You can find my recommended sowing soil here.
You don’t need to press the soil too firmly into each cell, the seedlings will have an easier time pushing down their roots if it’s a little fluffy. Make sure each module is full though and there aren’t any large air pockets.
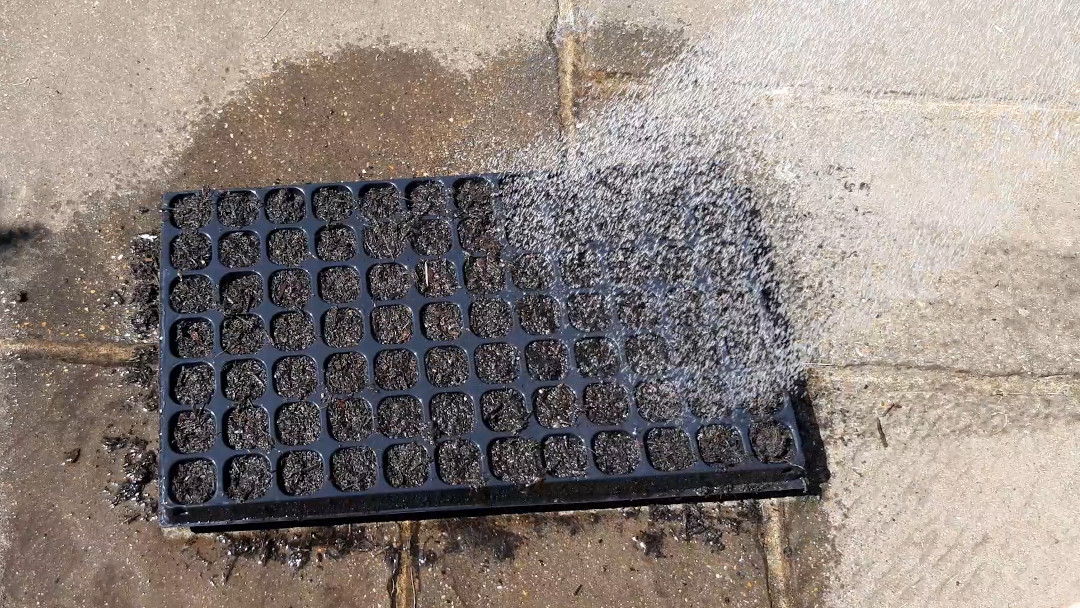
Next, water thoroughly or sit the tray in water to allow the compost to soak up as much water as possible. This will ensure the seedlings have a good starting drink to get them going and will mean the compost wont dry out too quickly.
We will be thinning out the Swiss chard as the seedlings develop, but to give us the best chance or germination, sow 3→4 seeds per cell.
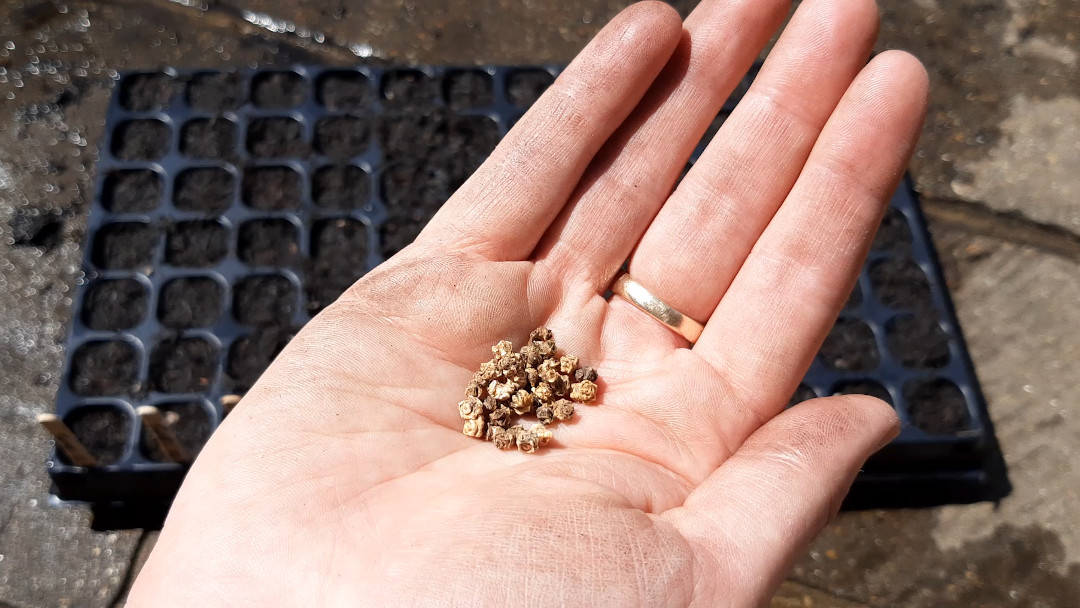
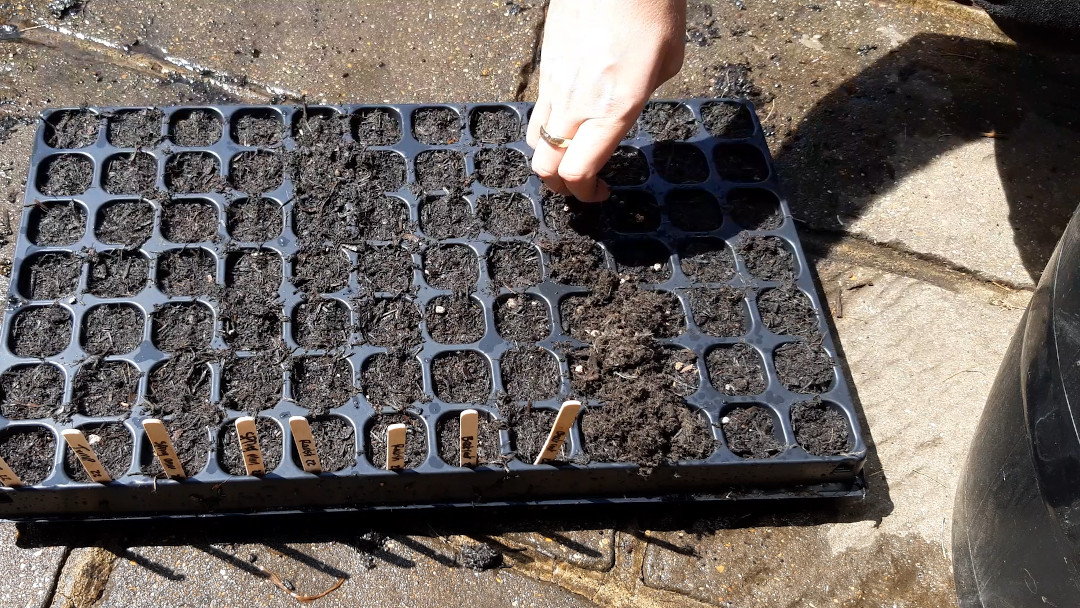
Sprinkle a little compost over the seeds, patting down gently and making sure the seeds are covered.
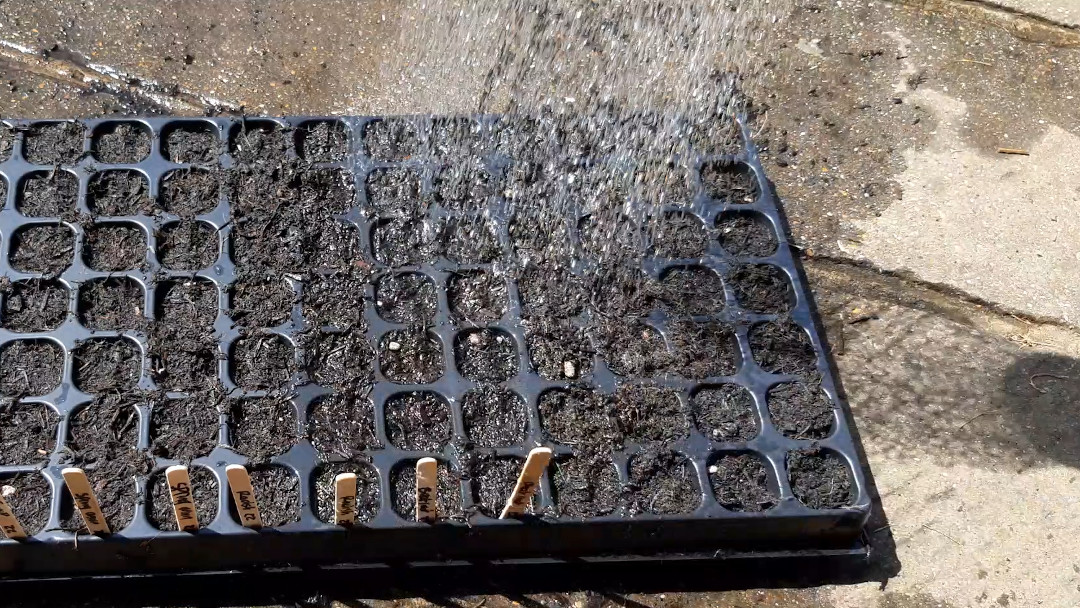
Lastly, give them a splash of water.
Put your label in place so you remember what you have planted.
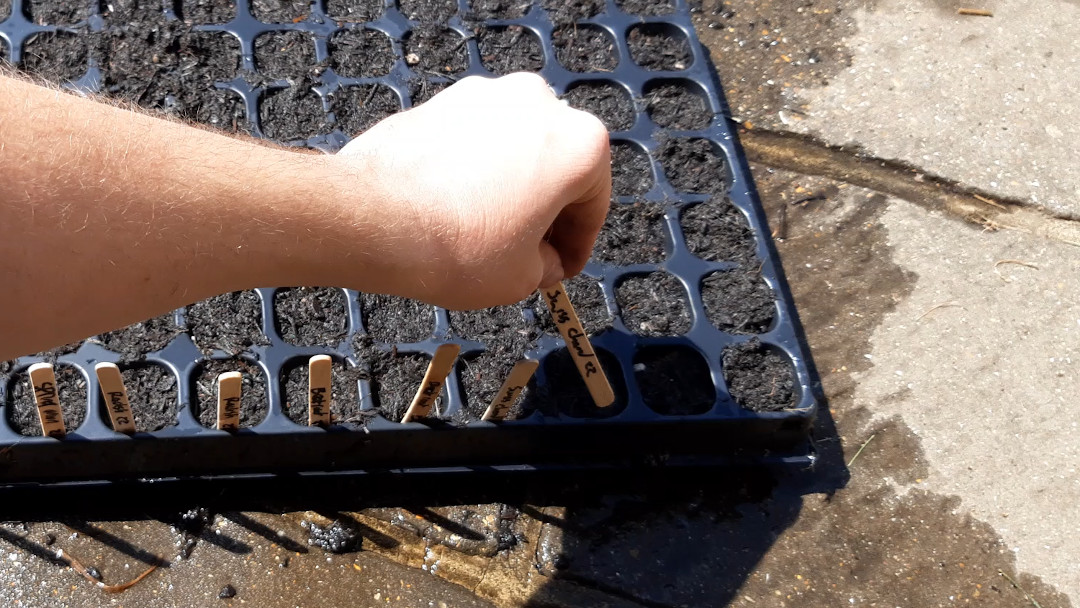
Tip: Instead of writing a label for each column of your seed tray, write two and put them in the outermost columns that you used. If you always do this, you know that everything between the labels is the same.
If you’re getting your seedlings going indoors, put this on a sunny windowsill. If, like me, you’re growing in a grow tent (which I would recommend) then this tray can go near the bottom as the seedlings don’t need any light yet.
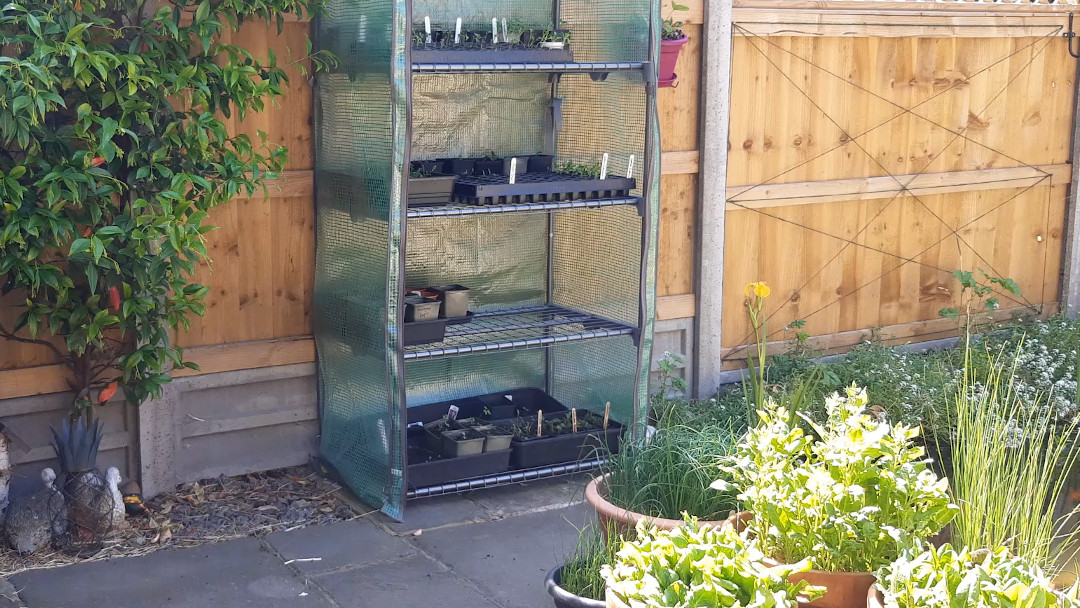
Week 2: The start of germination
Swiss chard takes between 7-10 days to germinate so it’s excellent that we already have some movement below the surface. It means that our growhouse is warm enough.
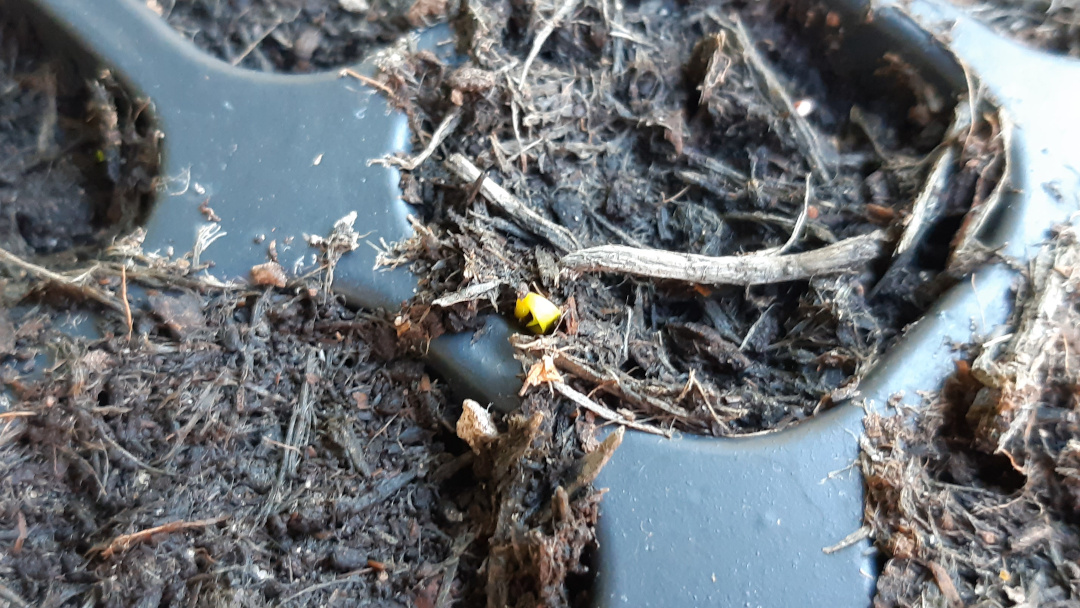
I expect more to pop up as the week progresses.
Week 3: Great germination
We have an excellent germination of these seeds and most cells have 2-3 strong seedlings.
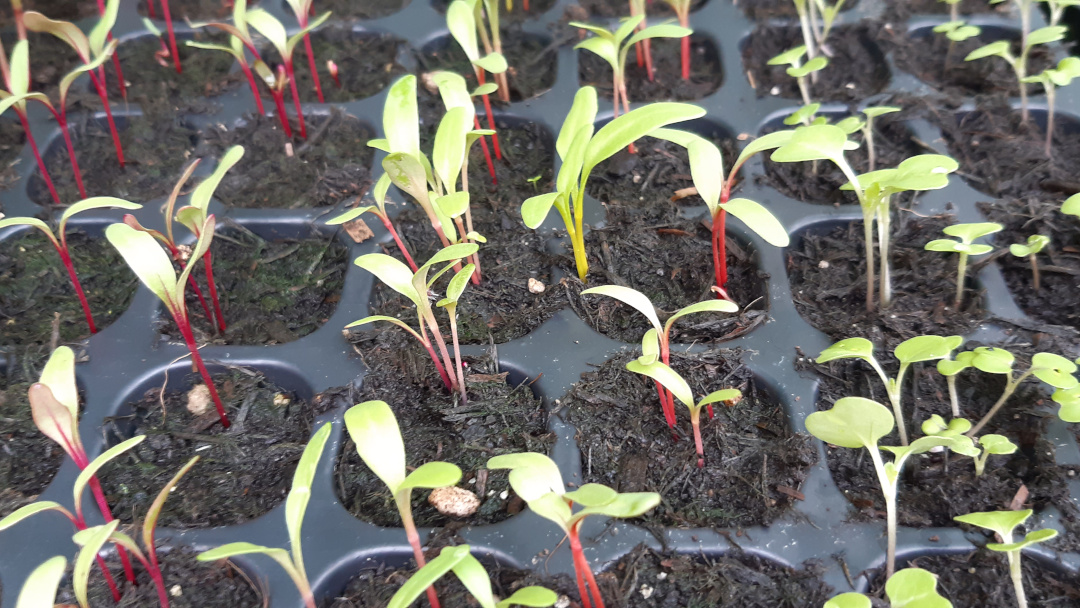
It's interesting that you can already see the different colours that the plant will become.
Move the seedlings to the top of the growhouse, if you haven’t already, and rotate the tray every few days to stop the seedlings leaning to one side.
Week 4: Thinning
The Swiss chard seedlings are growing well and it’s a good time to thin them out.
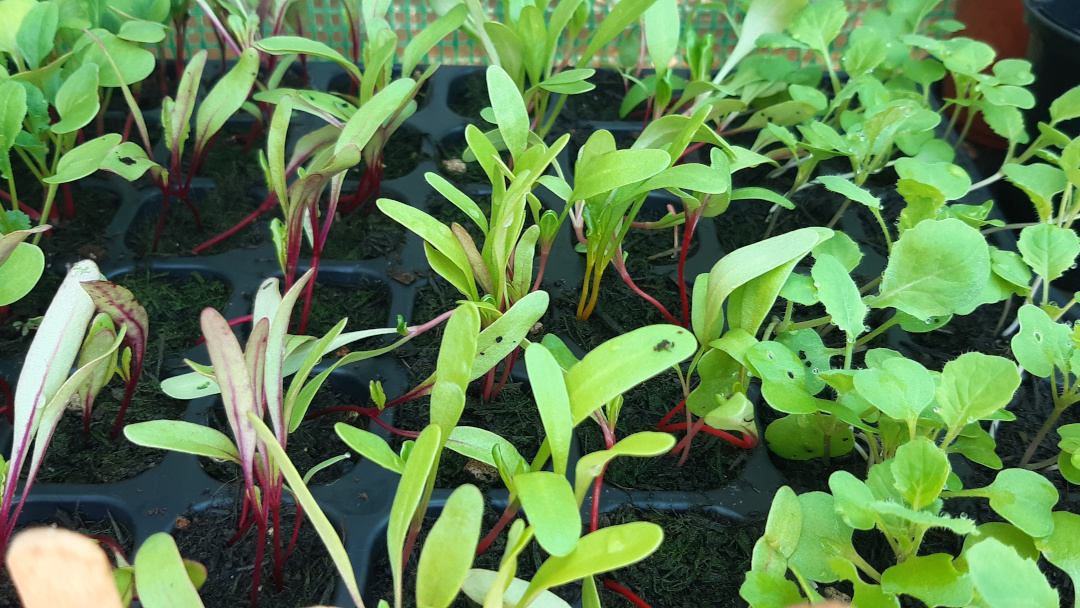
We thin the seedlings because we only need one healthy seedlings per cell and, all the while there are more, they are competing for light, water and nutrients.
For more information on thinning plants, see our post here.
Choose the strongest seedling
When choosing the strongest seedling, look for the following things:
- The number of leaves: The more the better
- The thickness of the stem: The thicker the better
- Is it bendy or straight? The straighter the better
Try to choose the seedling which has the most strong and thick leaves, which shows the least damage and is standing upright.
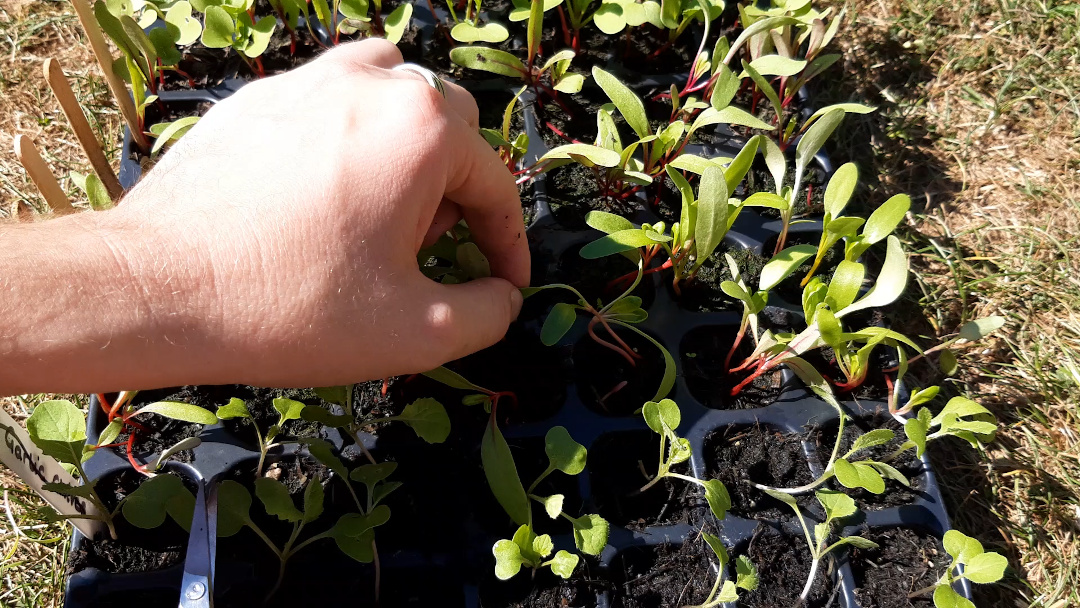
Cut the other at the soil level
With the other(s), cut them at the base of the main stem, as close to the soil level as possible.
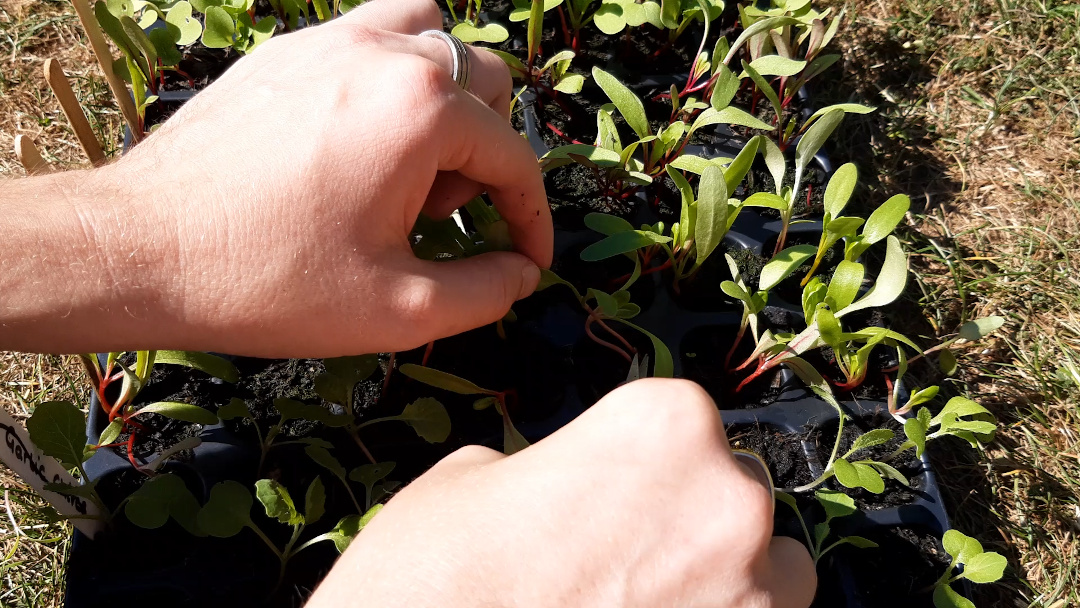
We will give these a couple more weeks in the growhouse so they can grow as large as possible. This will make transplanting more effective and less likely to shock the seedlings.
Week 5: Growing on
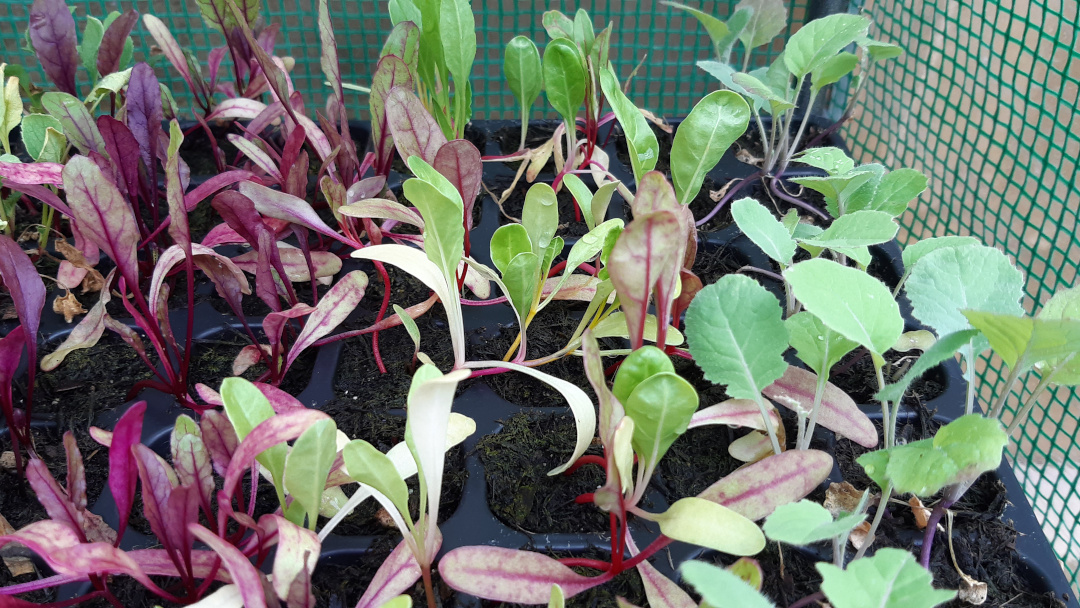
The seedlings have responded well to being thinned out and they are continuing to grow on well.
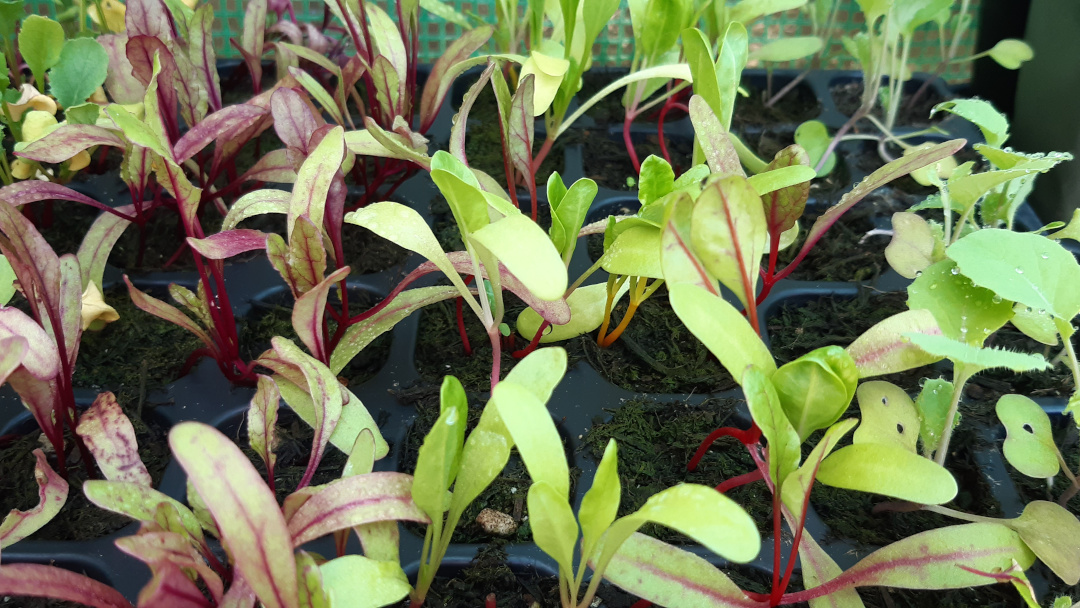
We now need to wait until they are large enough to be transplanted out.
Week 6: Move to a pot
These Swiss chard are large enough now to be moved into a pot.
Fill container with soil
I’m filling this pot with my 1:1 mix of topsoil and compost. For more information, please check my post on soil.
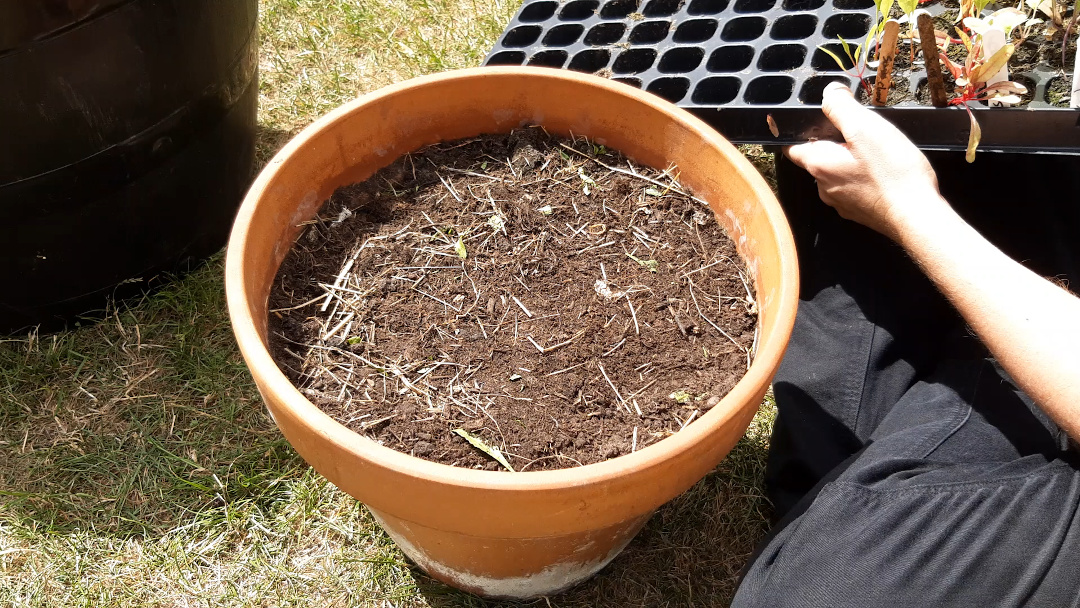
Ease pods from cell
Using the flat end of a pencil, poke the pod out from the cell using the hole in the bottom. If this is a little tricky, water the soil first so it holds together.
Make the holes
Using a dibber or tool handle, make a two inch deep hole for each seedling. The hole should match the width and height of the seedlings pod.
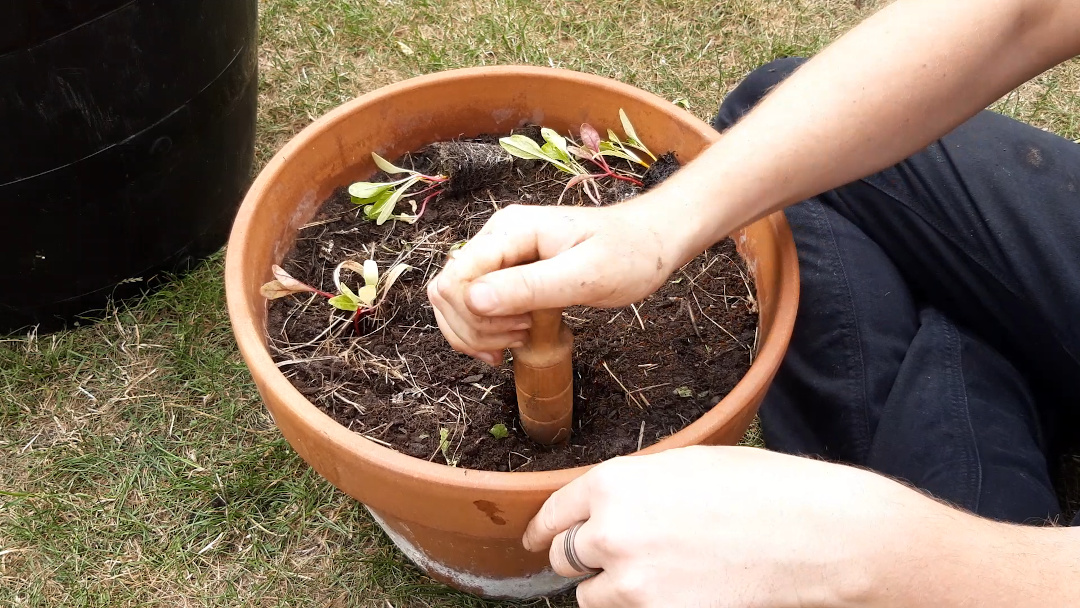
Transplant
Place each pod into each hole and press down so the top of the cell is flush with the top of the soil. Place your fingers either side of the stem and gently push down.
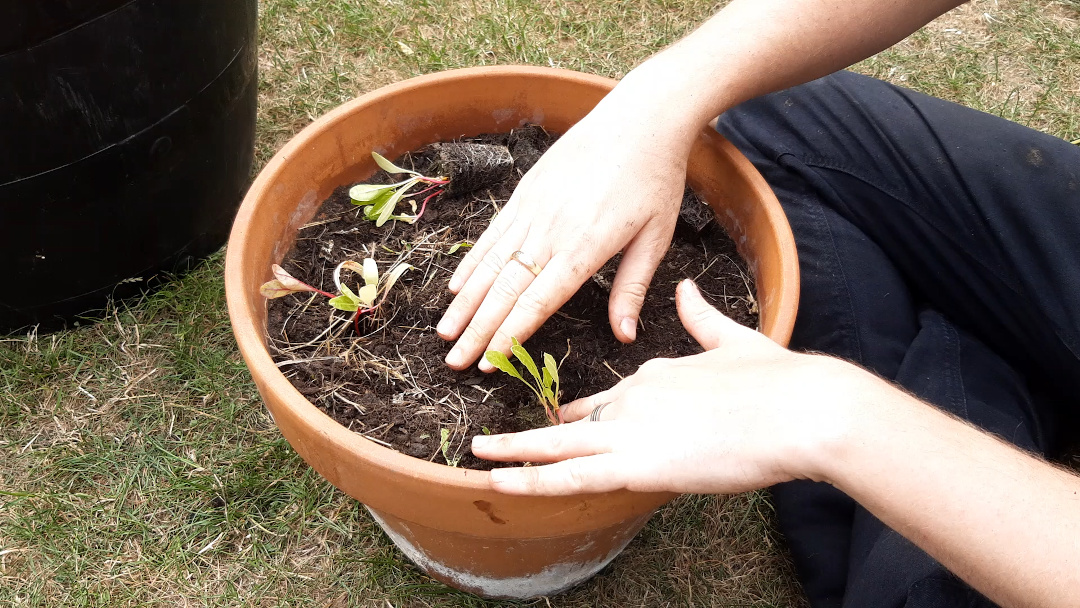
Mulch
I’m covering the surface of this pot with some hay which is the left over bedding from our guinea pig hutch.
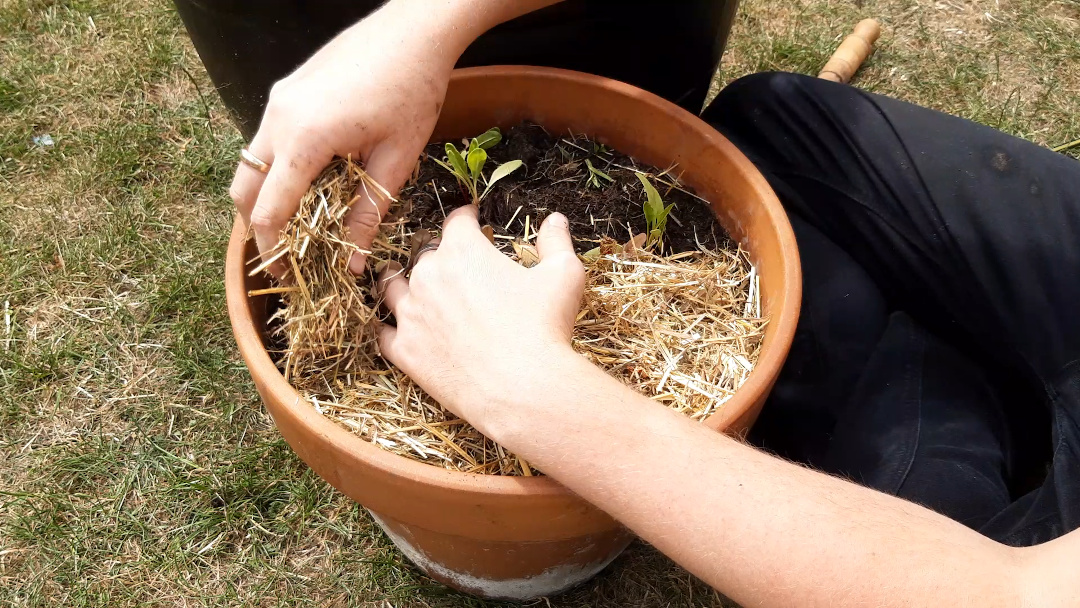
It keeps the surface protected from the sun and stops the compost drying out too quickly.
Water
Lastly, give them a really good water. Transplanted seedlings can get shocked by being moved and their roots disturbed. We limit this by using a similar soil in both the tray and the pot and by watering the roots in well after moving them.
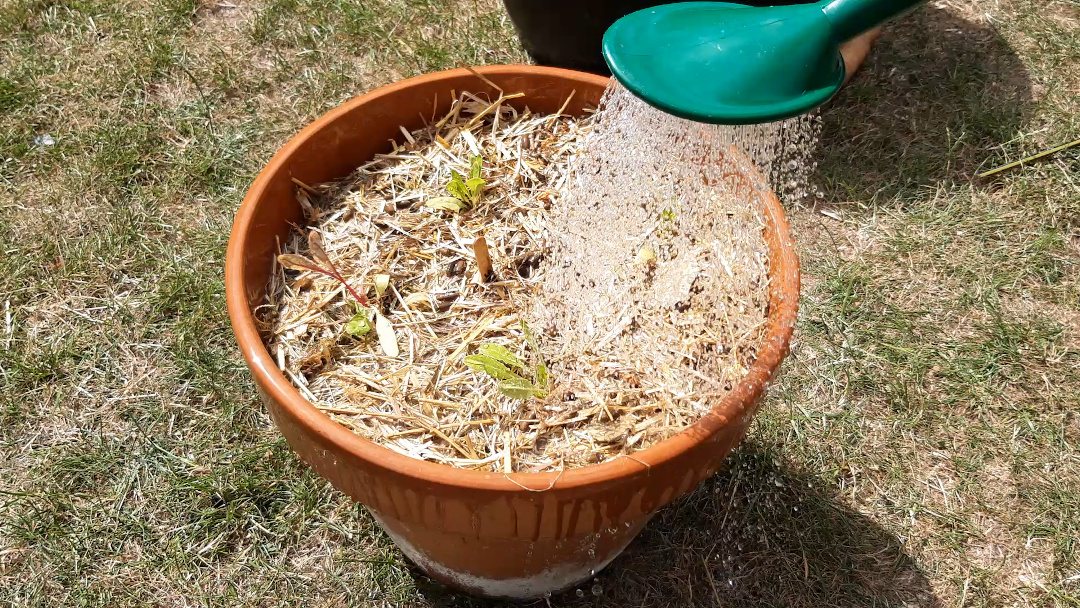
Week 7 → 13: Growing on nicely
The Swiss chard has transplanted well and has spent the week settling in.
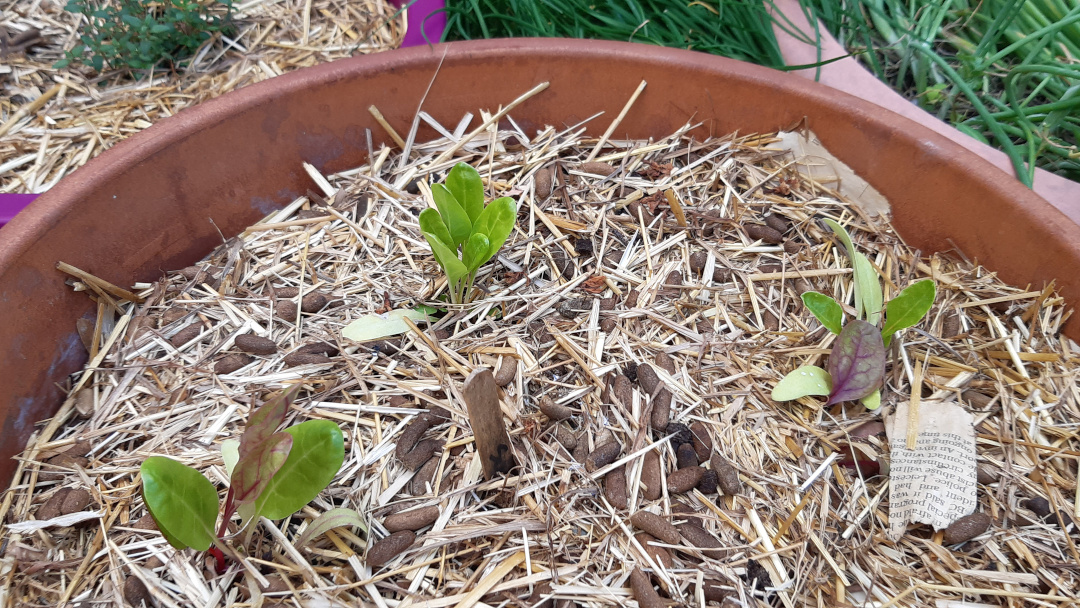
When transplanting, the shock of disturbing the roots causes the plant to focus less on foliage and fruit growth and more on a strong root structure.
Keep newly transplanted plants well watered.
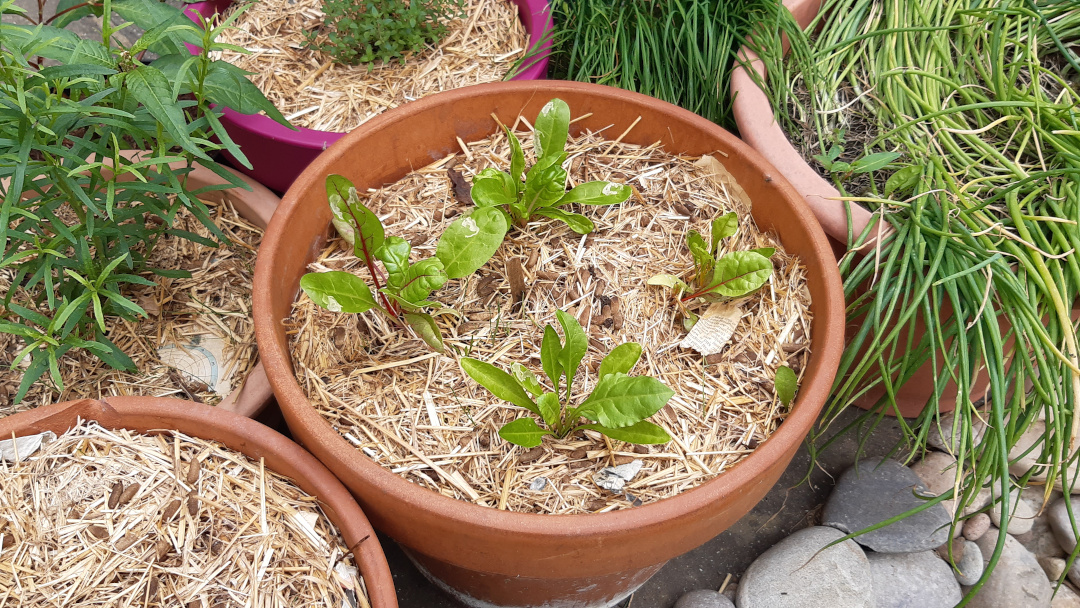
Checking at the start of week 9, we can see that the Swiss chard is starting to show it’s distinctive colours and shape.
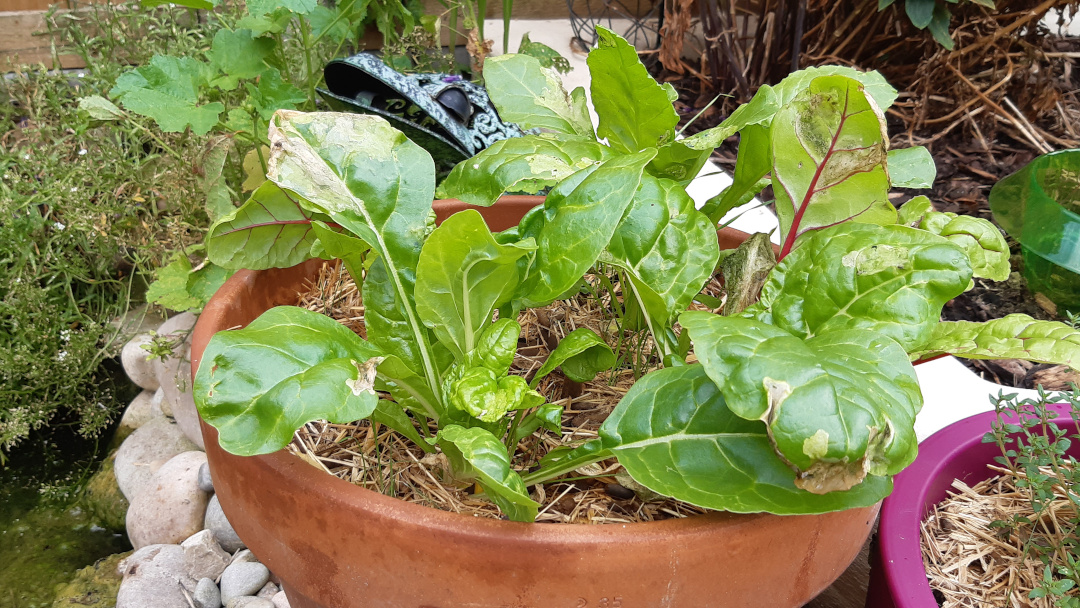
There will be no lack of tasty leaves when these plants have fully grown so feel free to remove any which are damaged or wilted.
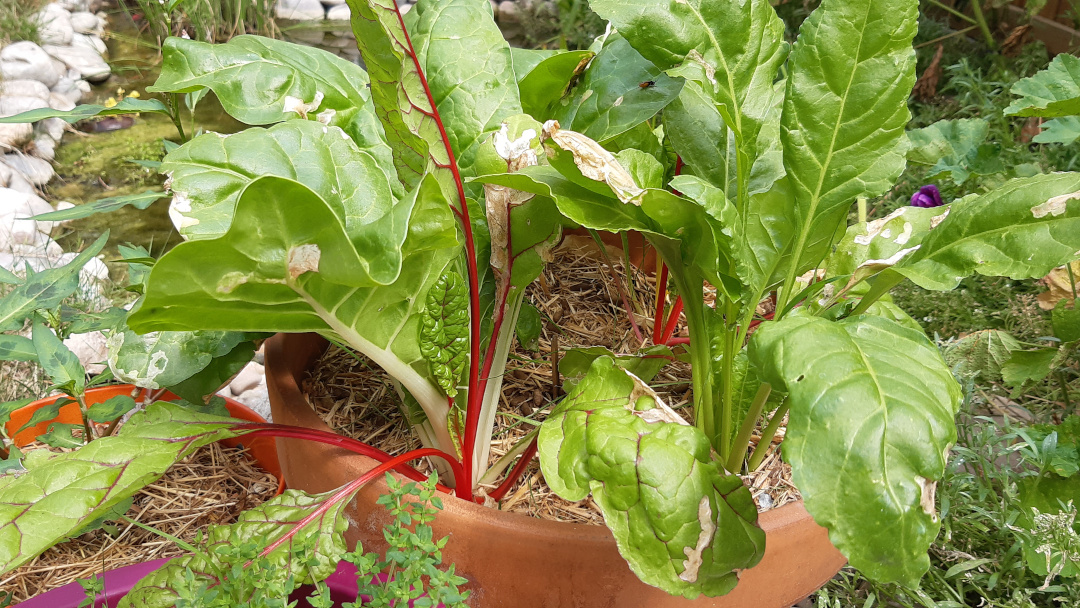
If you have any leaves which start to die or wilt, remove them by cutting them at the base and throw them in the compost bin. Plants will shed older leaves to grow new stronger ones and it won’t harm them.
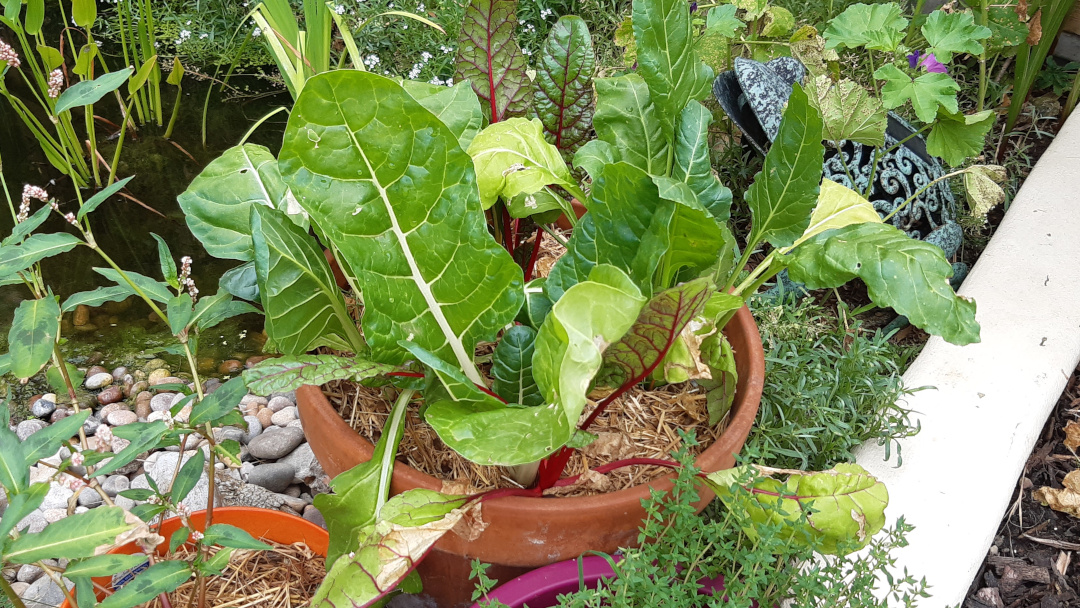
During periods of extreme heat, the leaves can wilt during the day but will bounce back in the evening when the plant can transport moisture quicker than it’s lost.
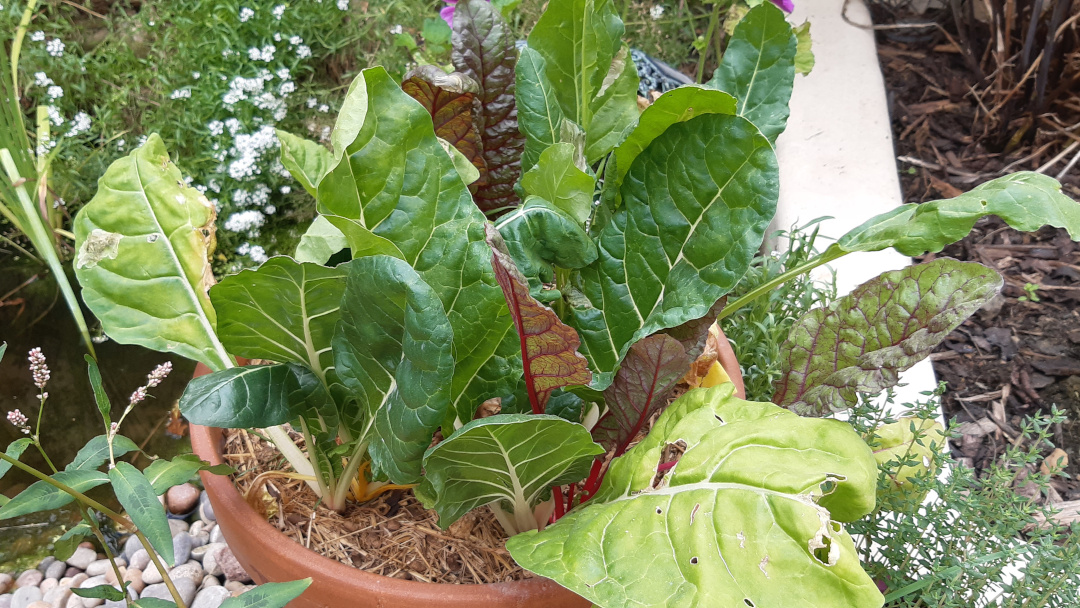
If there are any dead, wilted or rotting leaves, continue to cut them off to keep the plant healthy. It’ll grow back stronger and tastier leaves. At the start of week 13, I cleaned up the pot of Swiss chard:
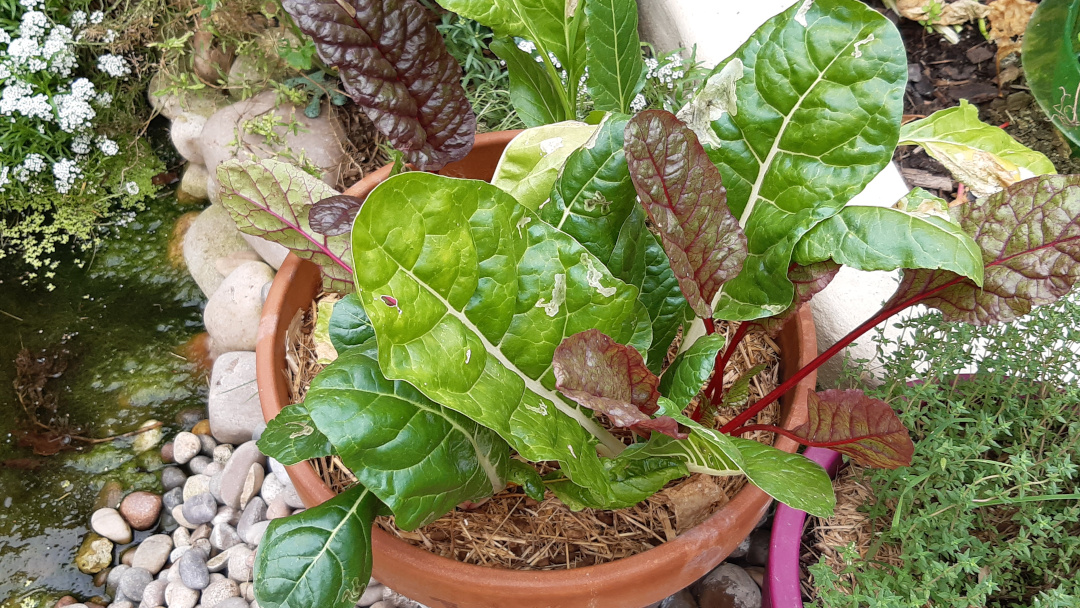
Week 14 → 15: Leaf miner!
Be on the lookout for blisters or trails on your leaves. This could be the leaf miner larva.
The larva of these flies burrow into the leaf eating and damaging it.
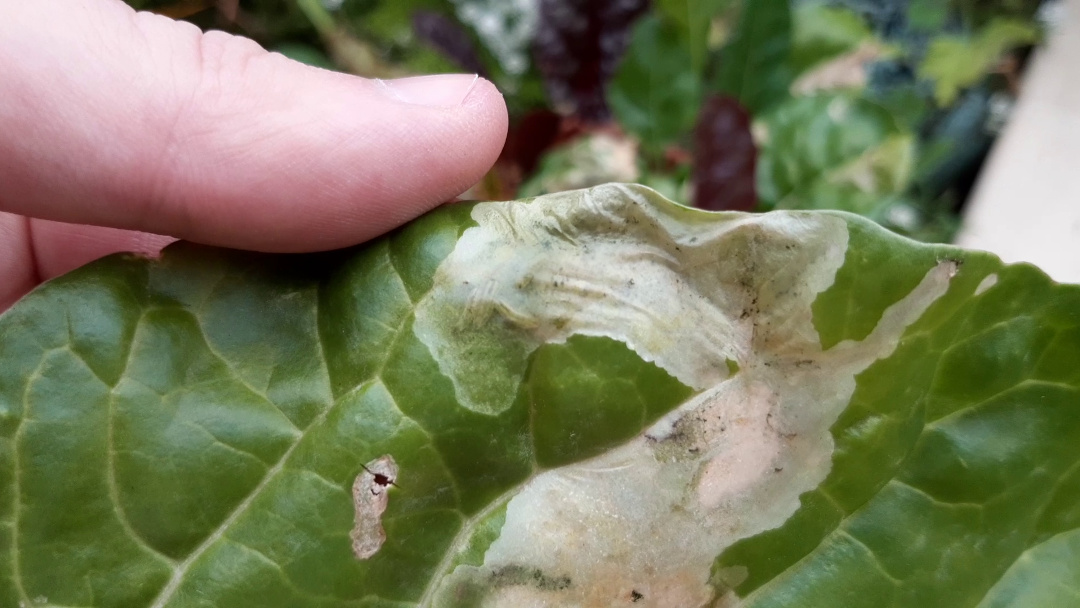
You can invest in pesticides or solutions to keep the flies off your plants but I find it much easier to simply remove the damaged leaves. This works well for Swiss chard as it’s more than capable of producing new stronger leaves.
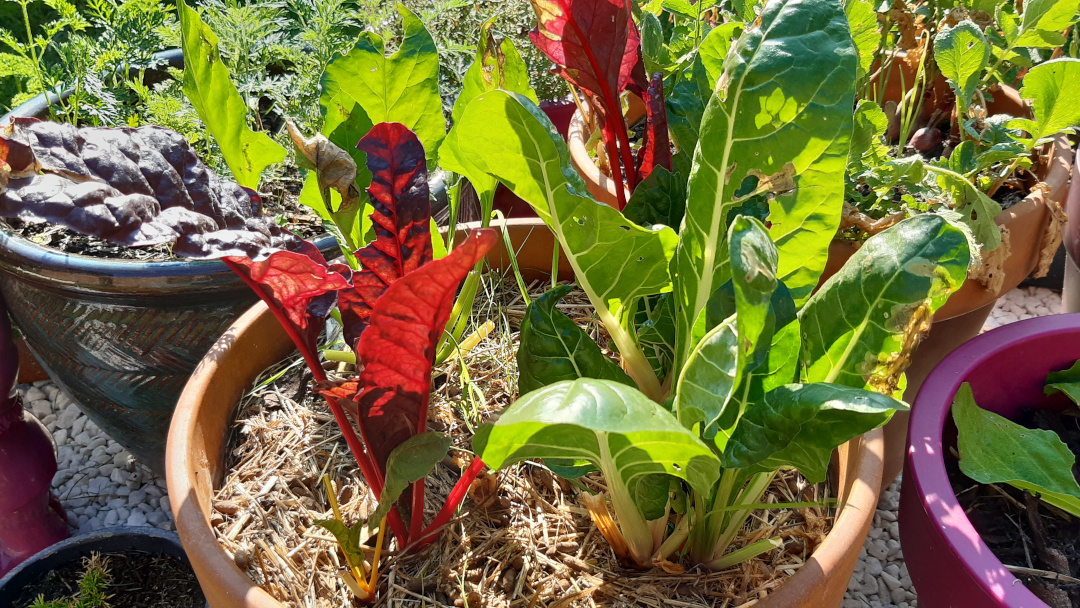
Harvesting
The Swiss chard is ready to harvest when the plant has a handful of healthy leaves.
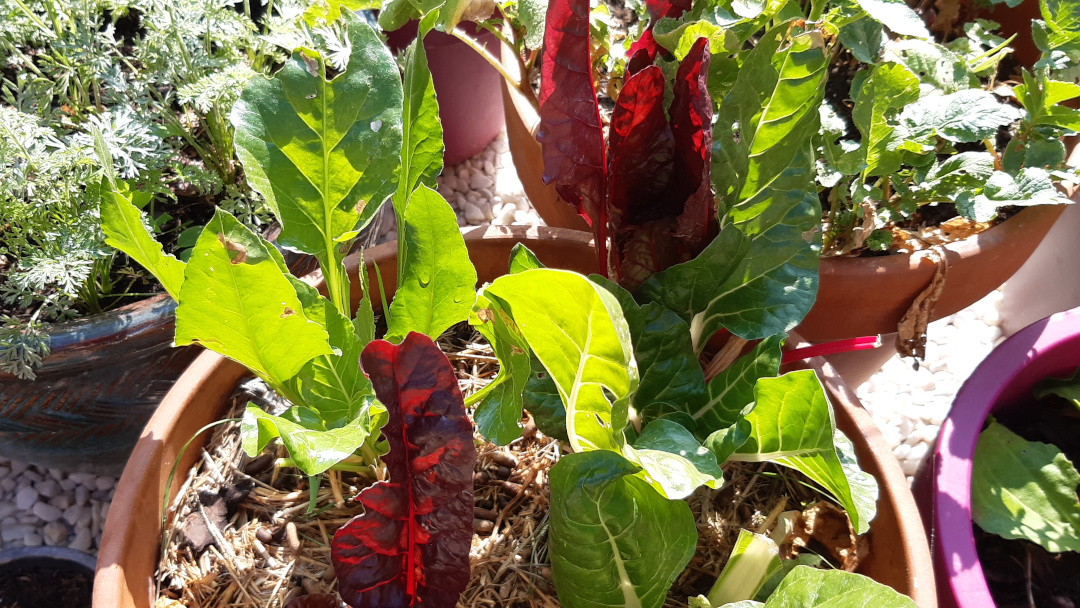
The reason for growing a few plants is that we can harvest a leaf or two from each one and the plants will continue to grow happily over the winter.
To harvest, get a sharp pair of scissors and cut off the desired leaves from the base of the stem.
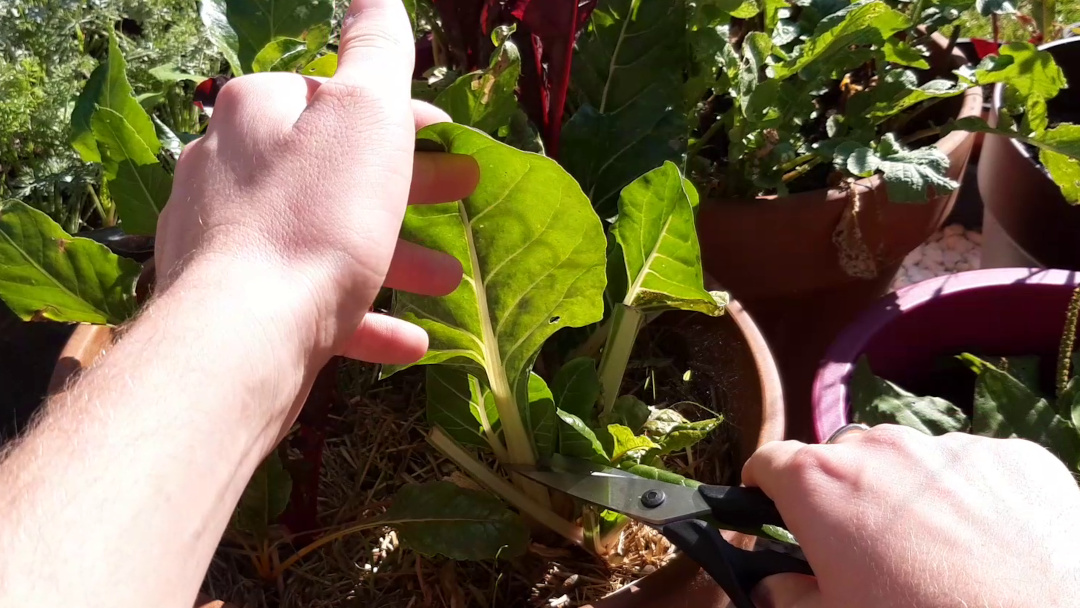
We take the largest for a few reasons:
- We don’t need to take as many for our meal, leaving more for the plant to continue growing
- The largest will attract more pests
- The largest have the best flavour
I always grow Swiss chard as they overwinter so well and are a colourful addition to our meals on colder days.
Did you grow Swiss chard this year? If so, please give us your advice and learnings so we can all learn and grow together.
Article written on May 28, 2020
Updated Sep 28, 2020
