Chilli peppers
A week by week diary
Chilli pepper plants are very pretty and will bless you with a large crop if looked after. Fresh chilli peppers picked off the bush makes a wonderful addition to dishes and they are not difficult at all to grow.
This is a week by week diary of the growing, maintenance and harvesting of chilli peppers.
Quick tips
- Properly harden off seedlings if started indoors, they are very easily damaged by leaf scorch.
- If you live in a cooler climate, plant them in pots which you can bring in over the winter.
- Re-pot every few years to add nutrients.
- Seeds can be sown indoors from Mid February → Mid June
- Can be eaten when green but will get hotter as they redden
Dates
Use the following dates to grow chilli peppers:
| Jan | Feb | Mar | Apr | May | Jun | Jul | Aug | Sep | Oct | Nov | Dec | |
|---|---|---|---|---|---|---|---|---|---|---|---|---|
| Sow indoors | I2 | I | I | I | I1 | |||||||
| Harvest | H | H | H | H |
Pests
Chilli peppers are susceptible to the following pests:
Type of chilli pepper
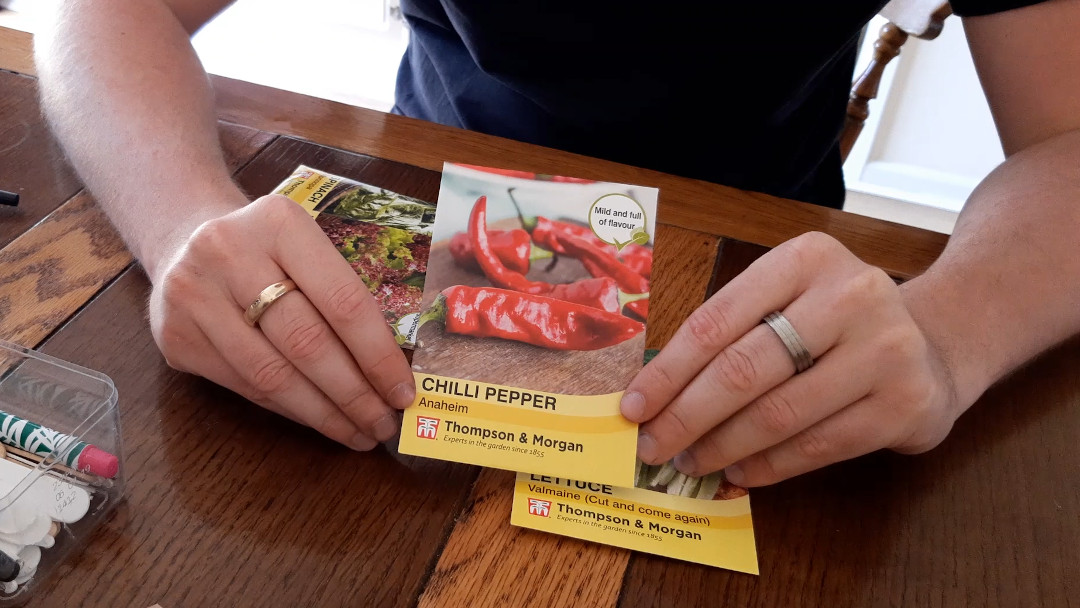
We are growing the “Anaheim” chilli pepper which we got free with our Grow Your Own magazine (I’d recommend getting this subscription for the seeds alone). You can find them here from Thompson & Morgan.
Watch it
I have compiled this growing diary into a short video for you:
Growing diary
I started this diary, and sowed these seeds, on the first week of May (19th week of the year).
Week 1: Sowing
Sowing chilli pepper seeds is the same as similar fruits, for example tomatoes. First start by filling your chosen seed tray (I’m using the 84 cell tray as I’ll be sowing other veg at the same time) with a seed, or general, compost.
You don’t need to press too firmly, the seedlings will have an easier time pushing down their roots if it’s a little fluffy. Make sure each module is full though and there aren’t any large air pockets.
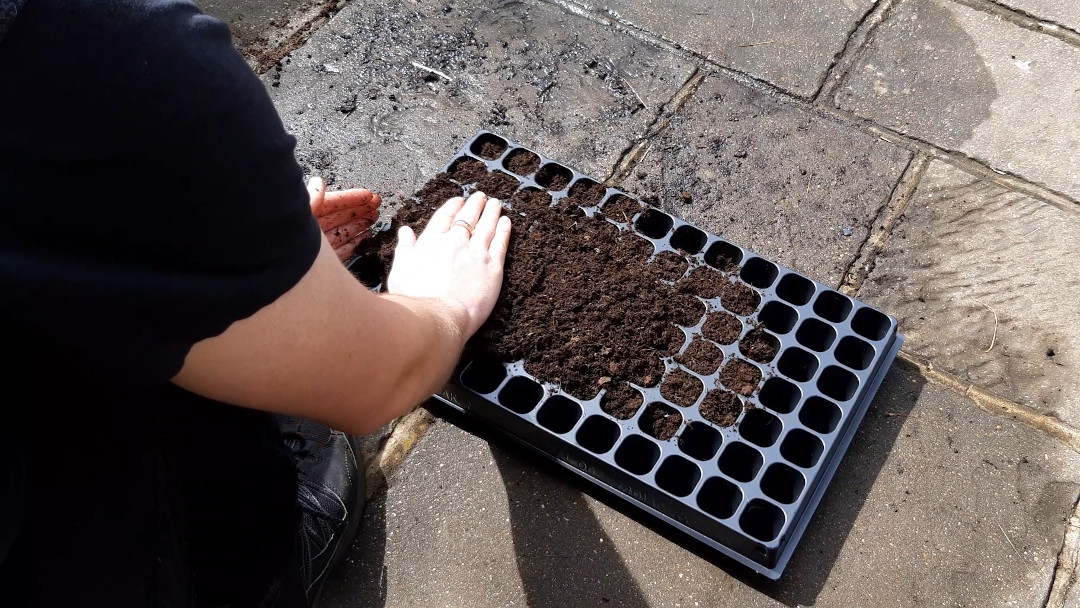
Next, water thoroughly or sit the tray in water to allow the compost to soak up as much water as possible. This will ensure the seedlings have a good starting drink of water to get them going and will mean the compost wont dry out too quickly.
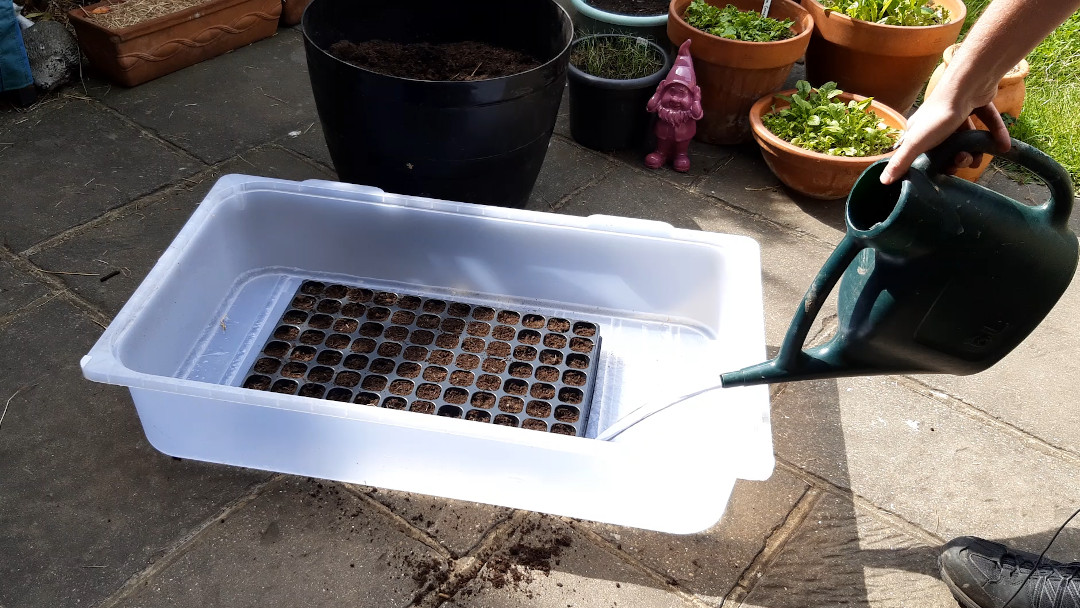
To ensure you have the best chances of the seeds germinating, I recommend sowing 2-3 seeds per cell. We will thin out the weakest later.
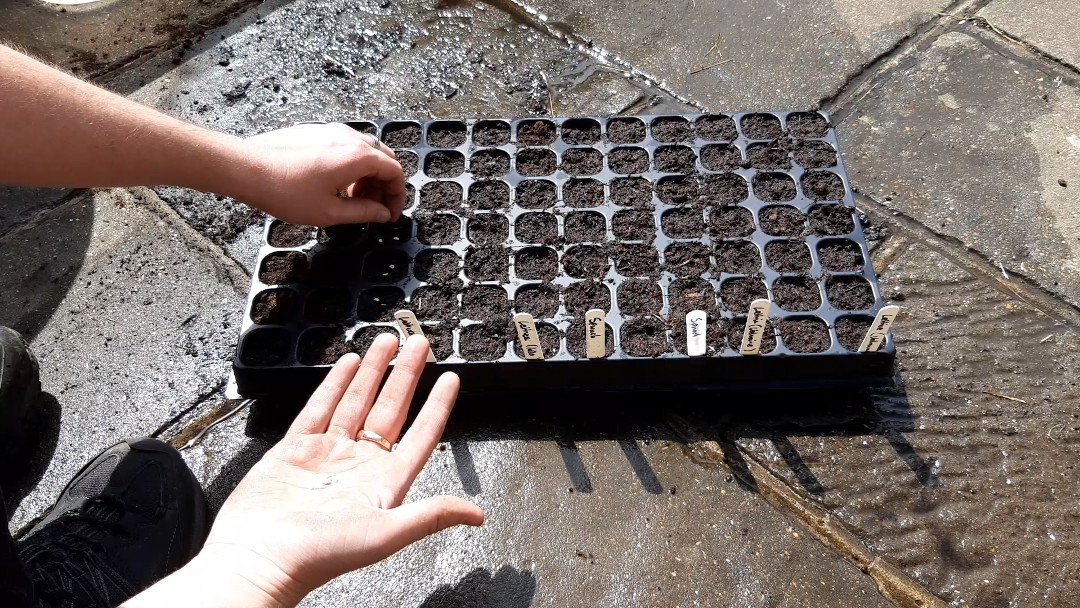
Sprinkle a little compost over the seeds, patting down gently and making sure the seeds are covered. Lastly, give them a splash of water.
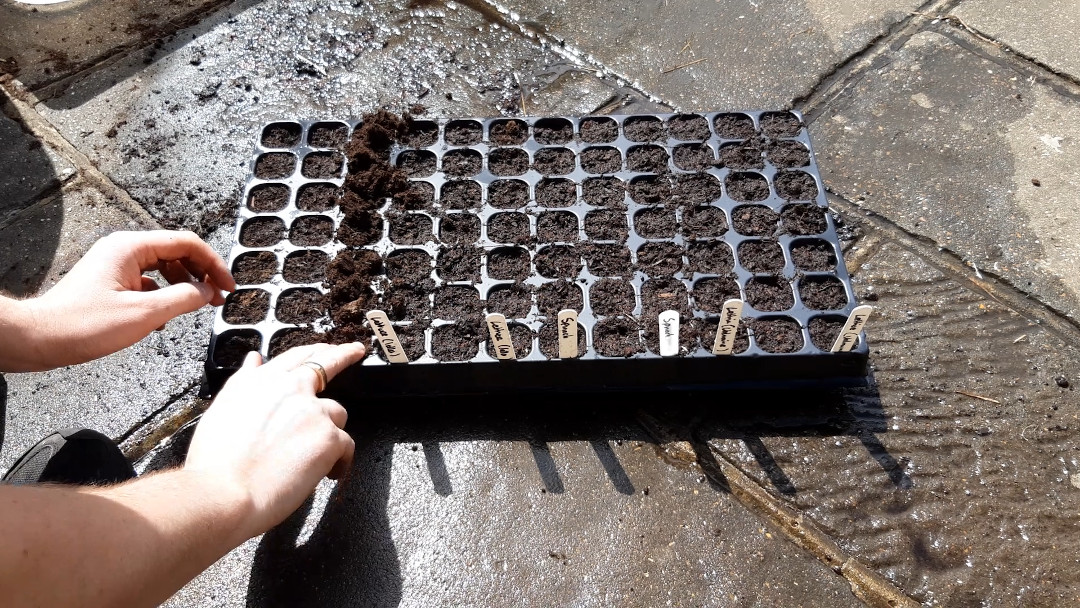
Put your label in place so you remember what you have planted.
Tip: Instead of writing a label for each column of your seed tray, write two and put them in the outermost columns that you used. If you always do this, you know that everything between the labels is the same.
The seeds can now go in a warm spot to germinate. A sunny windowsill or growhouse, which I am using, will be perfect as they need to be around 25°C (77°F) to get going.
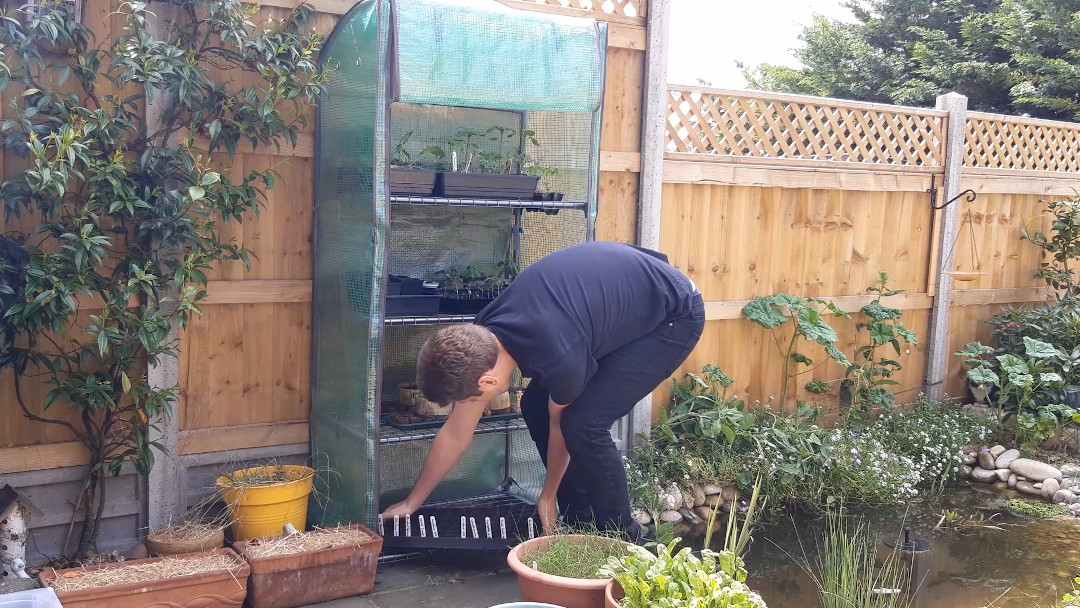
Week 2 -> 3: Nothing happening yet
I opened the growhouse this morning to see that nothing is happening with the chilli peppers yet. As germination takes around 14 days so I wasn’t expecting to see anything yet.
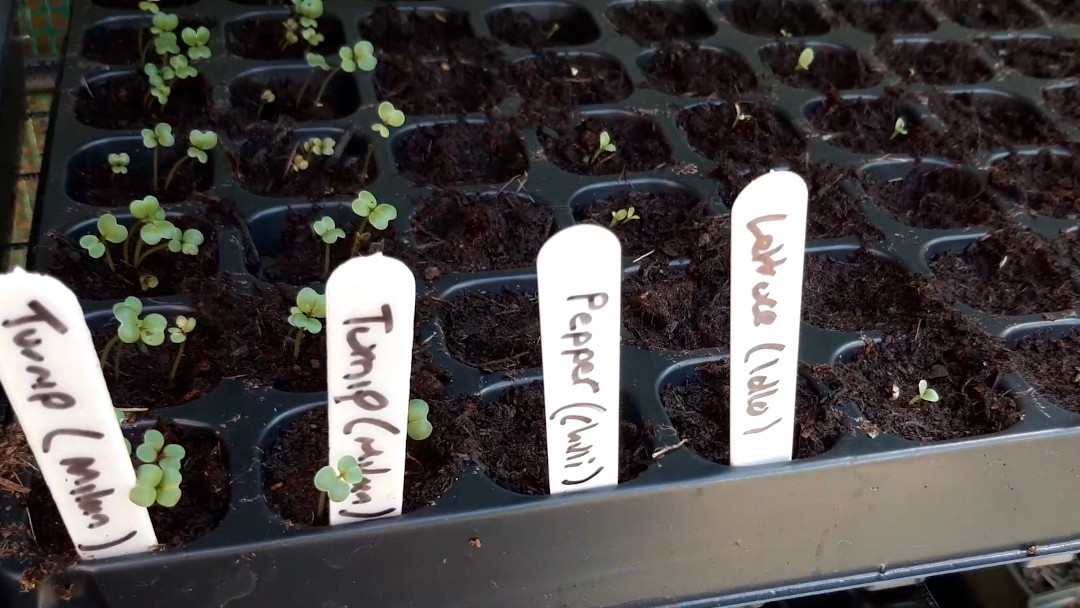
Week 4: We have seedlings
The hot weather of the week has really helped the chilli peppers and they’ve now popped out the ground to say hello.
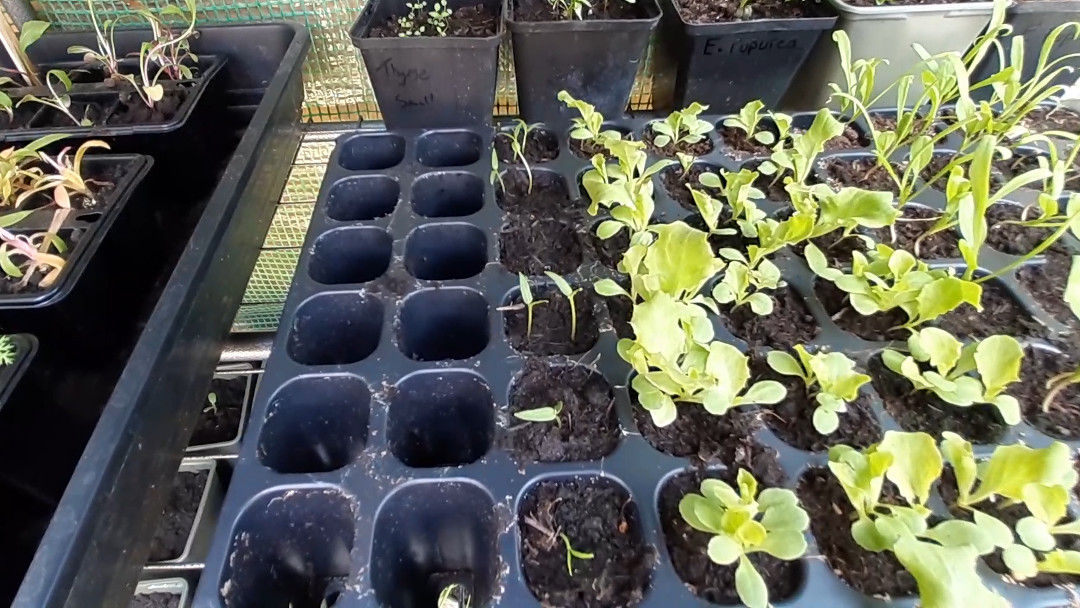
Now that the last frost has truely passed, I expect these seedlings to shoot up over the coming days.
Week 5 → 6: Growing
The seedlings are growing steadily but a little slowly.
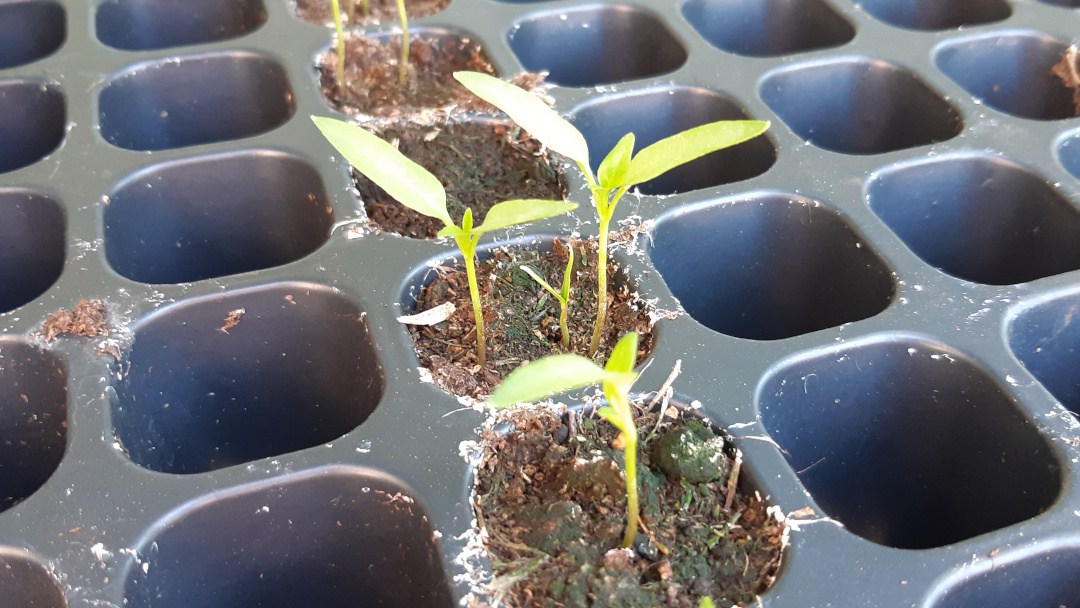
I’m making sure to keep them watered so the soil doesn’t dry out and opening the growhouse during the day to stop it overheating.
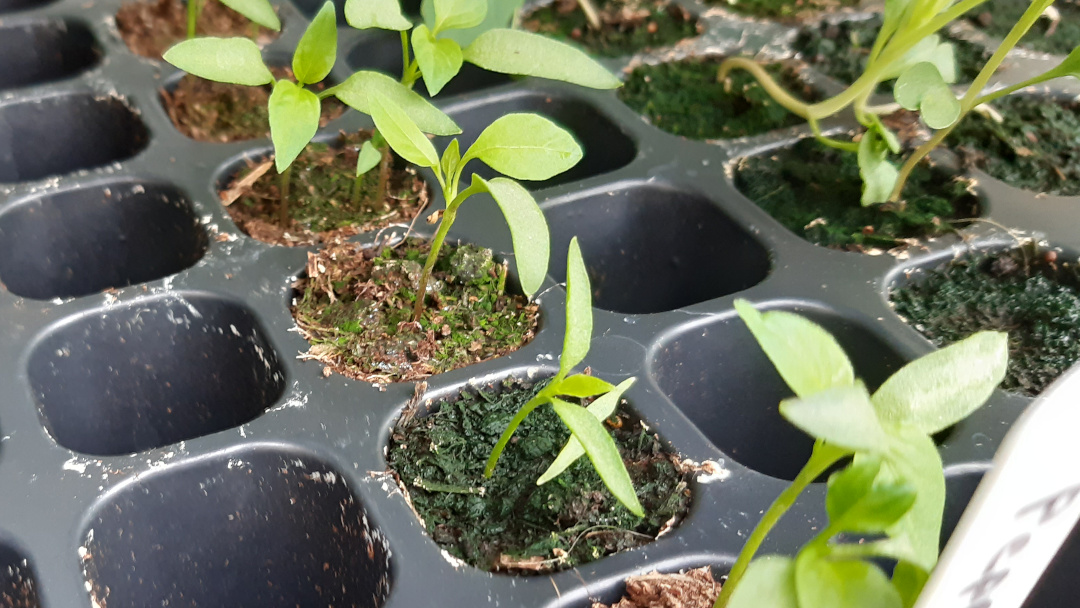
Week 7: Transplanting into pots
Now that we have a few healthy true leaves per seedlings, these are now ready to be transplanted into pots.
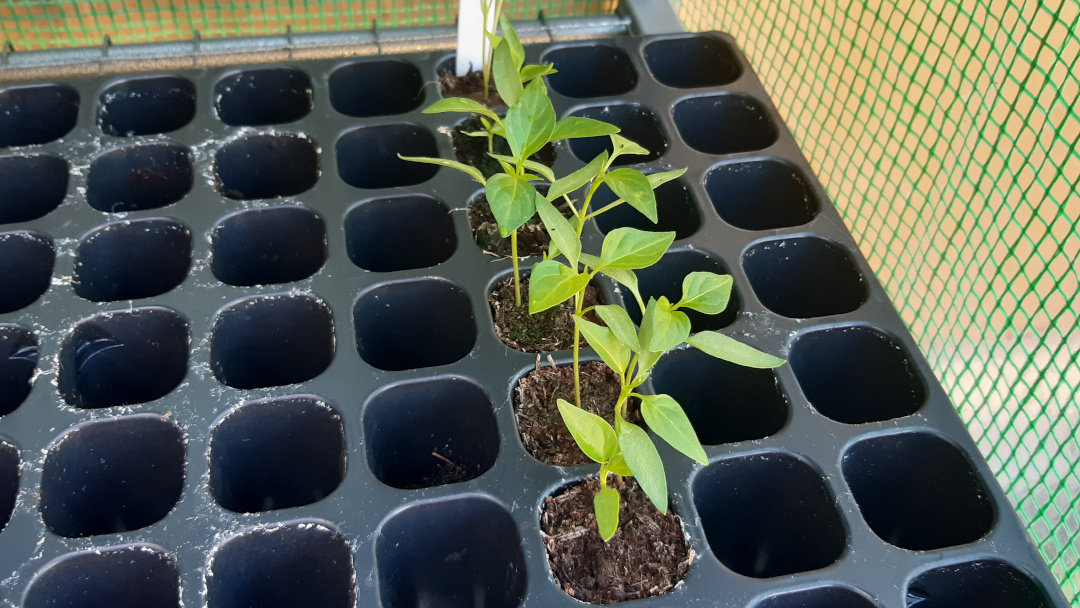
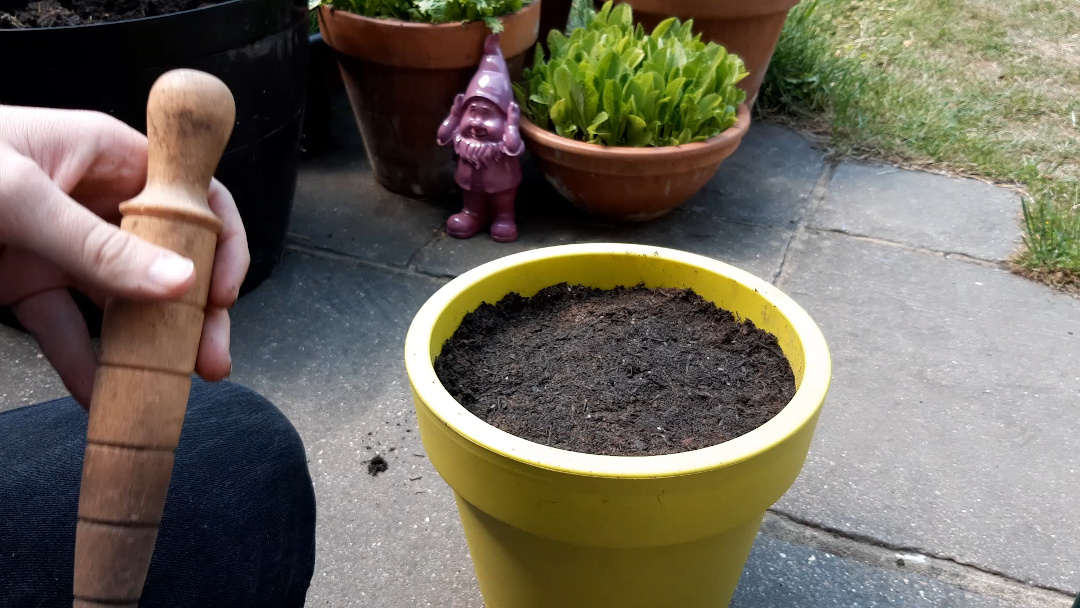
Fill pots with soil
I’m using my 1:1 mix of topsoil and compost for the potting soil. For more information, please check my post on soil.
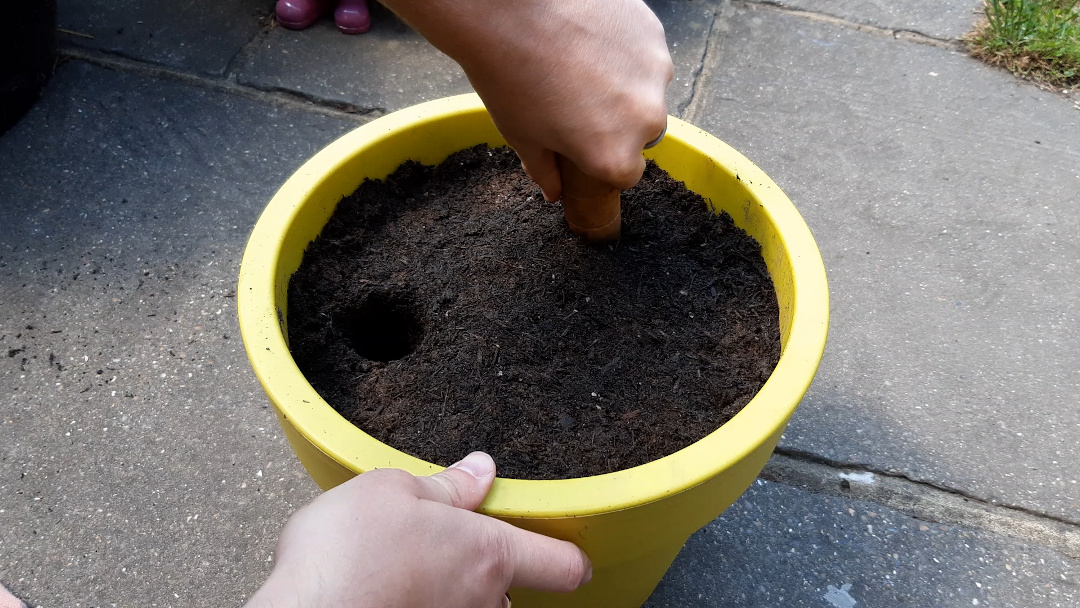
Make the holes
Using a dibber (make your own if you don’t have one, it makes transplanting SO much easier), make a two inch deep hole for each seedling.
Ease pods from cell
Using the flat end of a pencil, poke out the pod from the cell using the hole in the bottom. If this is a little tricky, water the soil first so it holds together.
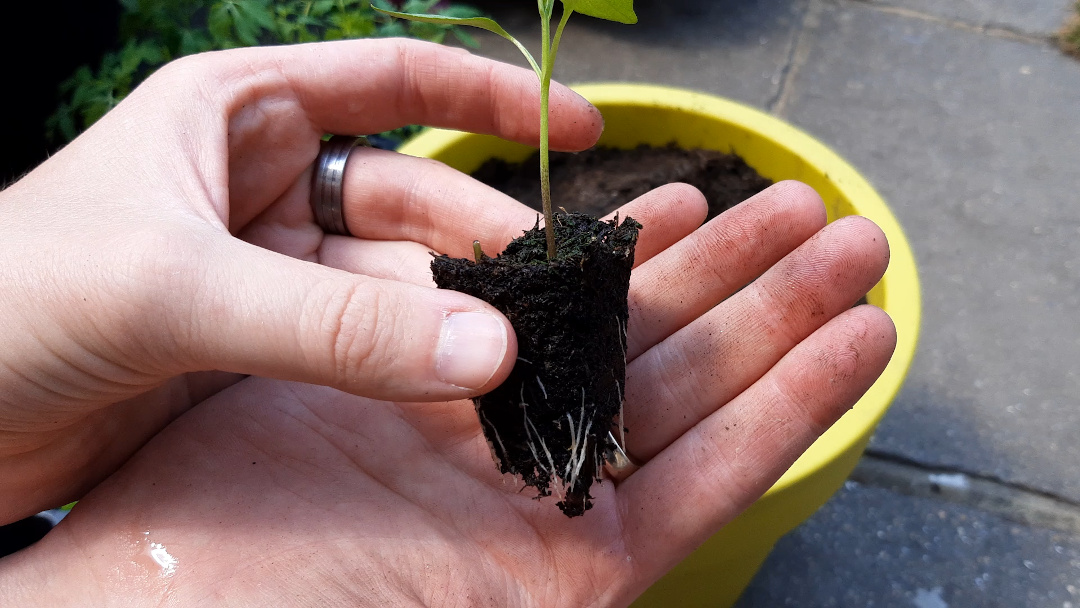
Transplant
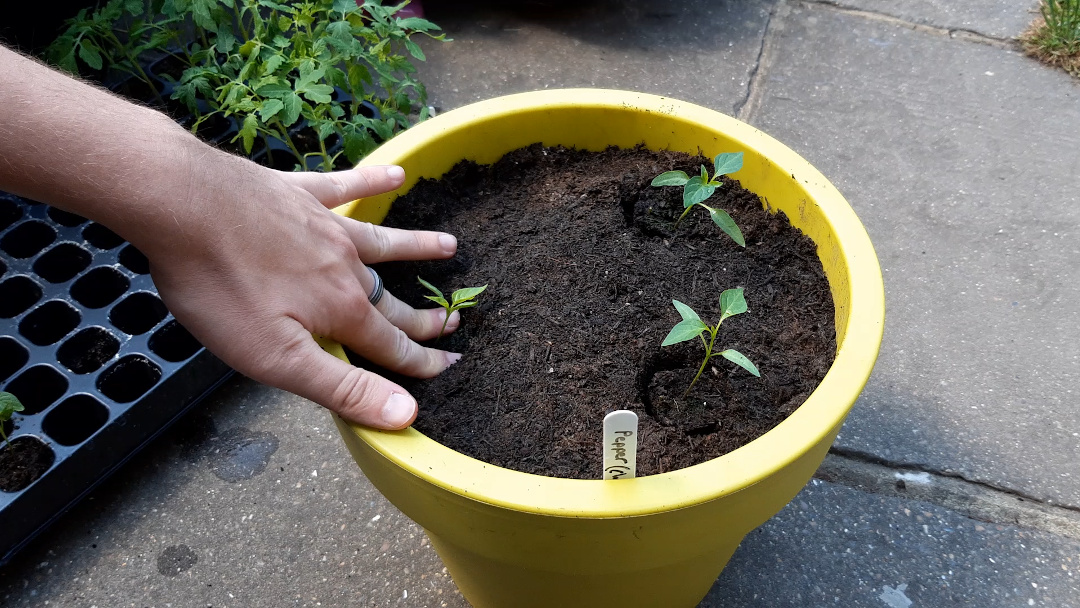
Place each pod into each hole and press down so the top of the cell is flush with the top of the soil. Place your fingers either side of the stem and gently push down.
Mulch
To stop the soil drying out too quickly, I like to mulch my pots.
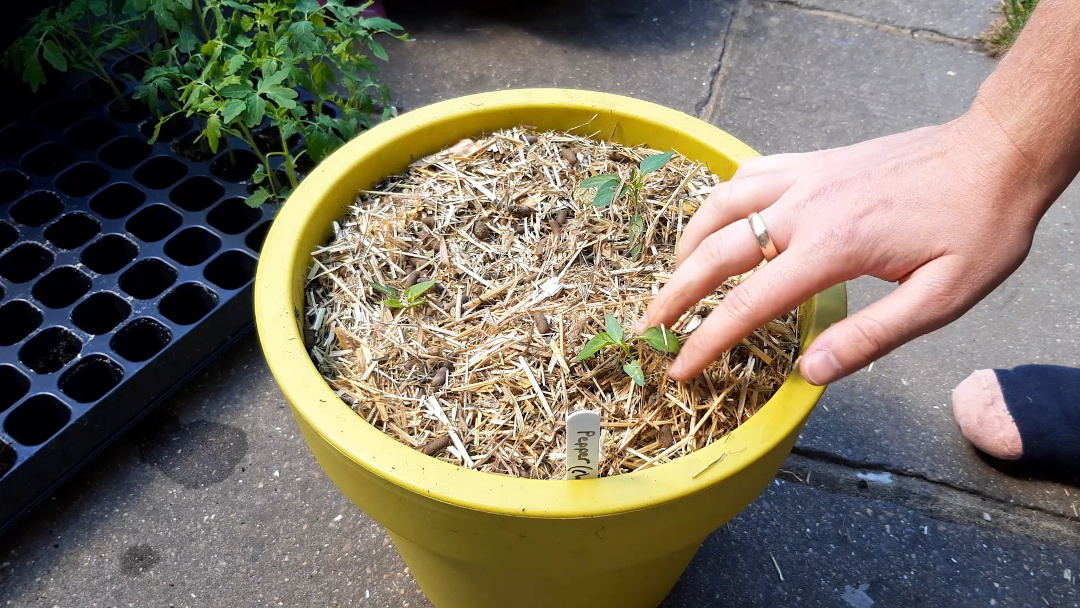
I have some chopped up hay which is the left over bedding from our guinea pigs. You could also use grit, fresh hay or wood chips.
Water
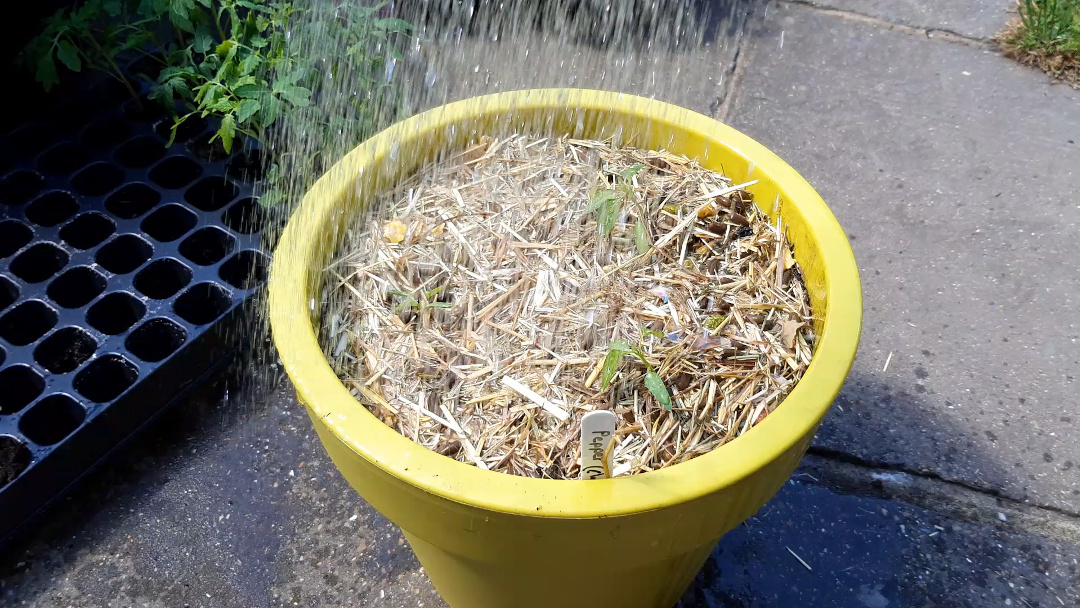
Lastly, give them a really good water. Transplanted seedlings can get shocked by being moved and their roots disturbed. We limit this by using a similar soil in both the tray and the pot and by watering the roots in well after moving them.
Week 8 → 13: Growing on
There is always a little disruption when transplanting seedlings, but they seem to have settled in well.
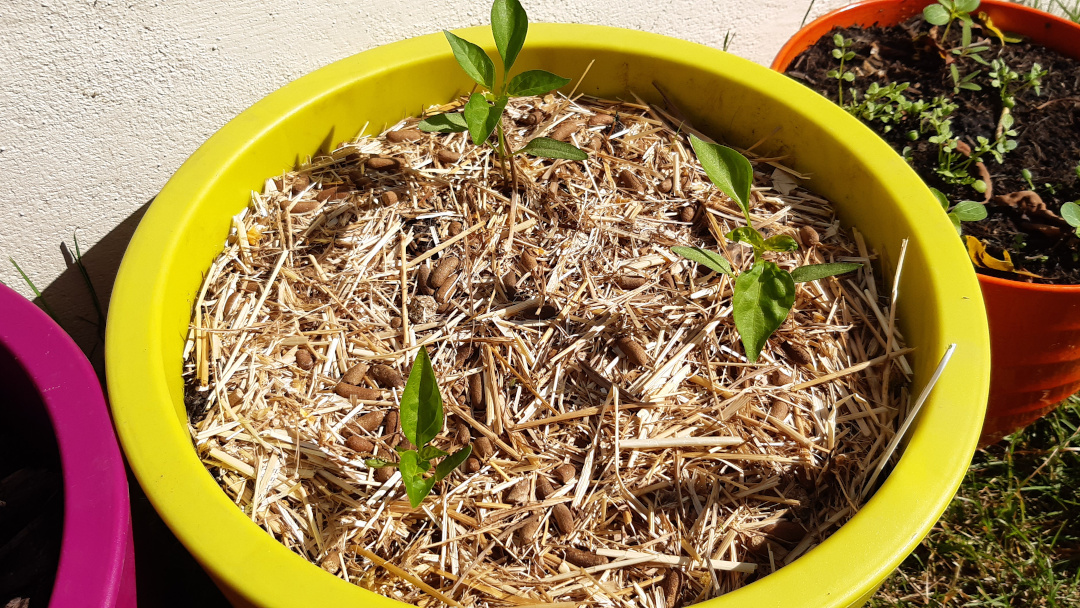
The pot has been put in a sunny area of the garden. Chilli peppers love heat and full sun, so it’s opportune timing that we have a mini heatwave hitting the country over the next two weeks.
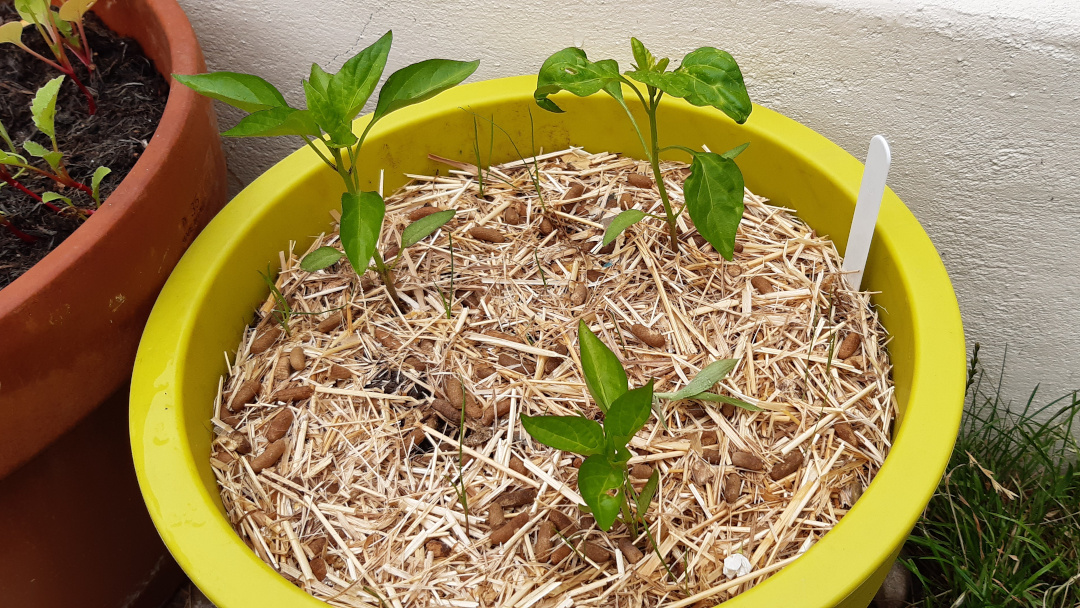
During week 10, we had some strong winds shaking the plot. This encourages plants to develop strong stems… which is good for us as the plant can bear heavier fruits without damaging the plant.
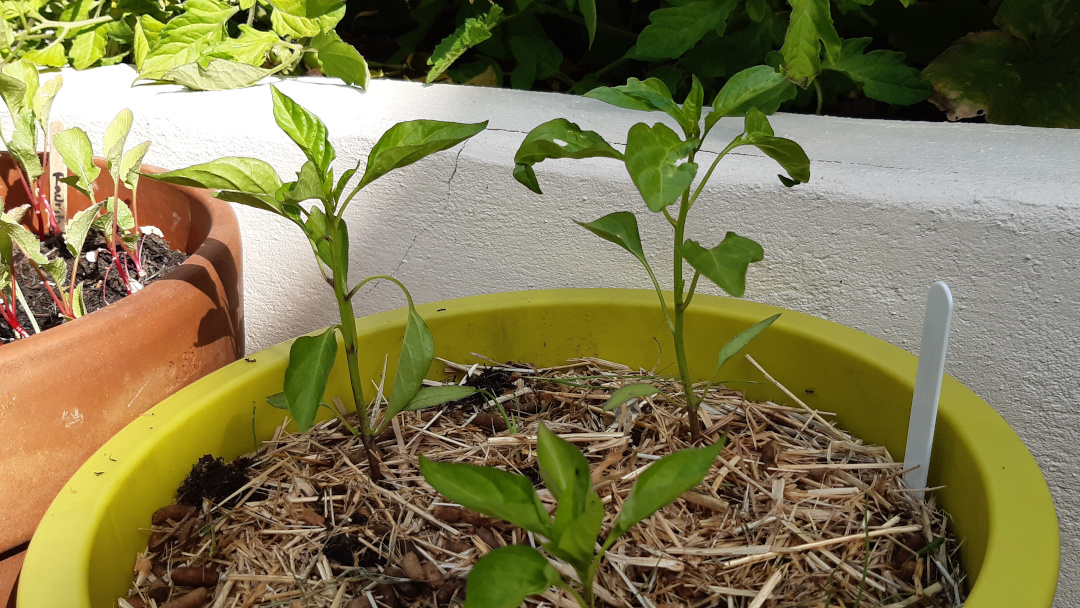
During the past couple of weeks (now week 12), we’ve had lots of rain and the pots in the garden have appreciated the extra moisture, none more than the chilli pepper plants.
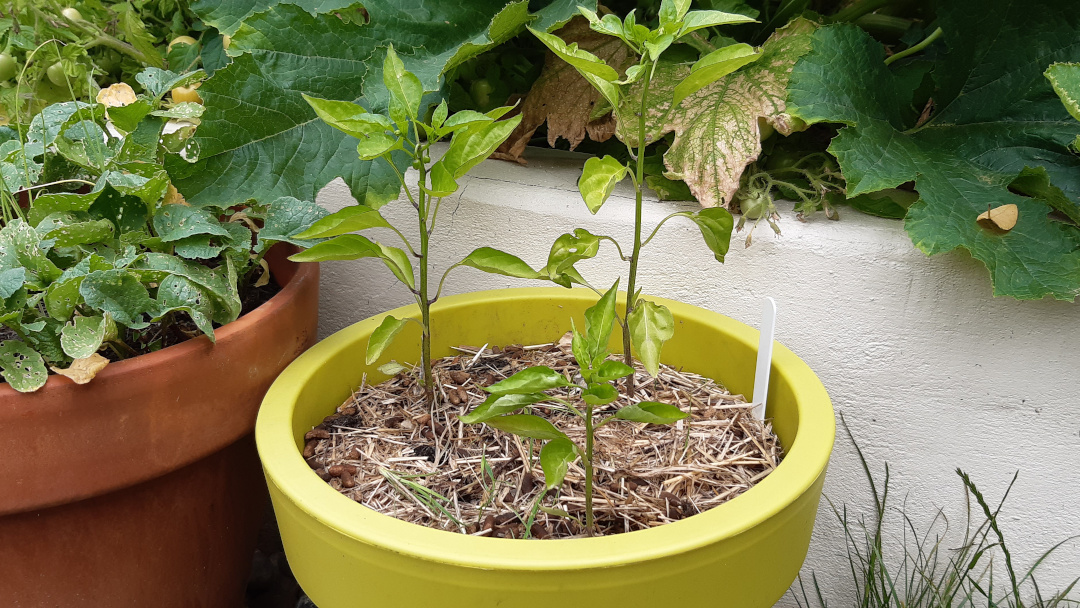
We are now in week 13 and in full summer sun mode. The chilli pepper plants are shooting up and I expect we aren’t far off a few little fruits developing.
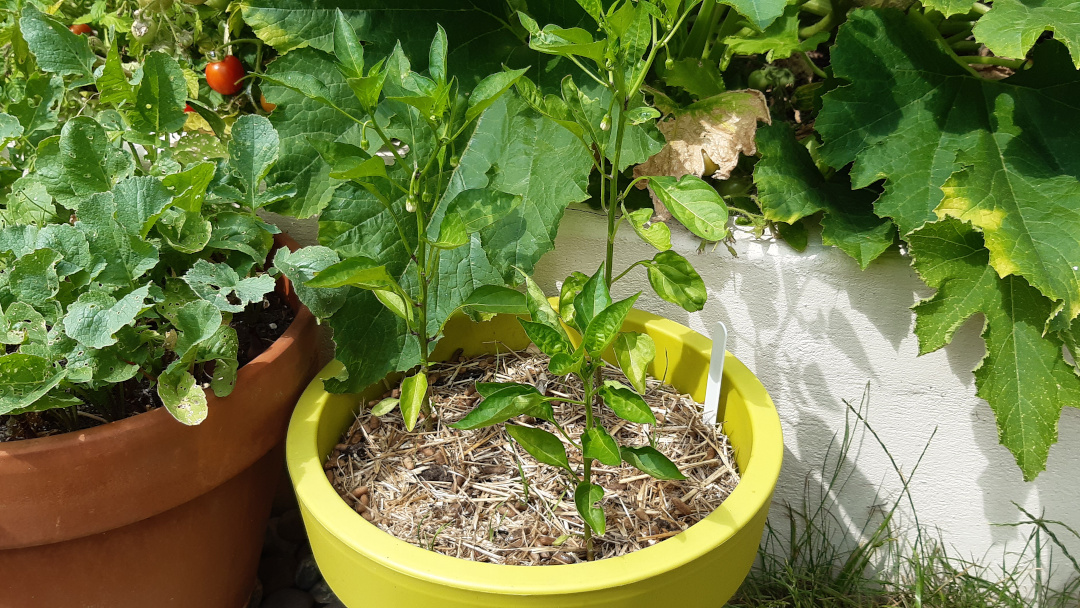
They have proven to be very easy to care for, a little weeding of persistent grass and keeping an eye on their soil moisture… but otherwise, I’ve left them alone.
Week 14 → 17: Fruits developing
Checking at the beginning of week 14, we can see some small chilli peppers growing where the flowers were.
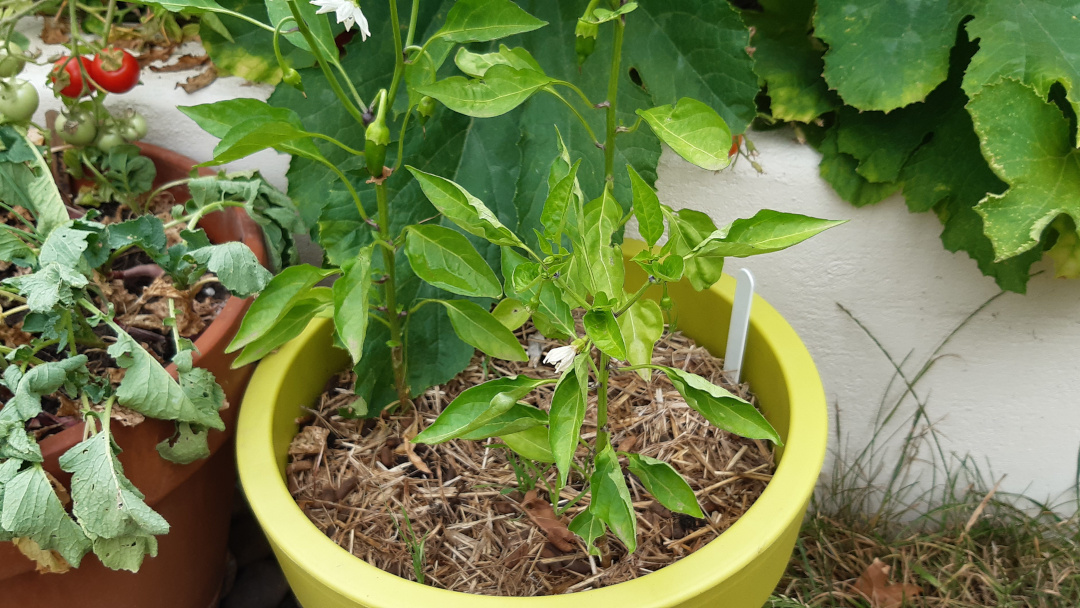
The plant will now be using much more energy and flowing nutrients into the fruits. To give them a hand, now is a good time to use a liquid feed once a week.
Only a week later, the chilli peppers have swollen and have grown large. Keep up the liquid feed each week and hopefully we will see some more flowers growing.
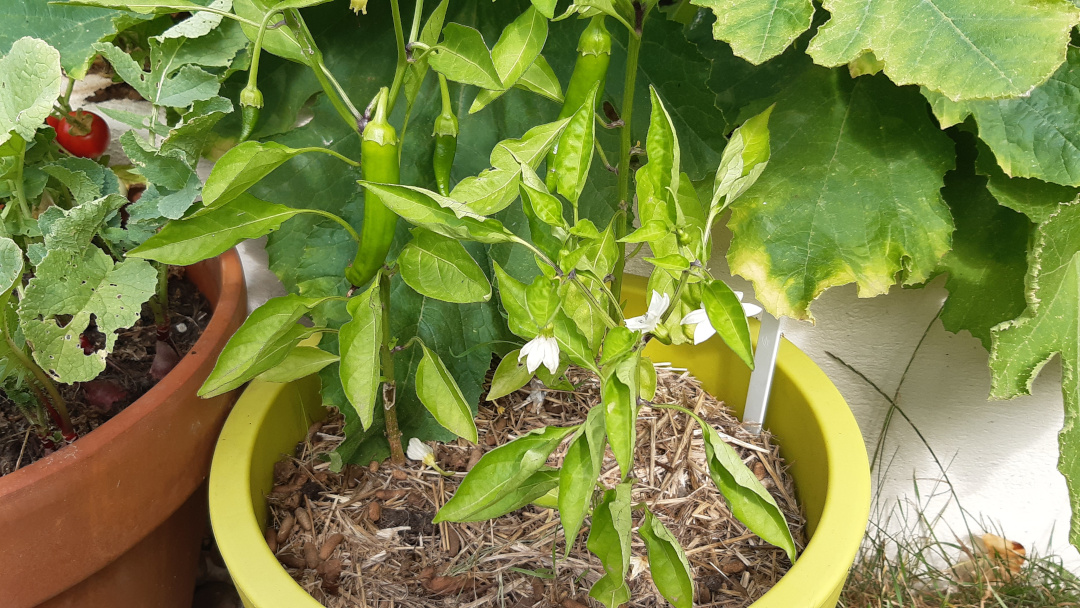
Checking at the beginning of week 16, we can see the chilli peppers growing further and a fresh batch of flowers opening at the top of the plant:
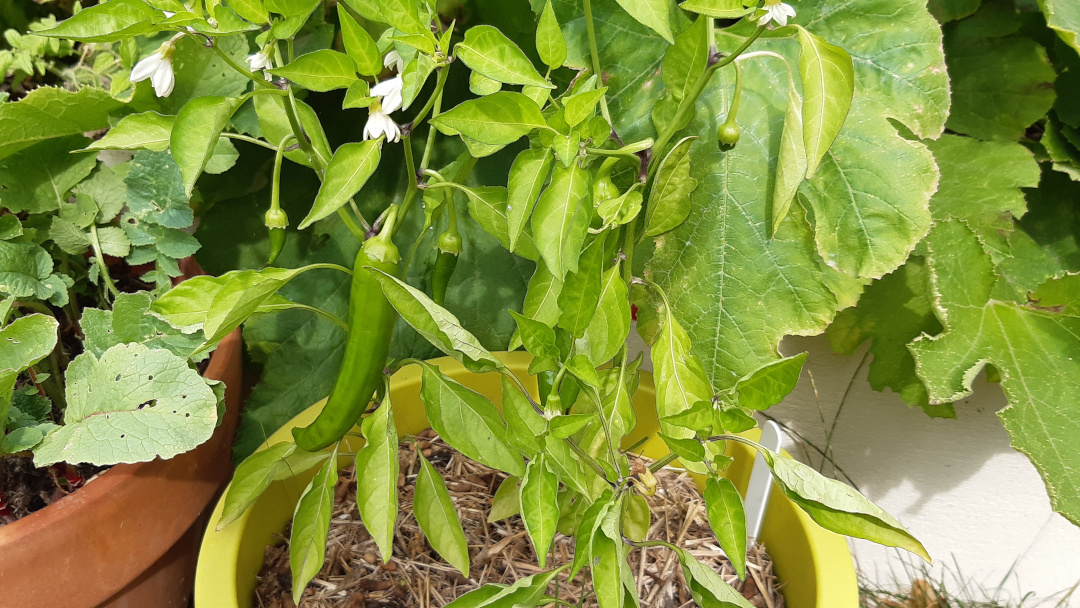
Midway through week 17 and we can see that the flowers, which opened last week, are now all growing their own fruit and the ones that were already on the plant are growing longer and longer:
Harvesting
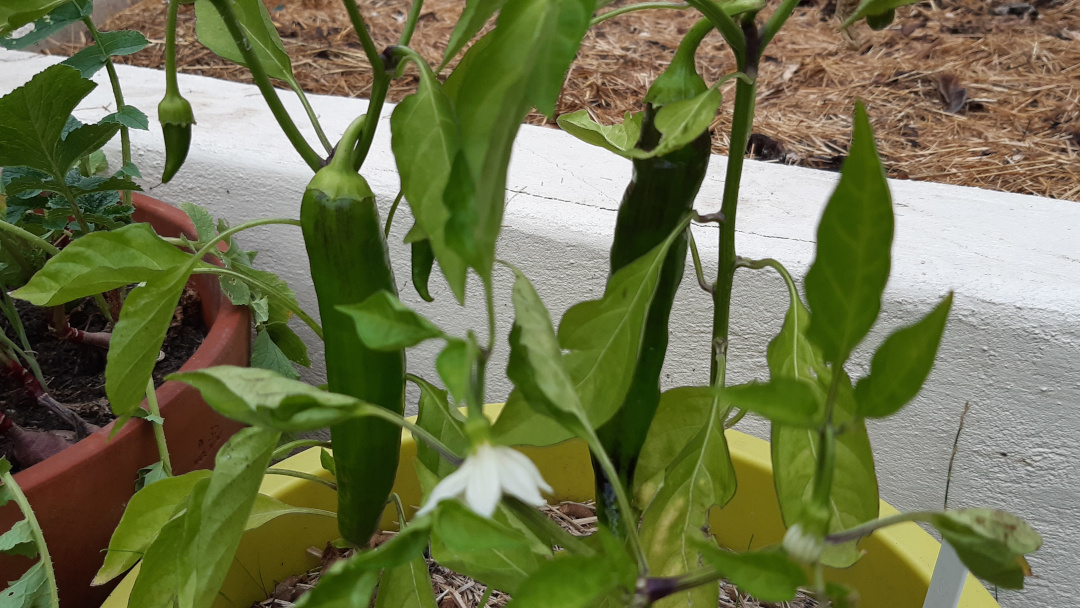
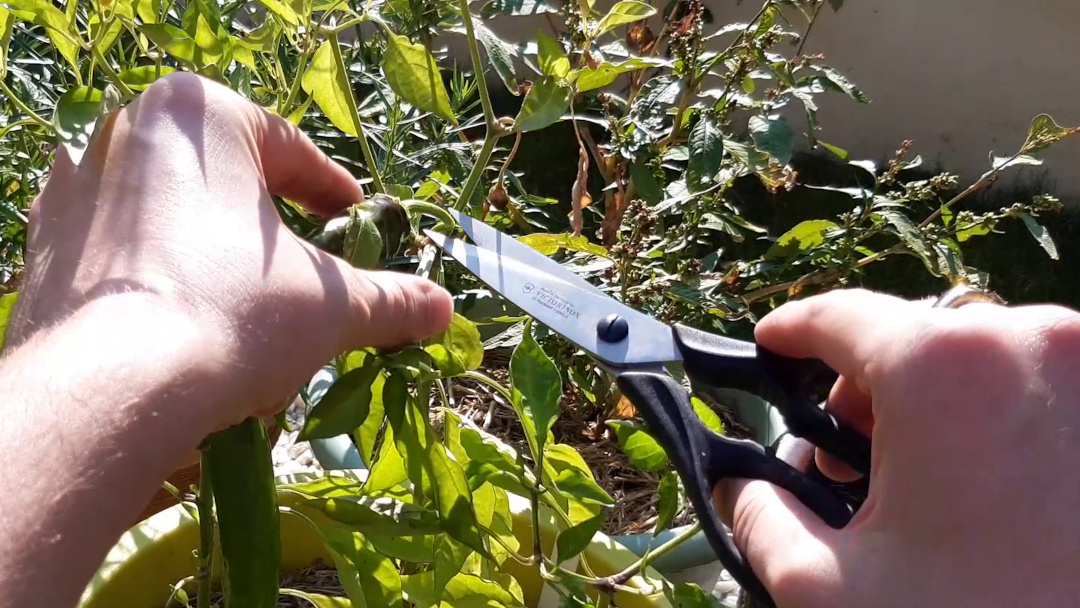
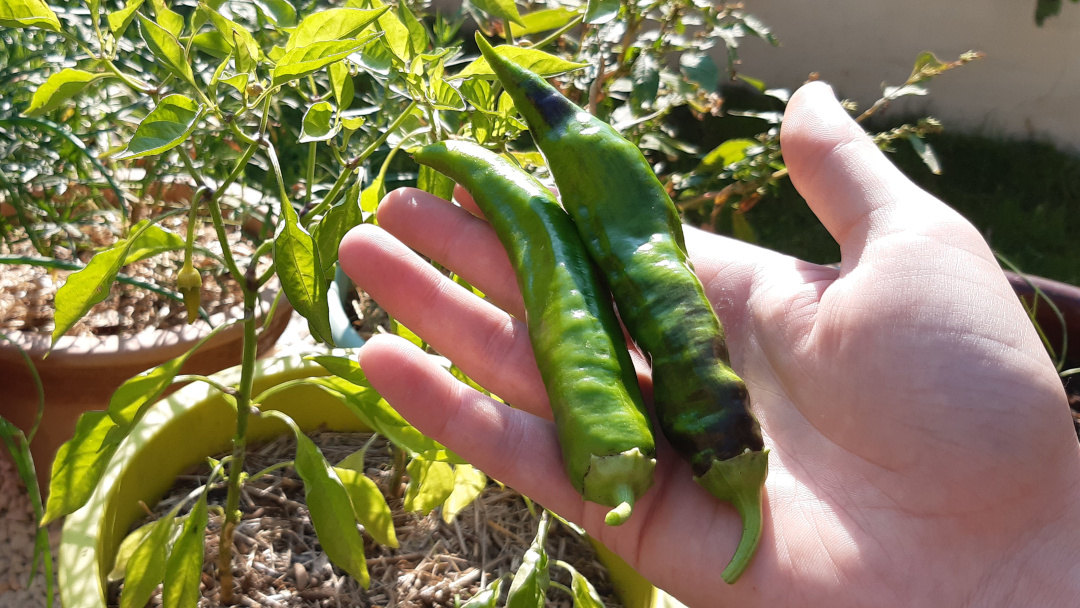
Come week 18, the fruits are ready to harvest. They are a nice cooking size and they feel firm. It’s best not to let them ripen on the plant as they will start to attract pests and can easily rot.
Harvesting is simple, grab some scissors or secateurs and cut where the fruit connects and hangs from the plant:
These can either be used and stored as they are, green, or placed on a sunny windowsill to ripen to the desired colour and then stored.
To store, keep them in the fridge, unsealed.
There you go! Do you think you would grow chilli peppers again? Please add your experience and tips below so we can all learn and grow together.
Article written on Apr 22, 2020
Updated Sep 15, 2020
