Swede
Great autumn and winter harvests
Growing swede is similar to growing many other larger root vegetables, like parsnips or carrots and like these other vegetables, adding swedes to your winter stews adds excellent flavour and a little sweetness.
This is a week by week diary of the growing, maintenance and harvesting of swede.
Quick tips
- Sow 2-3 seeds into each module of a seedling tray
- or direct in the ground in drills (rows) 20cm - 40cm apart
- Seeds can be sown from May → June
- Very hardy and grows well right up to the end of the year
- Prefers full sun
Dates
To grow swede through the Spring and Summer, use the following dates:
| Jan | Feb | Mar | Apr | May | Jun | Jul | Aug | Sep | Oct | Nov | Dec | |
|---|---|---|---|---|---|---|---|---|---|---|---|---|
| Sow indoors & outdoors | O | O | ||||||||||
| Harvest | H | H | H | H | H | H |
Types of swede
We are growing “Brora” swede which can be found here from Thompson & Morgan or similar here from Mr.Fothergills.
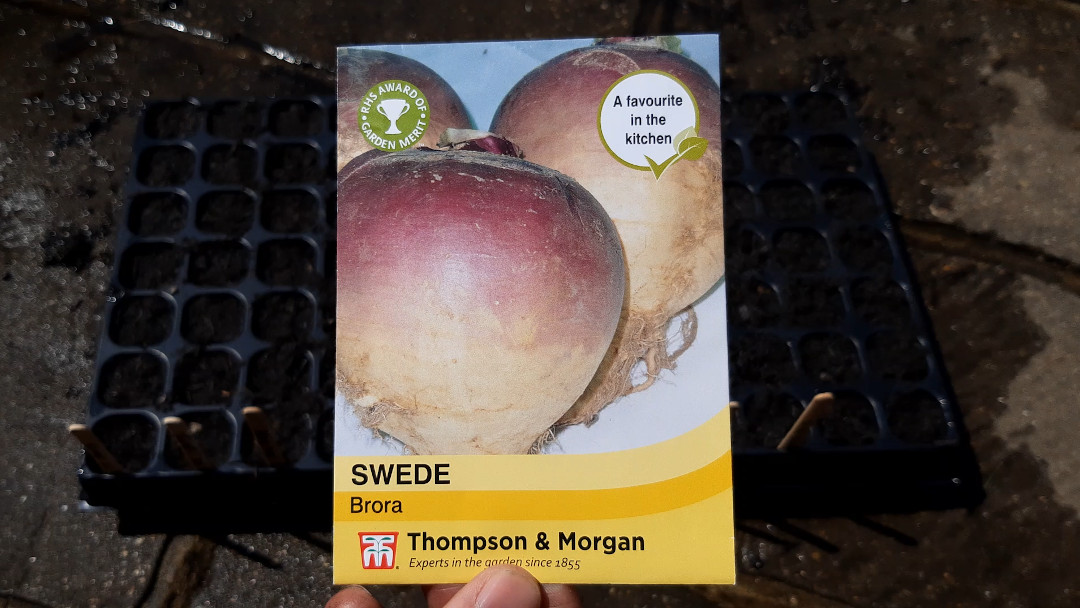
I started this diary, and sowed these seeds, on the first week of May (22nd week of the year).
Watch it
I have compiled this growing diary into a short video for you:
Growing diary
Week 1: Sowing
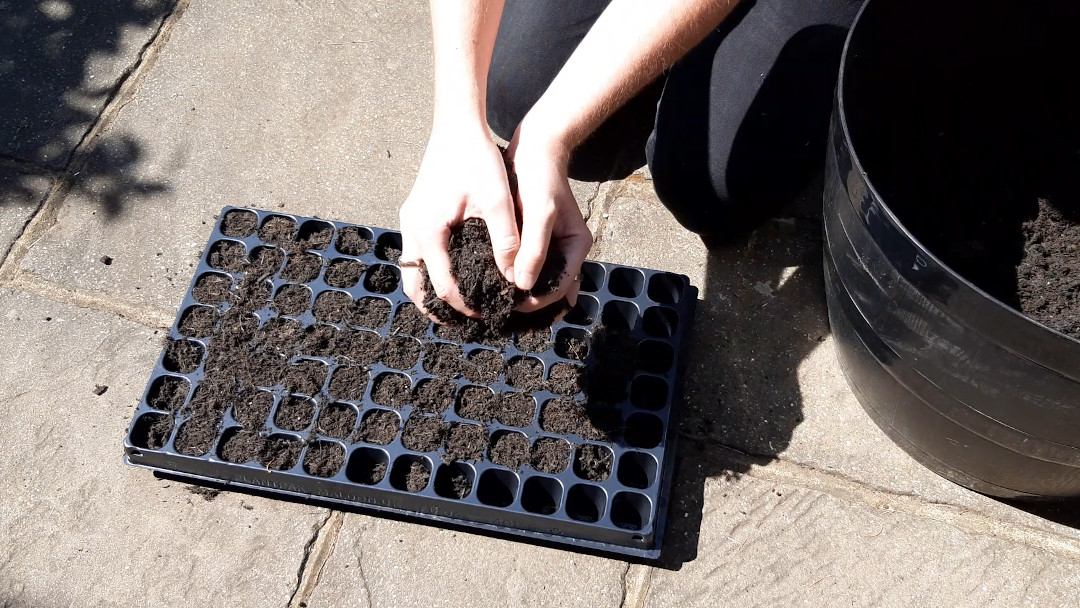
Sowing swede seeds is similar to many other root vegetables. First start by filling your chosen seed tray (I’m using the 84 cell tray as I’ll be sowing other veg at the same time) with a soil and compost mix. You can find my recommended sowing soil here.
You don’t need to press the soil too firmly into each cell, the seedlings will have an easier time pushing down their roots if it’s a little fluffy. Make sure each module is full though and there aren’t any large air pockets.
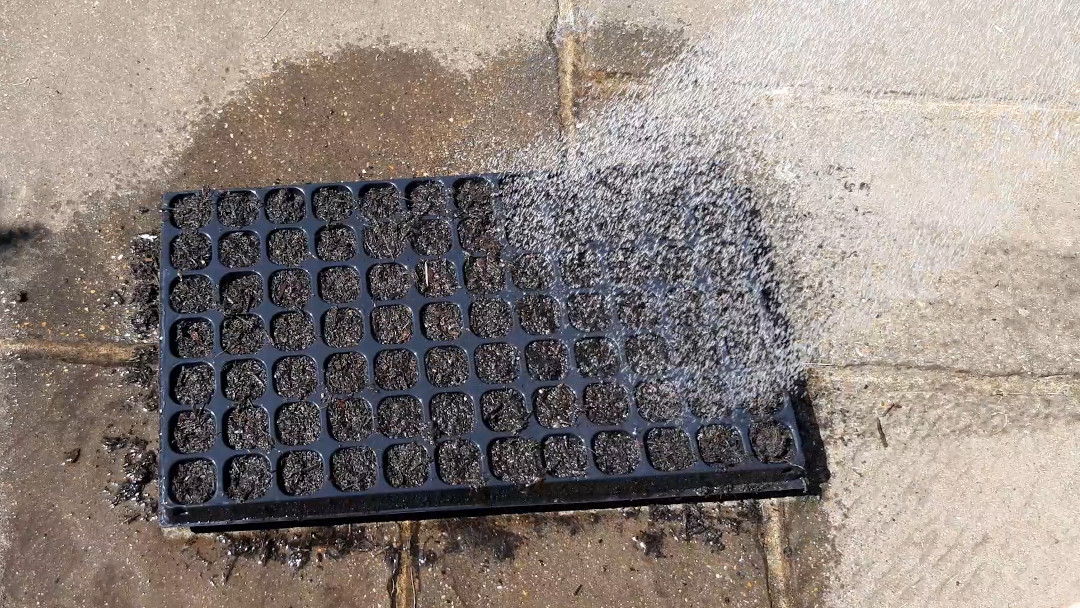
Next, water thoroughly or sit the tray in water to allow the compost to soak up as much water as possible. This will ensure the seedlings have a good starting drink to get them going and will mean the compost wont dry out too quickly.
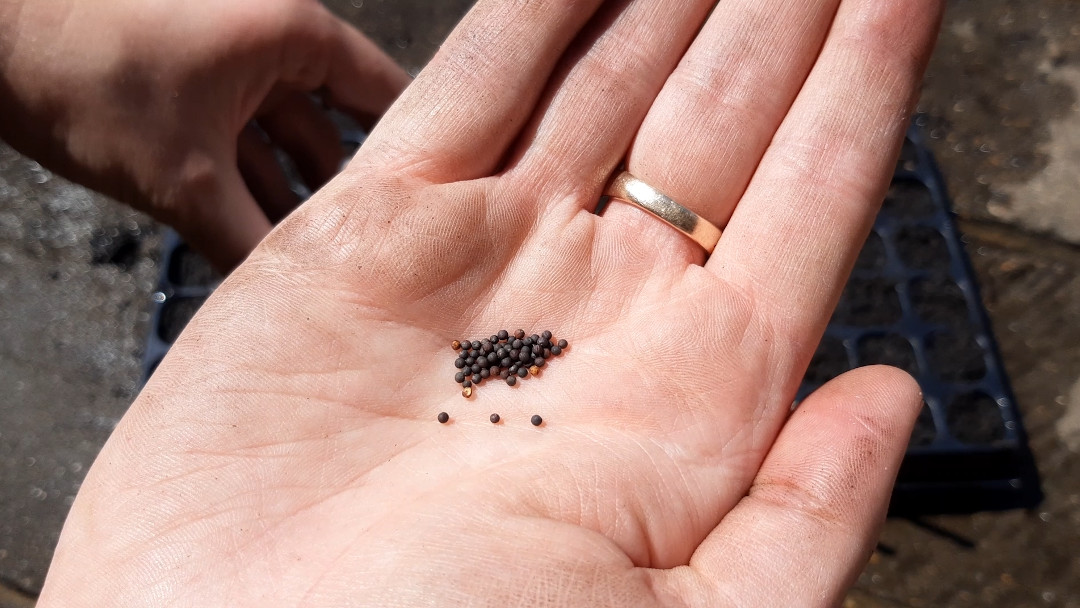
We will thin the seedlings out to leave only the strongest later. To give us a good germination across all cells, I’ll sow 2-3 seeds per cell.
Sprinkle a little compost over the seeds, patting down gently and making sure the seeds are covered.
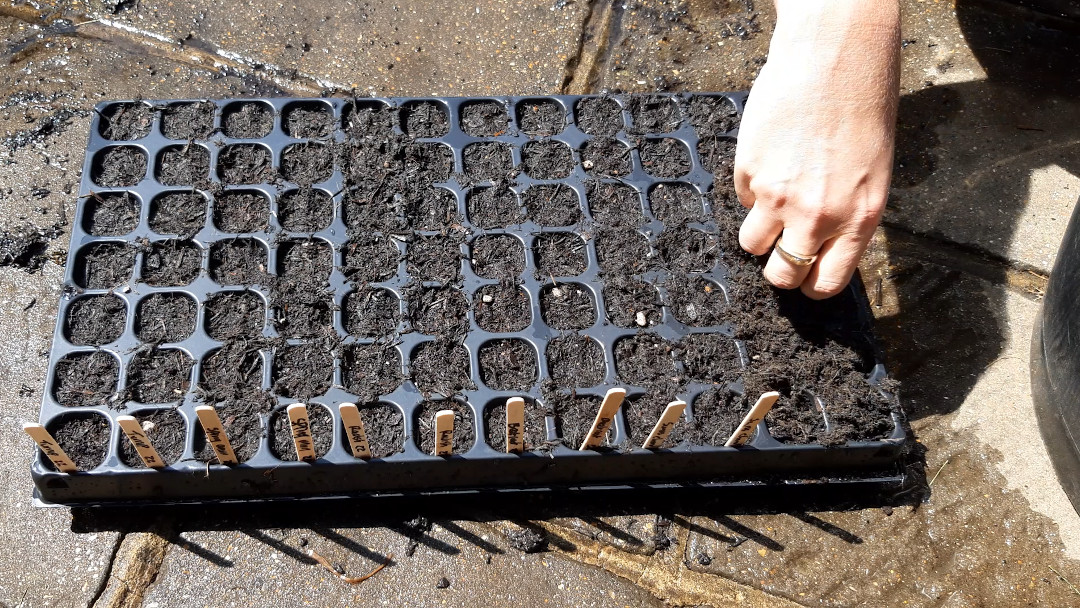
Lastly, give them a splash of water.
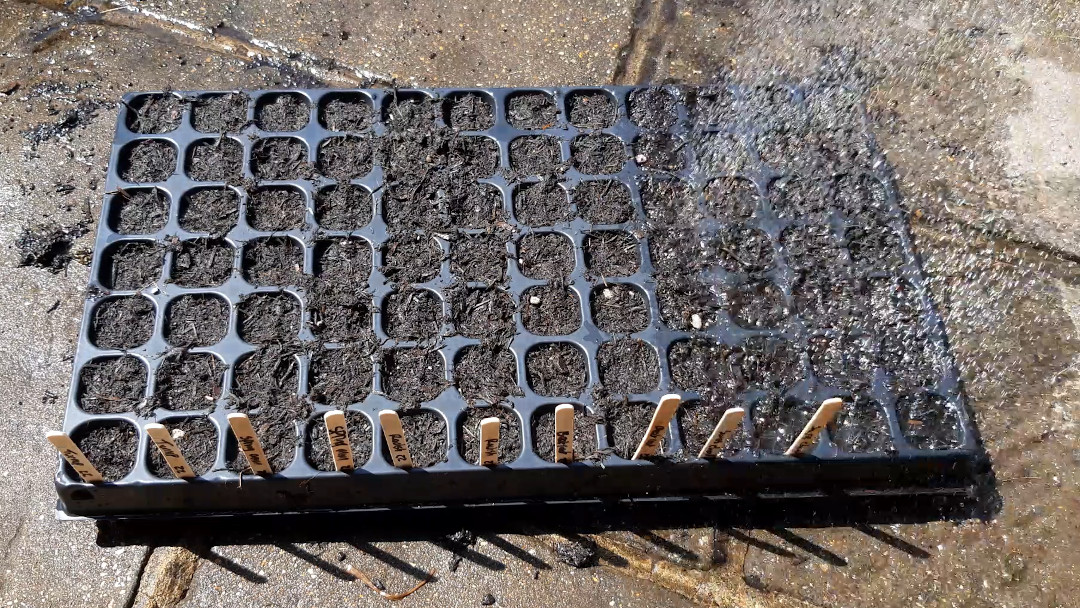
Put your label in place so you remember what you have planted.
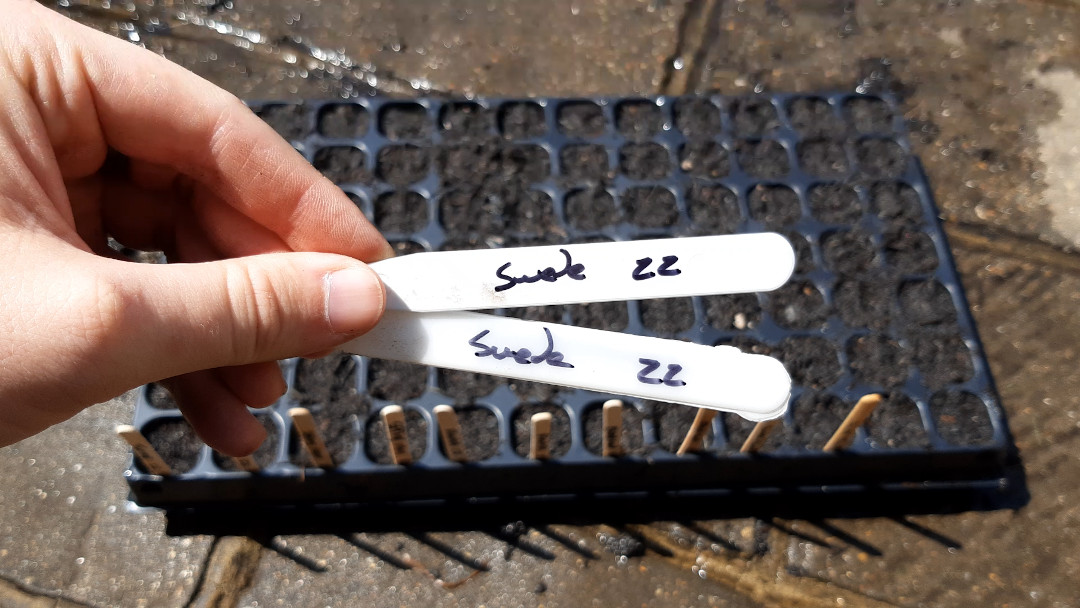
Tip: Instead of writing a label for each column of your seed tray, write two and put them in the outermost columns that you used. If you always do this, you know that everything between the labels is the same.
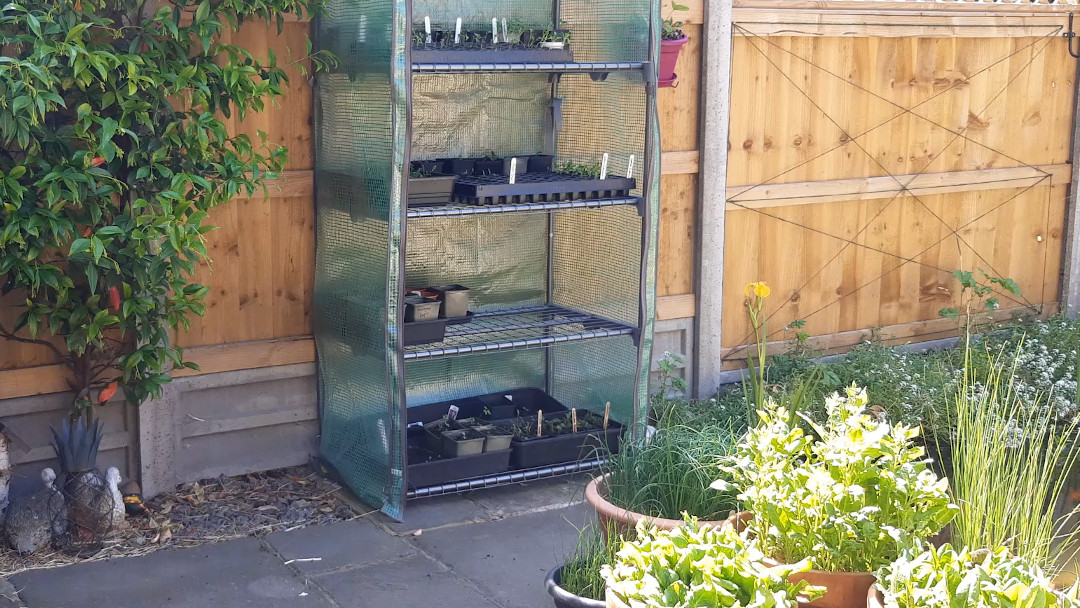
If you’re getting your seedlings going indoors, put this on a sunny windowsill. If, like me, you’re growing in a grow tent (which I would recommend) then this tray can go near the bottom as the seedlings don’t need any light yet.
Week 2: The start of germination
Swede takes between 7-10 days to germinate so it’s excellent that we already have some popping out of the soil. It means that our growhouse is warm enough.
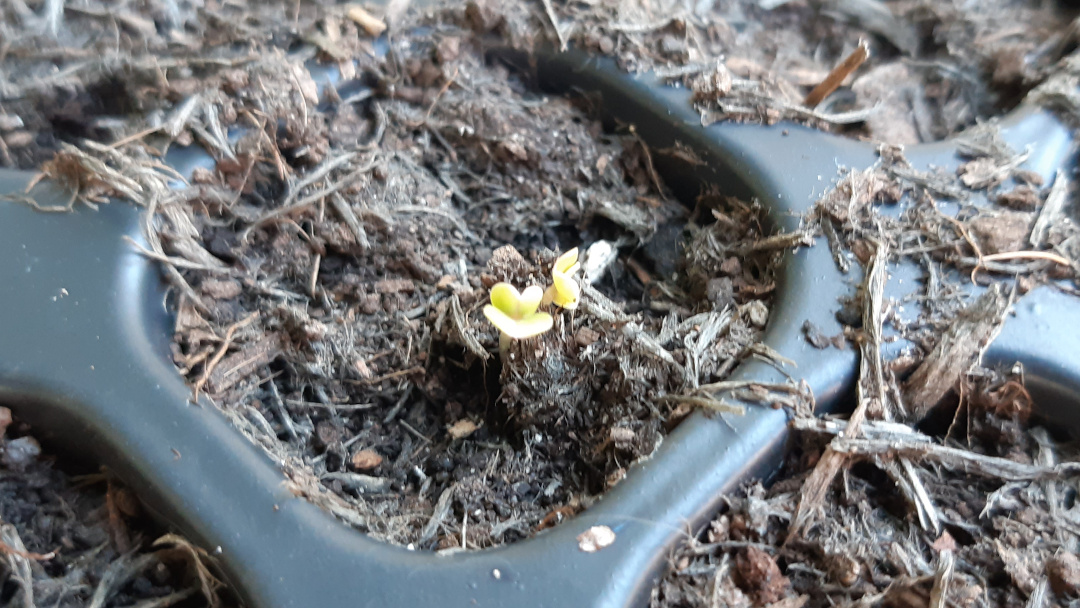
I expect more to pop up as the week progresses.
Week 3: Good germination
We have a good germination across all cells and around 3-4 seedlings per cell.
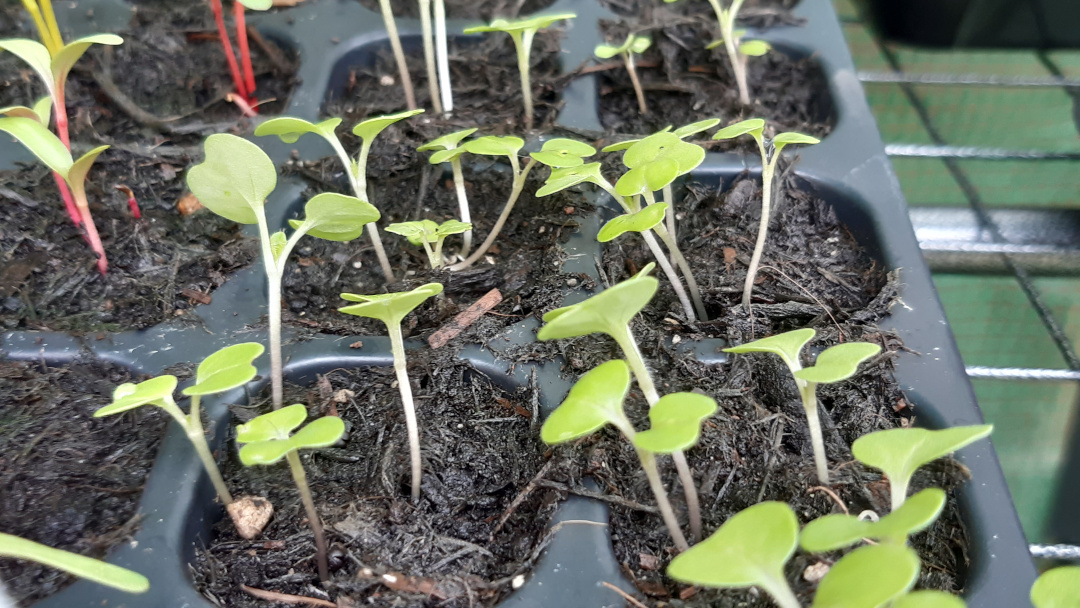
We don’t need to thin these out just yet but, to ensure they don’t get leggy we will rotate the tray each day.
Week 4: Thinning
The swede seedlings are growing well and it’s a good time to thin them out.
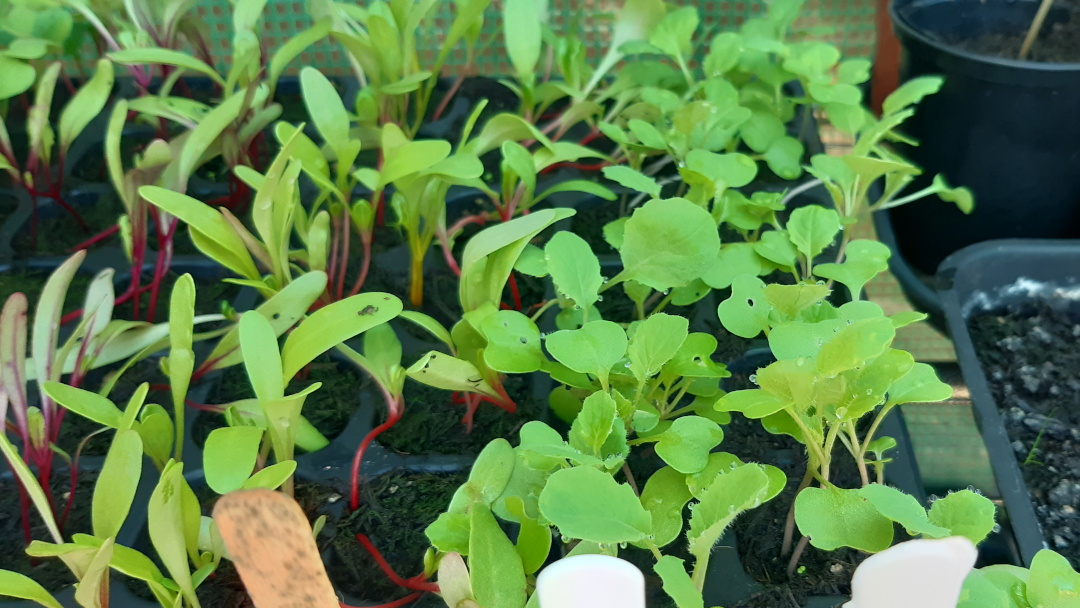
We thin the seedlings because we only need one healthy seedlings per cell and, all the while there are more, they are competing for light, water and nutrients.
For more information on thinning plants, see our post here.
Choose the strongest seedling
When choosing the strongest seedling, look for the following things:
- The number of leaves: The more the better
- The thickness of the stem: The thicker the better
- Is it bendy or straight? The straighter the better
Try to choose the seedling which has the most strong and thick leaves, which shows the least damage and is standing upright.
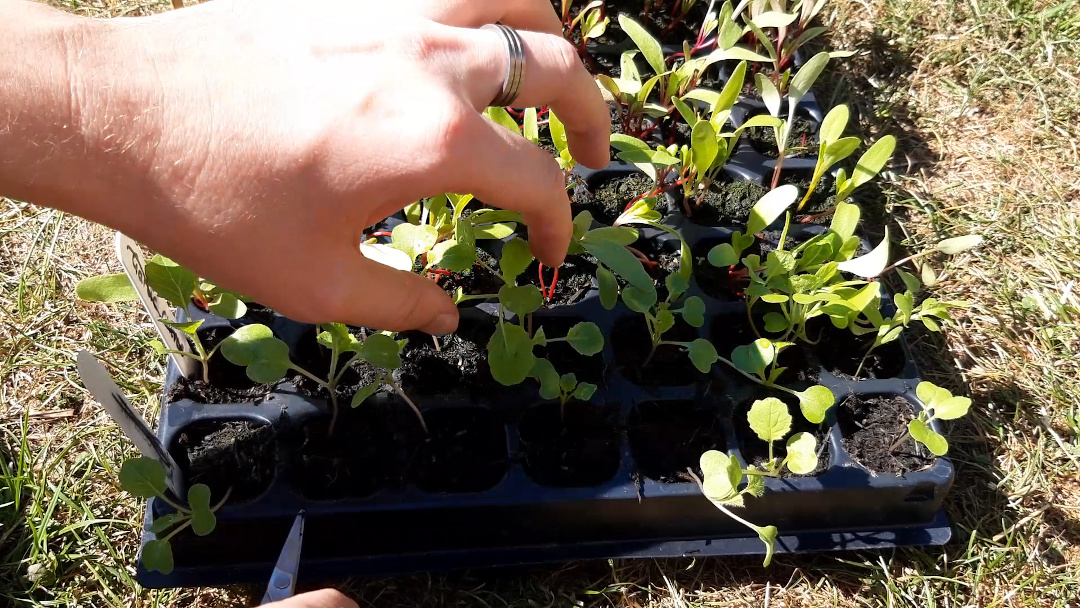
Cut the other at the soil level
With the other(s), cut them at the base of the main stem, as close to the soil level as possible.
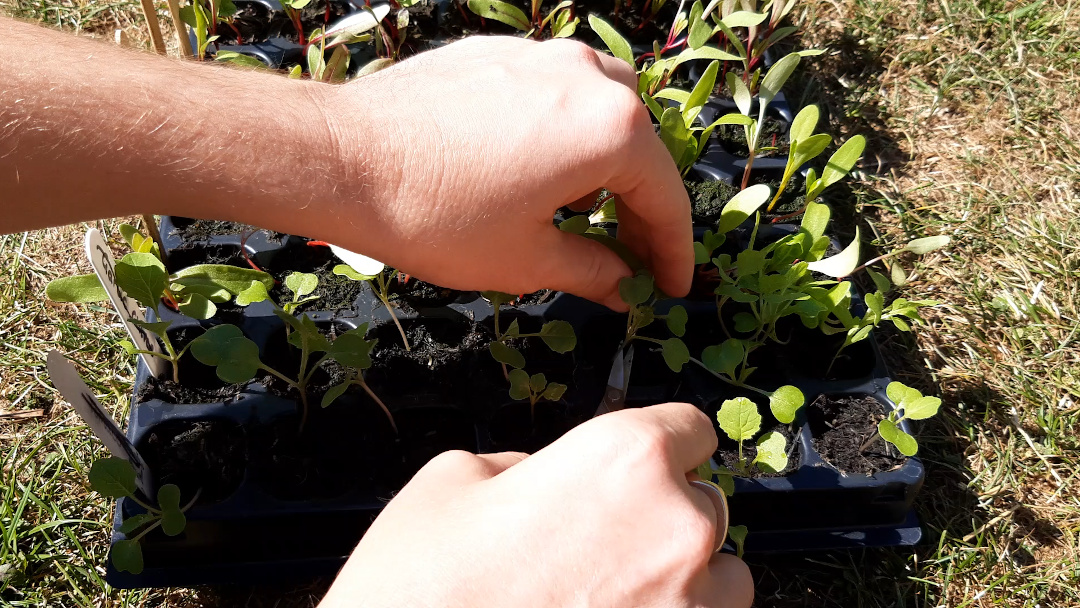
We will give these a couple more weeks in the growhouse so they can grow as large as possible. This will make transplanting more effective and less likely to shock the seedlings.
Week 5: Growing on
The seedlings have responded well to being thinned out and they are continuing to grow on well.
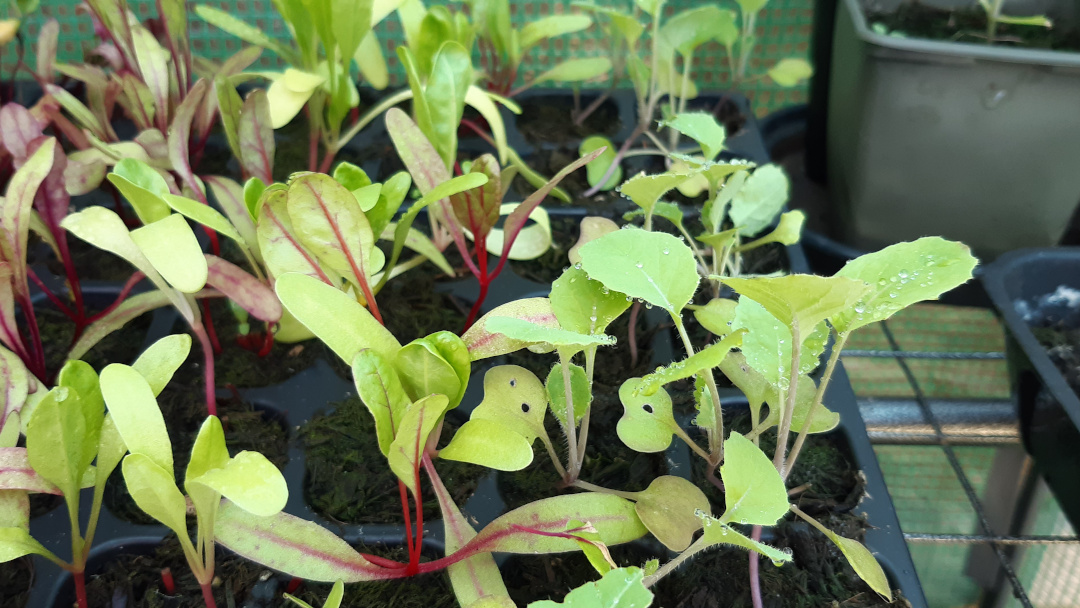
We now need to wait until they are large enough to be transplanted out.
Week 6: Ready to transplant
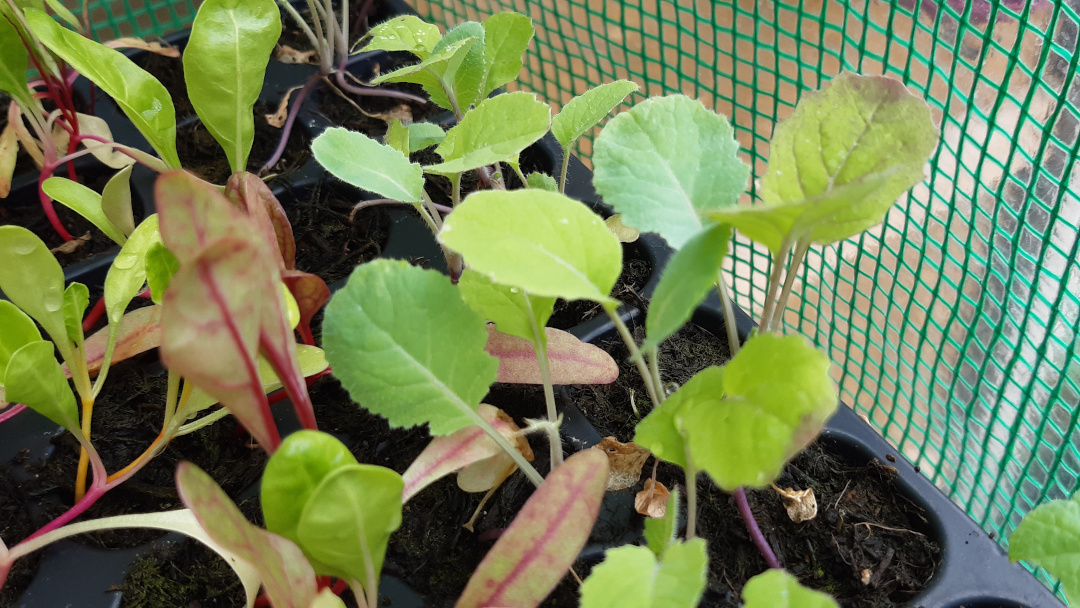
The seedlings are looking really healthy and are developing lots of leaves. These are now ready to be transplanted.
Swede will be happy in large pots, window boxes or straight in the ground. I’m going to grow mine in the ground this year. I’ve cleared a space in the wood chip and it’s good to go.
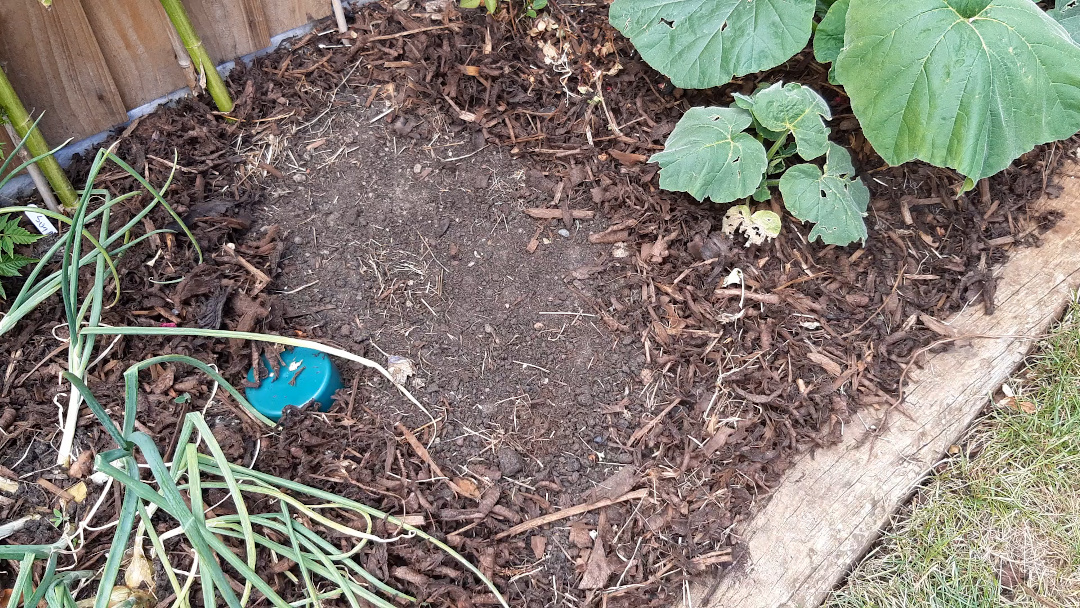
I gave the ground a quick water so that making the holes is a little easier.
Slug collars
The biggest pest in my garden is slugs and snails, so I’m going to try out these new slug collars. They sit around the seedling and, according to the advert, stops the pests from being able to get to the plant.
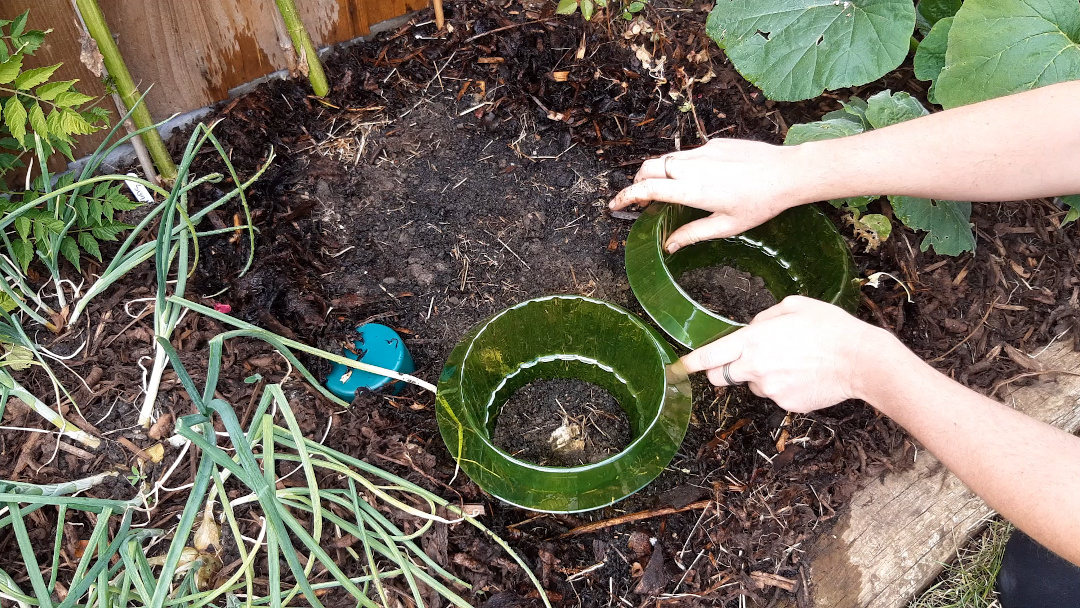
I’m pushing them into the soil and clearing anything around which slugs can use to climb over the collar.
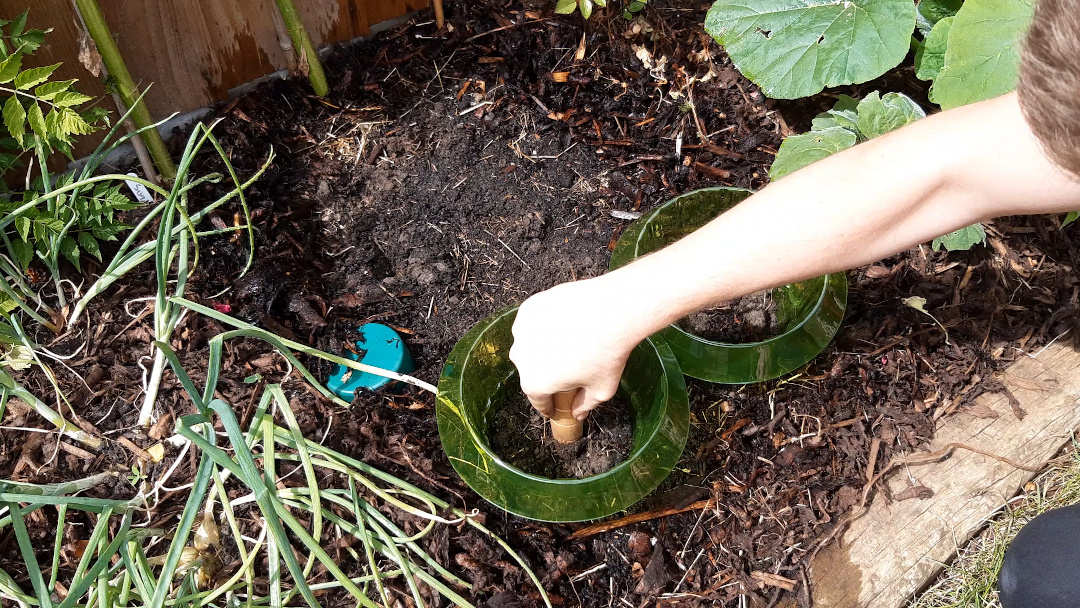
Make the holes
Using a dibber (make your own if you don’t have one, it makes transplanting much easier), make a two inch deep hole for each cell.
If you have a dibber, the lines on it are spaced an inch apart for reference
Try to space them between 20cm and 40cm apart. The collars are quite large but helped with the spacing.
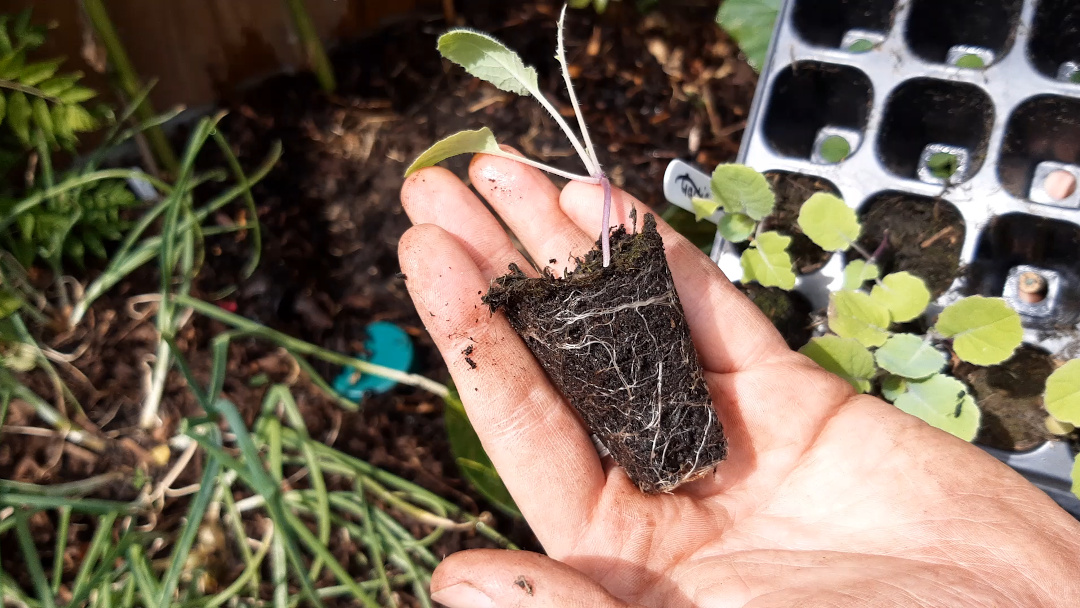
Ease pods from cell
Using the flat end of a pencil, poke out the pod from the cell using the hole in the bottom. If this is a little tricky, water the soil first so it holds together.
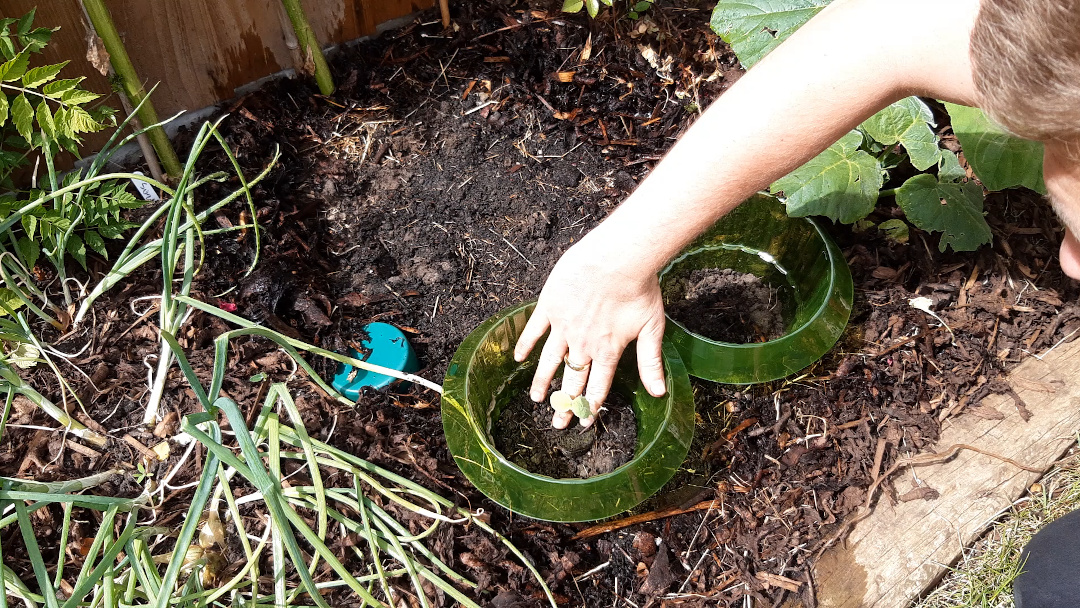
Transplant
Place each pod into each hole and press down so the top of the cell is flush with the top of the soil. Place your fingers either side of the stem and gently push down.
Water
Lastly, give them a really good water. Transplanted seedlings can get shocked by being moved and their roots disturbed. We limit this by using a similar soil in both the tray and the pot and by watering the roots in well after moving them.
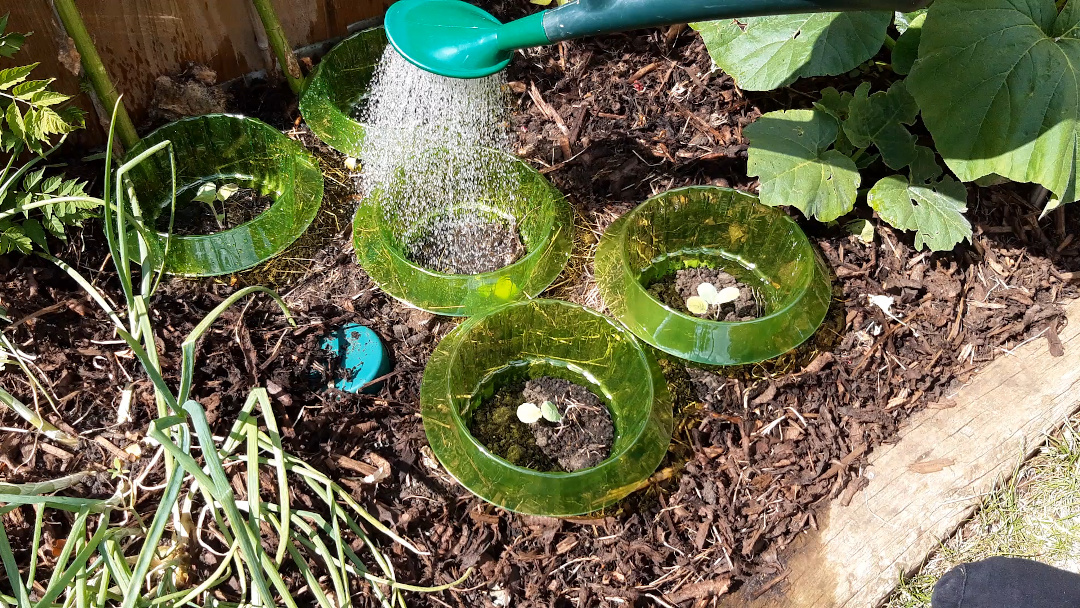
Week 7 → 12: Growing on nicely
The swede has responded well to being transplanted. The shock of having its roots distrurbed means that it will spend some time putting down stronger roots.
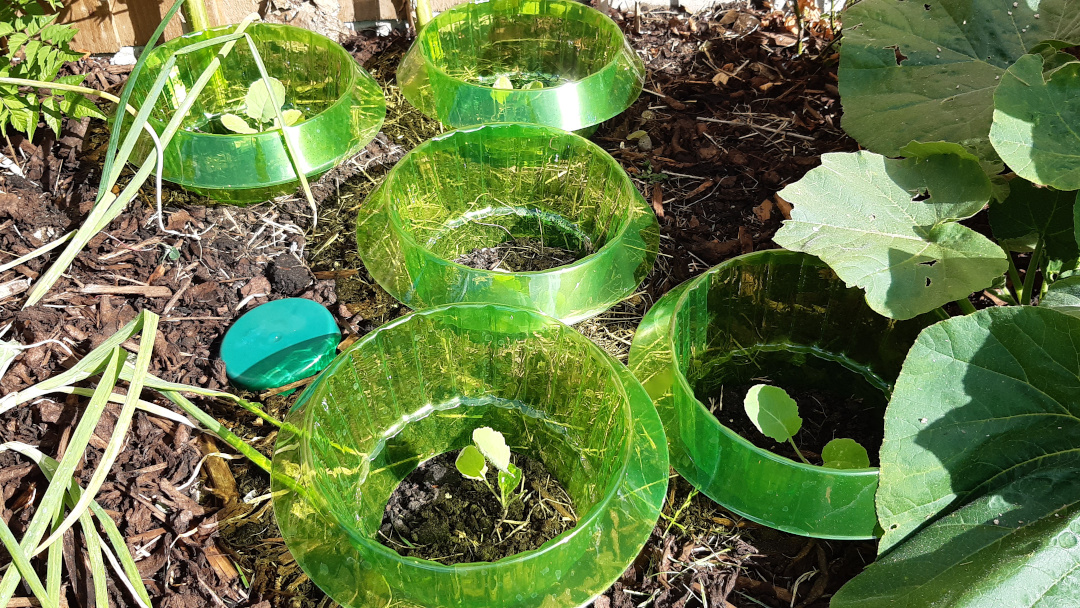
This means that there is usually a period of less foliage and fruit growth. Keep newly transplanted plants well watered.
I’m happy with the slug collars, so far these have not been touched at all.
Unfortunately I lost a couple of the swedes after transplanting. This was caused by a 2-3 very hot and dry days in a row and I missed their watering.
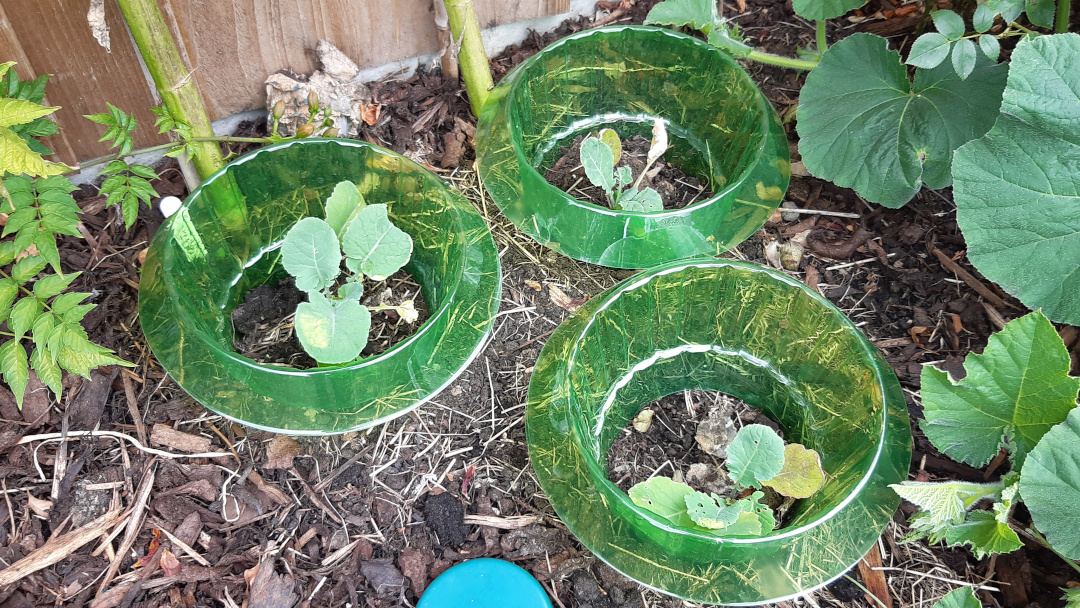
After transplanting, make sure to keep them well watered while they grow deeper roots.
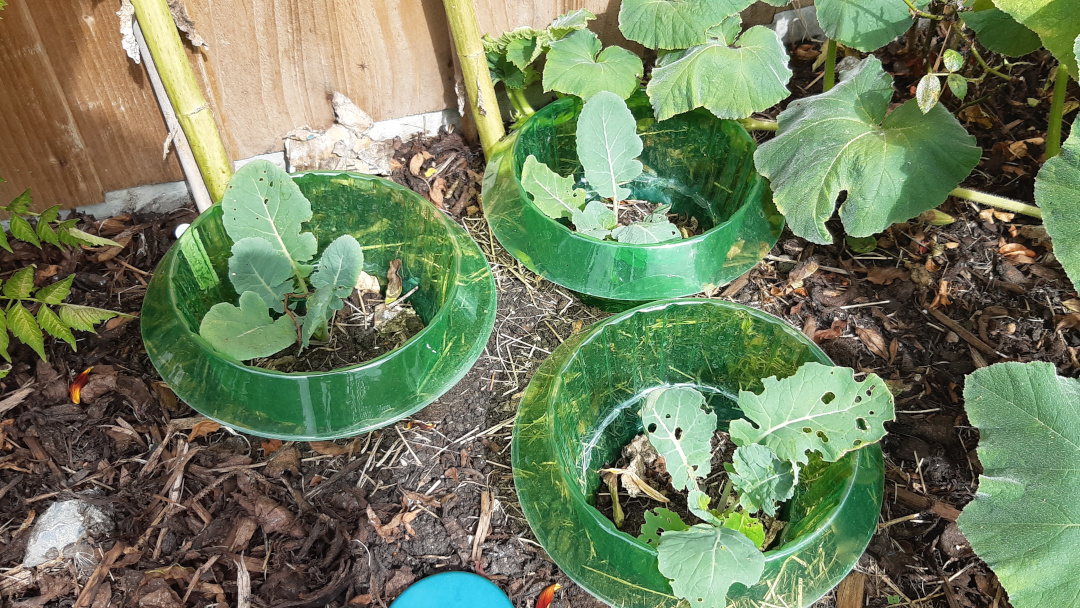
Week 13 → 16: Keep an eye out for eggs
Swede, like all brassicas, are very susceptible to cabbage white caterpillars, so be on the lookout for the distinctive white butterfly hanging around your plants.
Check underneath the leaves of each plant and look for clumps or single eggs, like so:
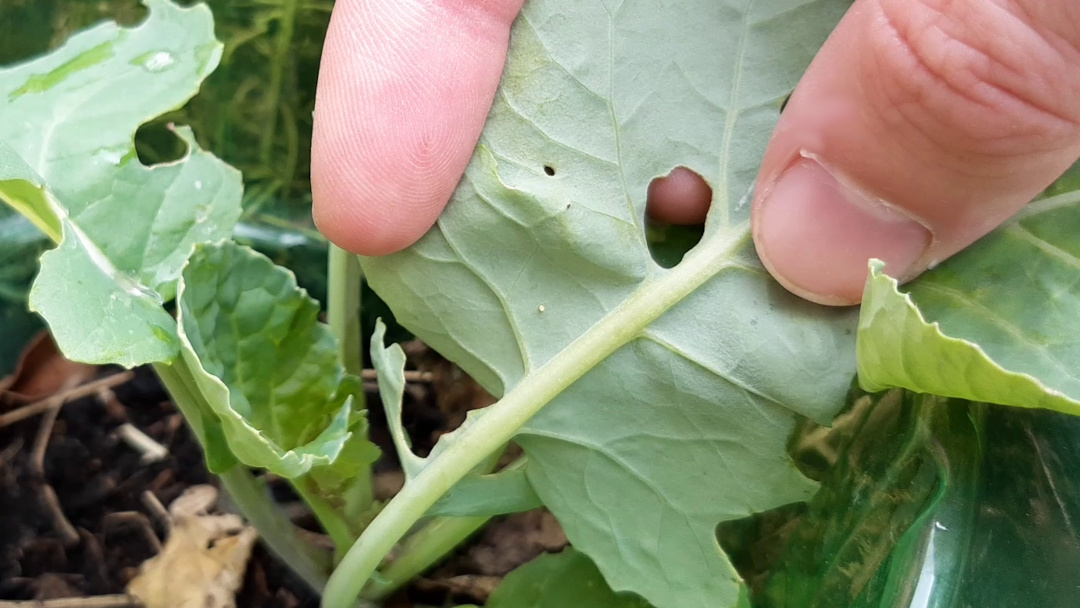
To remove them, either:
- Squash the eggs under your thumb, being careful not to damage the leaf
- Mix up a garlic spray to ward off the butterfly
- Get yourself a pest control spray which targets cabbage white butterfly specifically
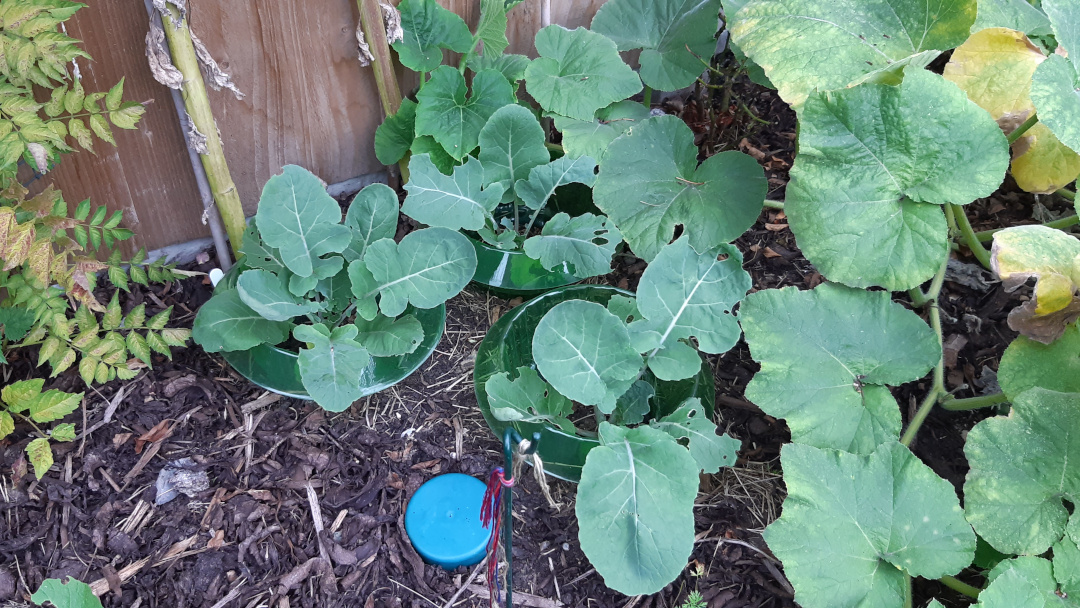
Week 17 → 19: Growing on
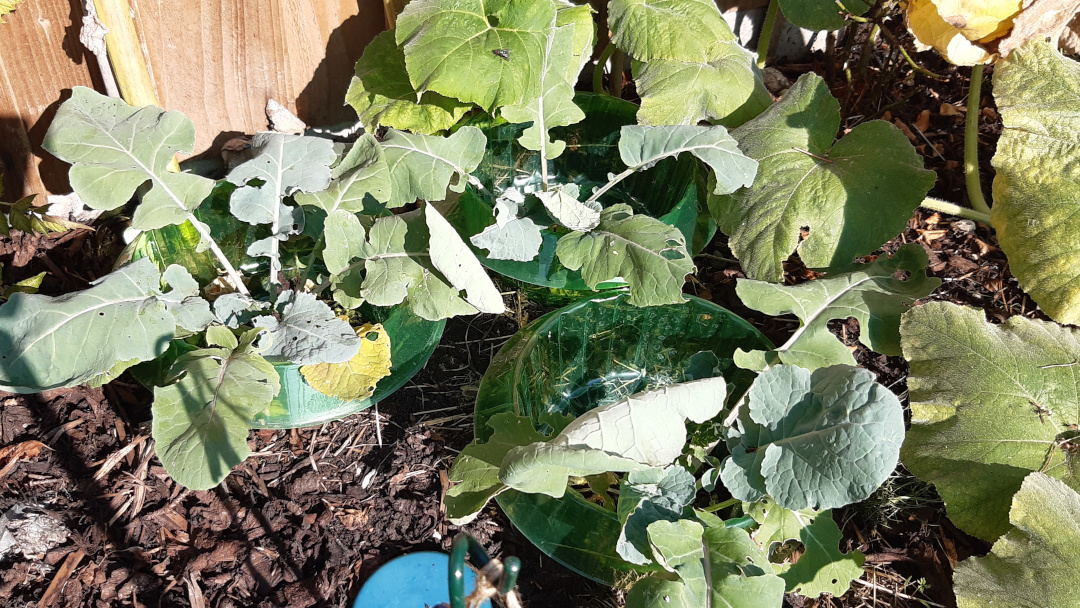
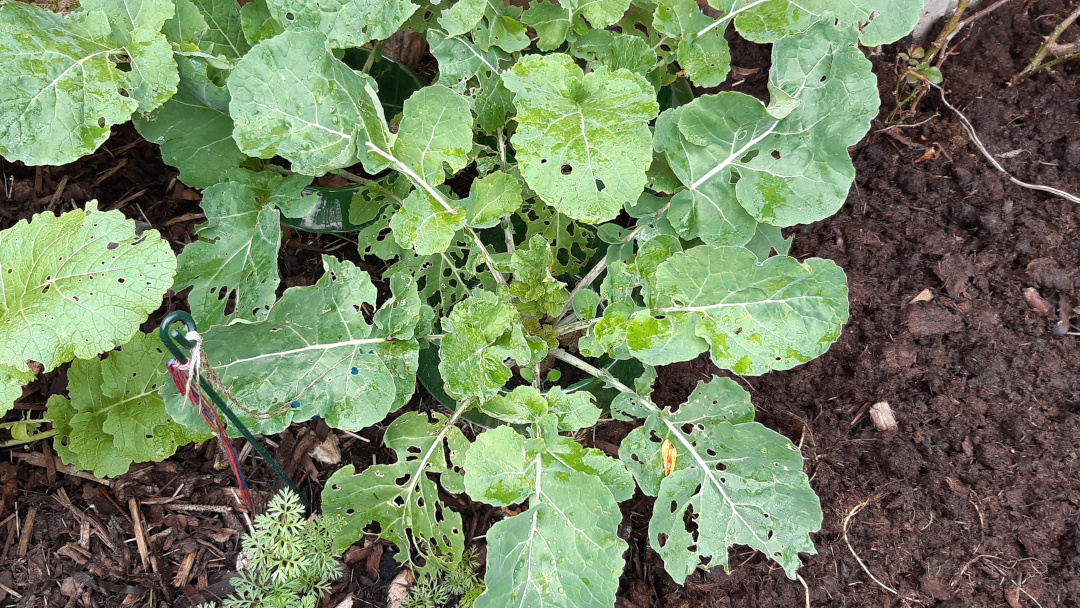
The Swede is growing on well and, judging by the leaves, they are starting to show signs of being nearly ready.
They are looking a little weak. I would guess that they are coming out of the ground next week.
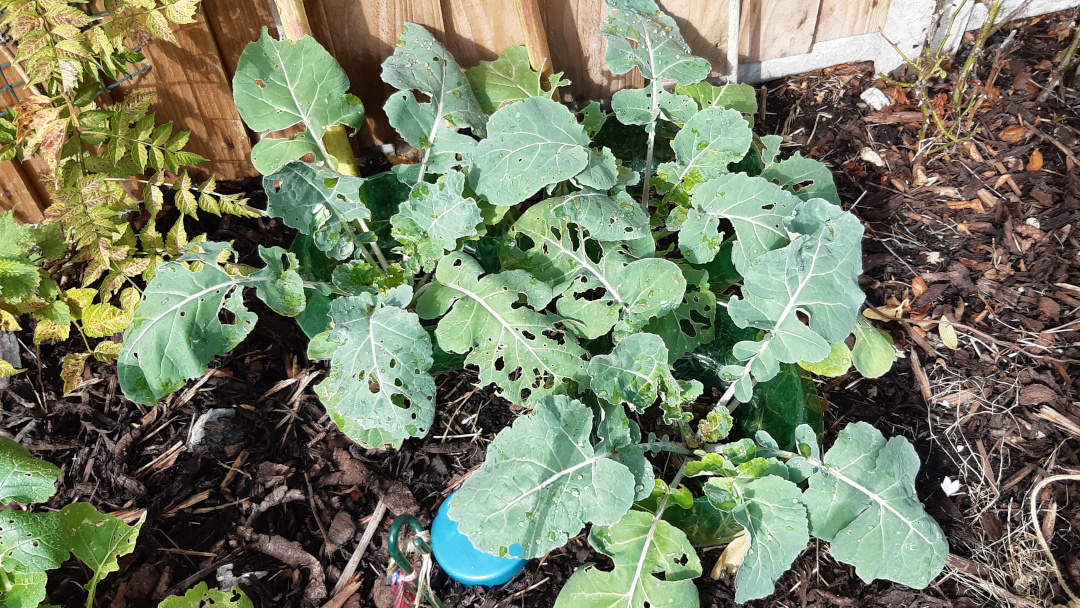
By week 19, the roots are really starting to swell and we’ve had a lot of rain recently, which helps.
Harvest
After around 20 weeks, you should have some healthy sized roots that are ready to be harvested.
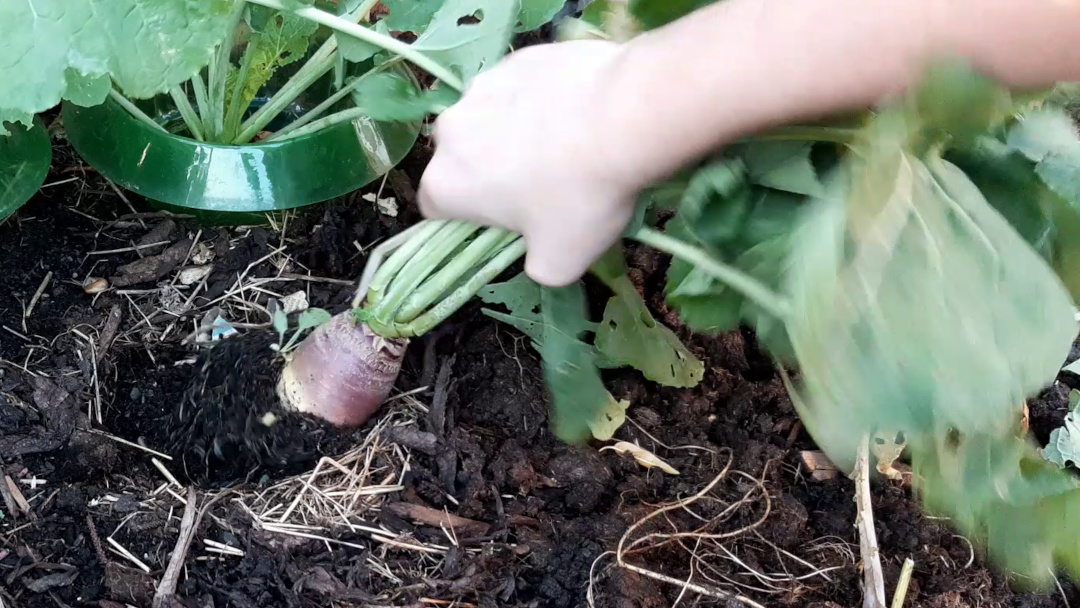
Harvesting is very straight forward. Grab the foliage and twist until it comes free.
Clean it up by removing the smaller roots, washing off the soil and cutting off the foliage as soon as it’s harvested.
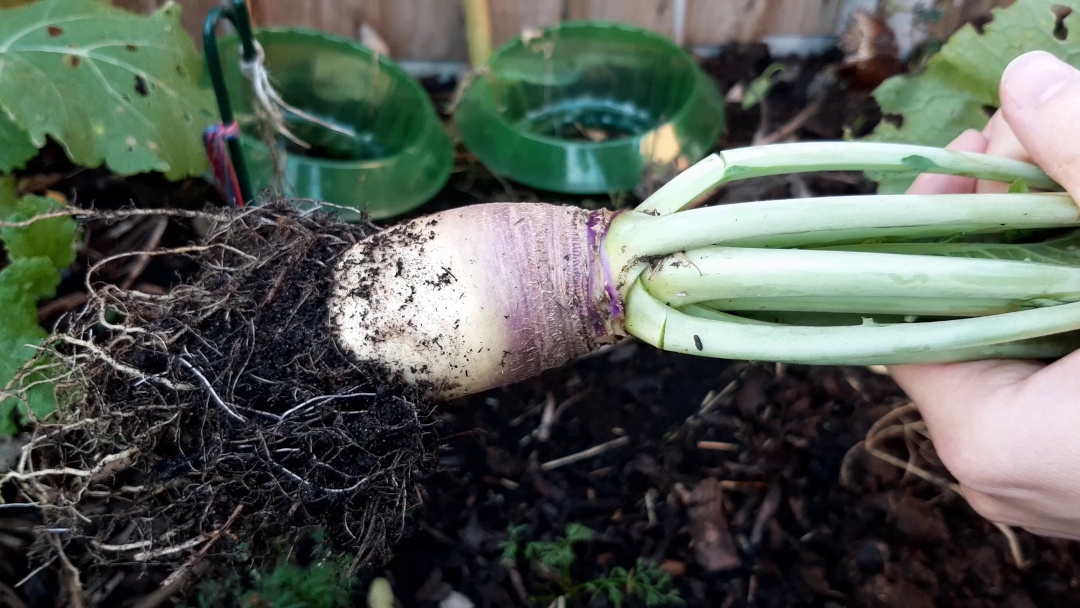
These swedes are a little on the small side this year and I think that was due to the very hot weather we experienced. In future, I’ll mulch well to keep the soil moist and water more often during very hot periods.
I hope you enjoyed this diary. If you have any questions or tips for others, wanting to grow their own food, please leave them in the comments so we can all benefit from your experience.
Article written on May 28, 2020
Updated Nov 05, 2020