Back to Basics
Transplanting
I’m certainly guilty of transplanting plants too early and it’s very easy to damage seedlings.
I’m going to bring it back to the basics for you so we make fewer mistakes and become better transplanters.
What is “Transplanting”?
Transplanting is the act of taking a plant out of one container, to be put into another. It may be moving into a larger container, a raised bed or straight into the ground.
You would normally transplant from a seed tray or cell tray into a pot or the ground.
What can go wrong?
When you transplant, you’re often affecting the root system of the plant. This could be when:
- Splitting/dividing an established plant
- Transplanting from a seed tray into a pot
- Planting a shop bought plant
In all of these cases, you’re either removing the plant from it’s container or from it’s substrate.
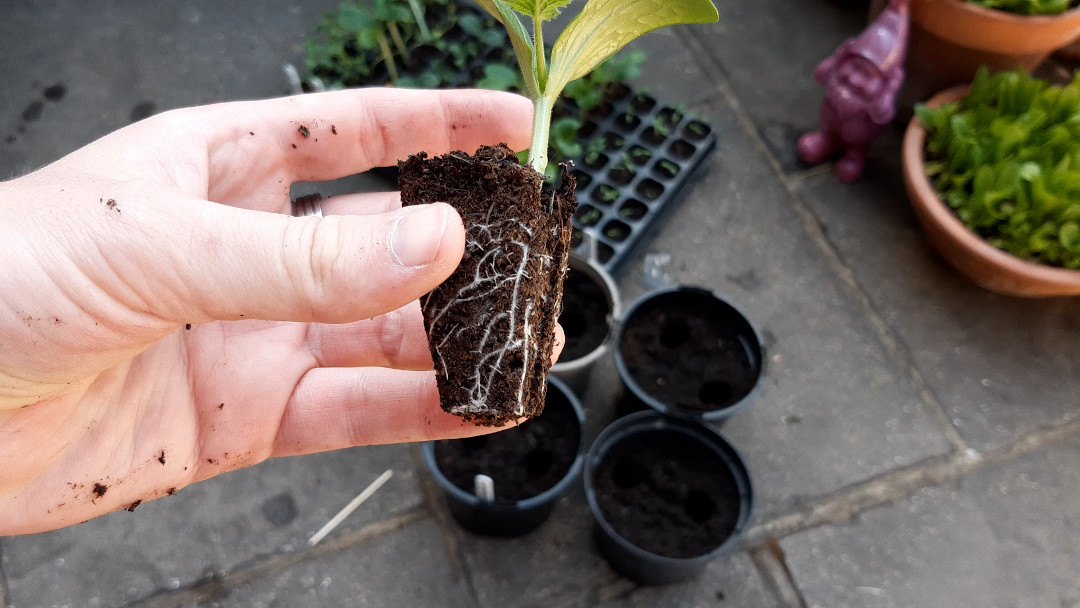
This can cause roots to be snapped, dry out or damaged.
When pushing the seedling or plant into it’s new home, we’re applying downwards force which can damage the stem or foliage of the plant, hampering it’s ability to grow.
With care, damage can be avoided or lessened.
Play the odds
The first piece of advice when transplanting is to aim to transplant more than you need. If you often lose a third of your seedlings when transplanting, grow a third more than you need. If they end up surviving, you can thin them out later. If they do end up dying, you still have the amount of plants left that you intended.
Transplanting from a pot
OK, so you have your plant in it’s pot and it’s ready to go into the ground, or into a raised bed.
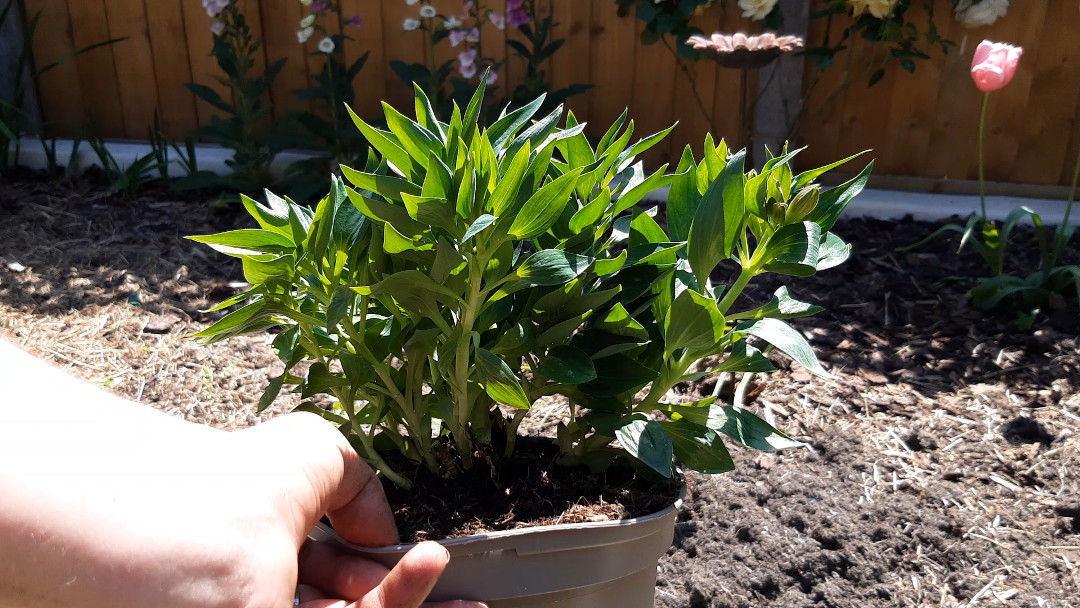
Step 1: Properly water the plant in it’s pot and make sure the soil is completely saturated. It’ll hold the soil together which makes transplanting easier and gives the plant a good drink before going into the ground.
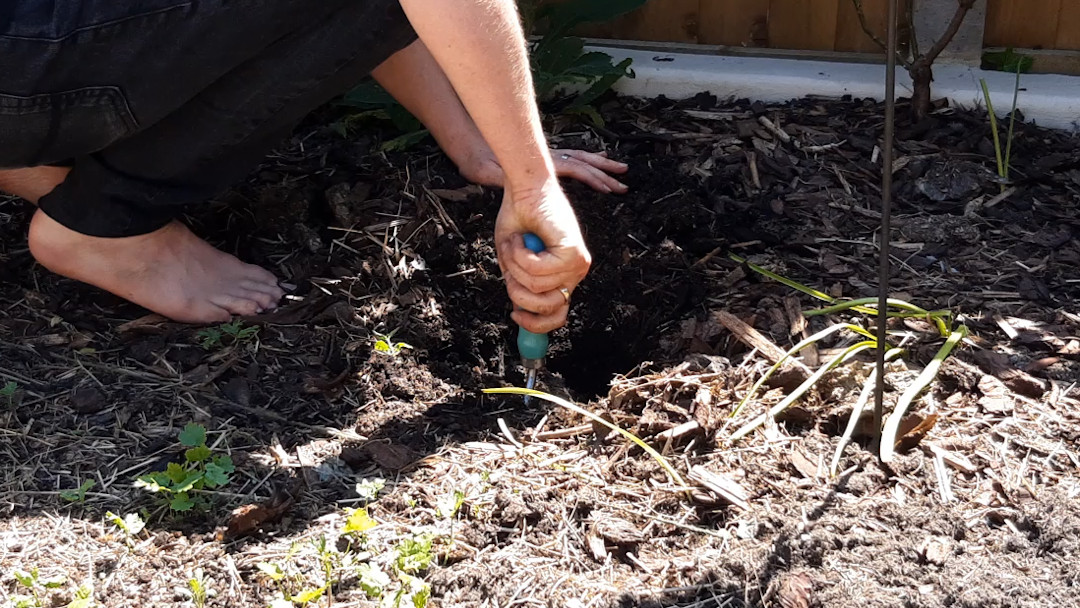
Step 2: Dig a hole which is the same size and depth of the pot the plant is currently in.
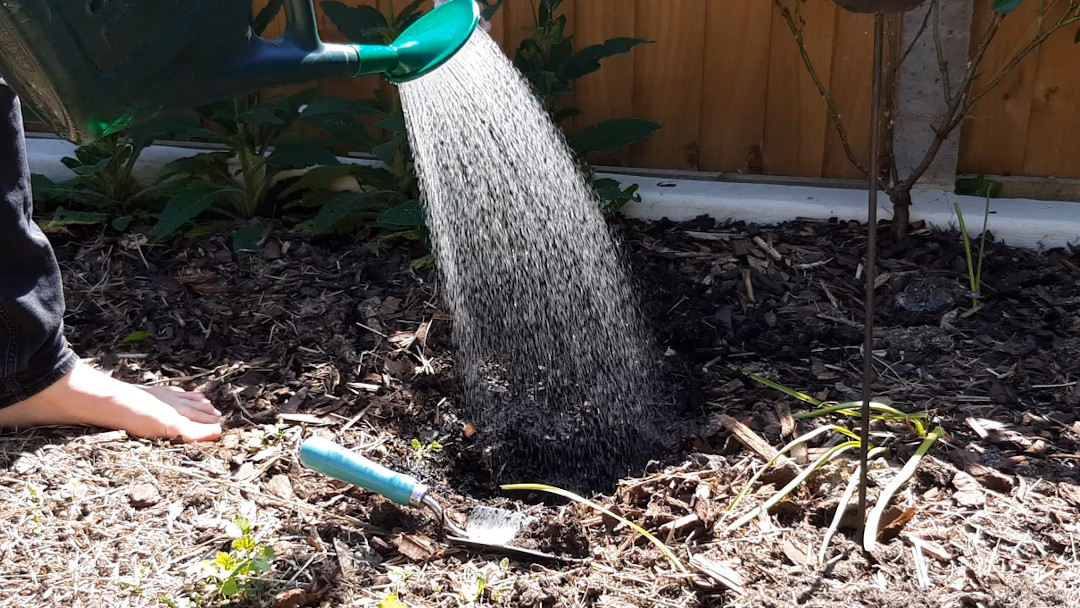
Step 3: Water the hole. This makes the hole moisture the same as the pot moisture which means the exposed roots wont get shocked or dry out.
Step 4: Take the plant out of the pot and drop into the hole. If the plant doesn’t come out easily, try squeezing the side of the pot to encourage it to drop into your hand. Don’t hold onto or pull the plant, instead place your thumb on one side of the plant and your hand on the other side and catch it as it slides out.
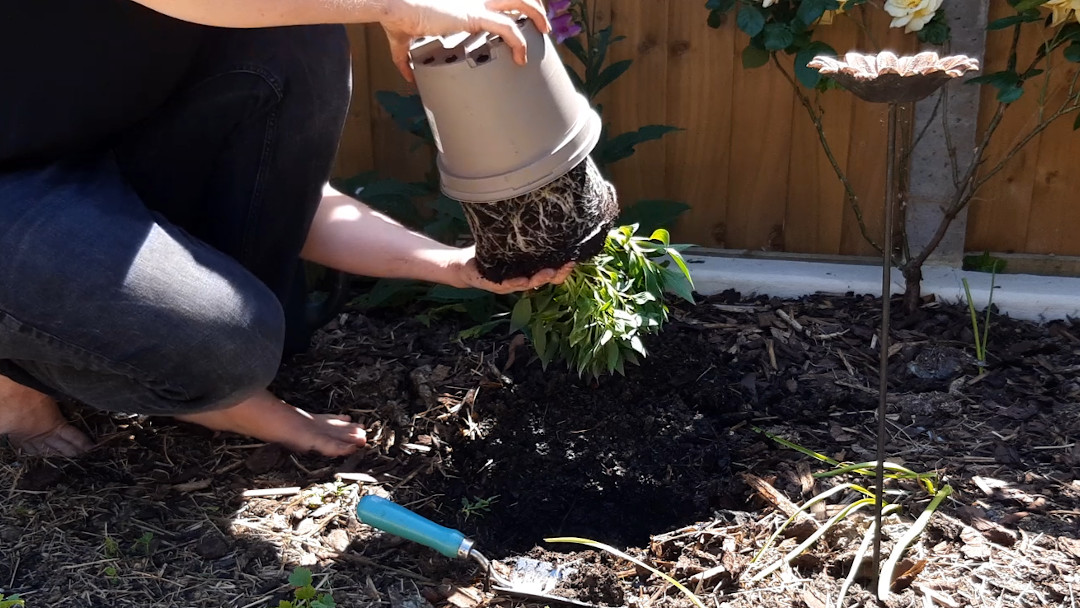
Step 5: Fill any empty gaps with soil or compost.
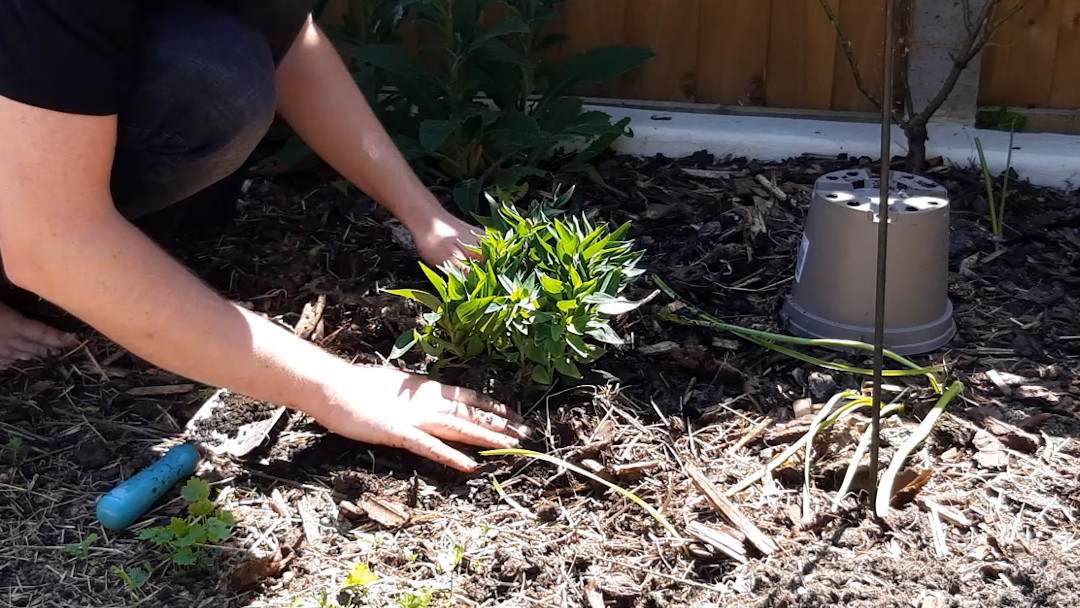
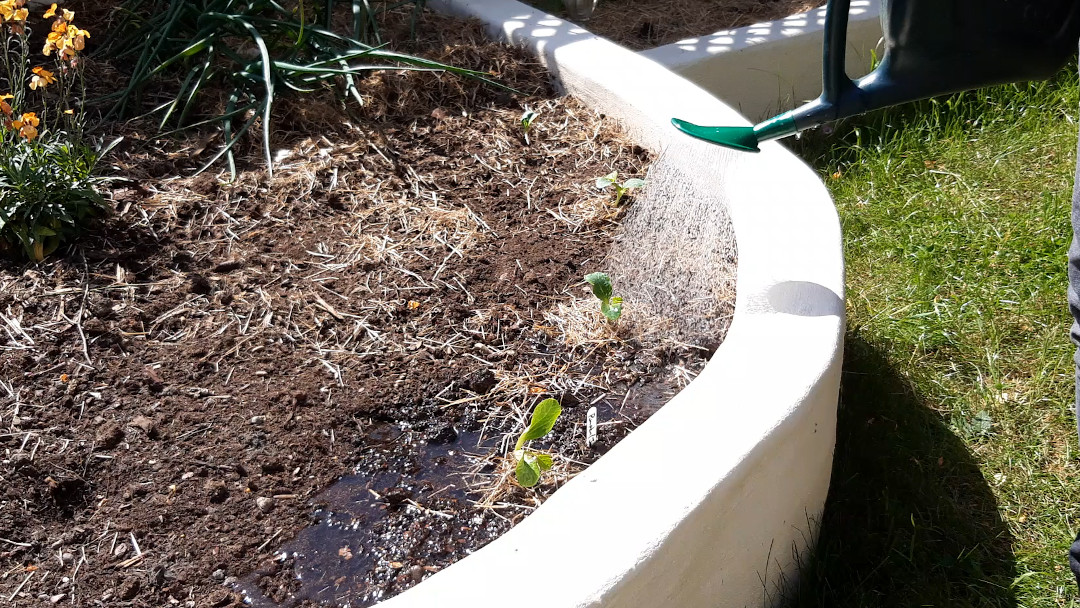
Step 6: Water again. It feels like too much water but this washes soil into any gaps that may be present which will encourage the roots to push out.
From a seed tray
When transplanting from a seed tray, the key is to take it slowly and be careful. In a seed tray, multiple seedlings are sharing the same soil and it’s much easier for the roots to get tangled.
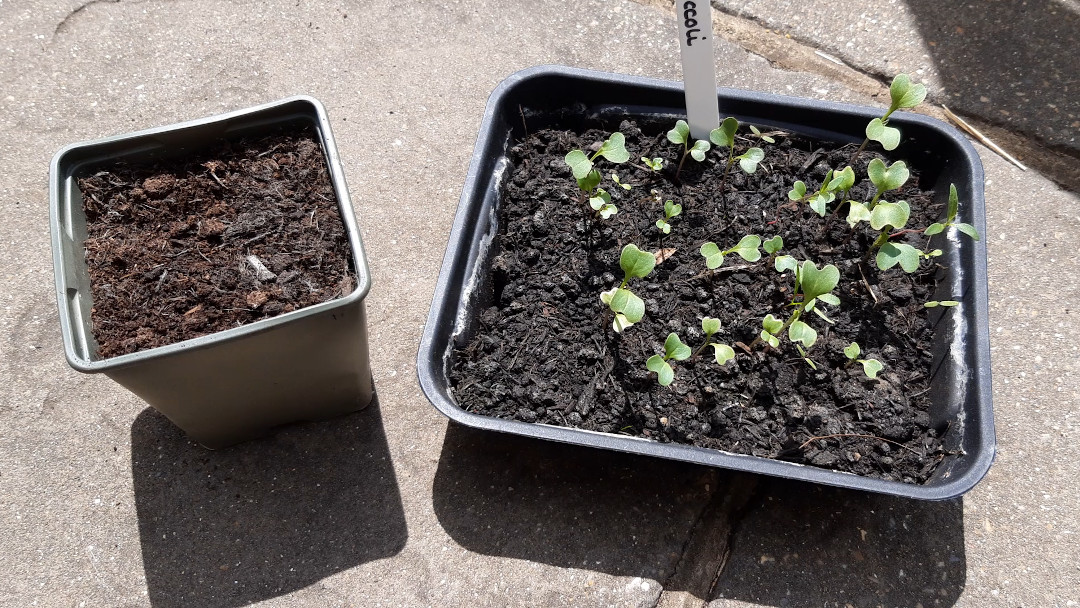
You should look to move plants on from it’s seed tray when the plant has developed 3-4 true leaves.
Step 1: Fill a pot with soil (optional)
If you’re moving the seedling to a pot, fill the pot with compost.
Step 2: Water the tray
This will make the roots less brittle and will loosen up the soil.
Step 3: Cut out each seedling
Using a small spoon, cut around the seedling, leaving some space around the seedling to lessen the risk of damaging the core roots.
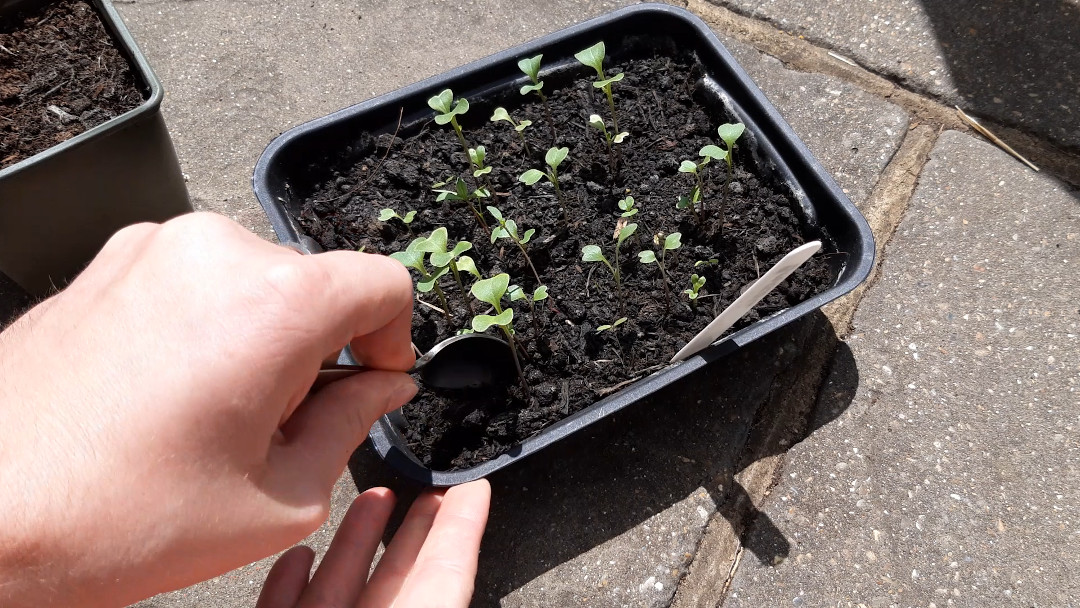
Step 4: Lift out the seedling
By holding onto the leaves, not the stem, lift out the seedling.
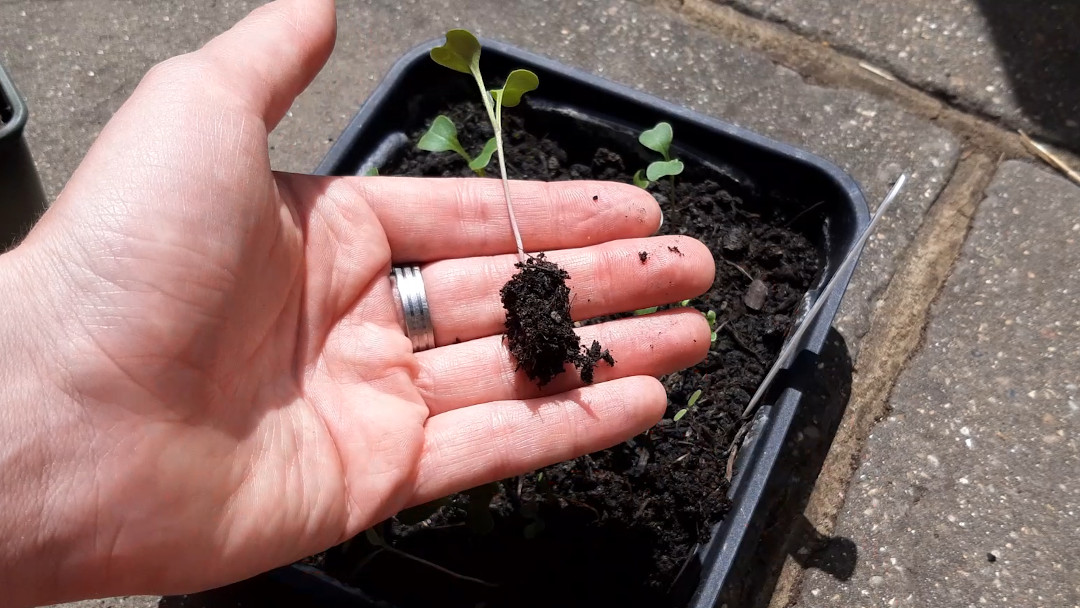
Step 5: Place in pot or make a hole in the soil
If you’re planting into a pot, make a hole in the compost:
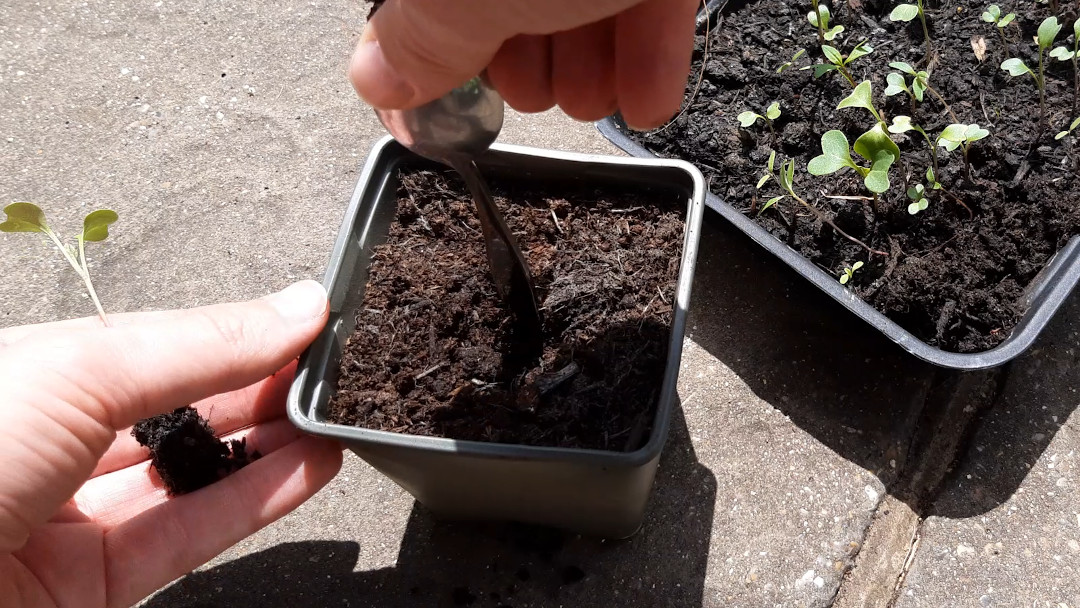
Or use a dibber if you’re planting into the ground or raised bed.
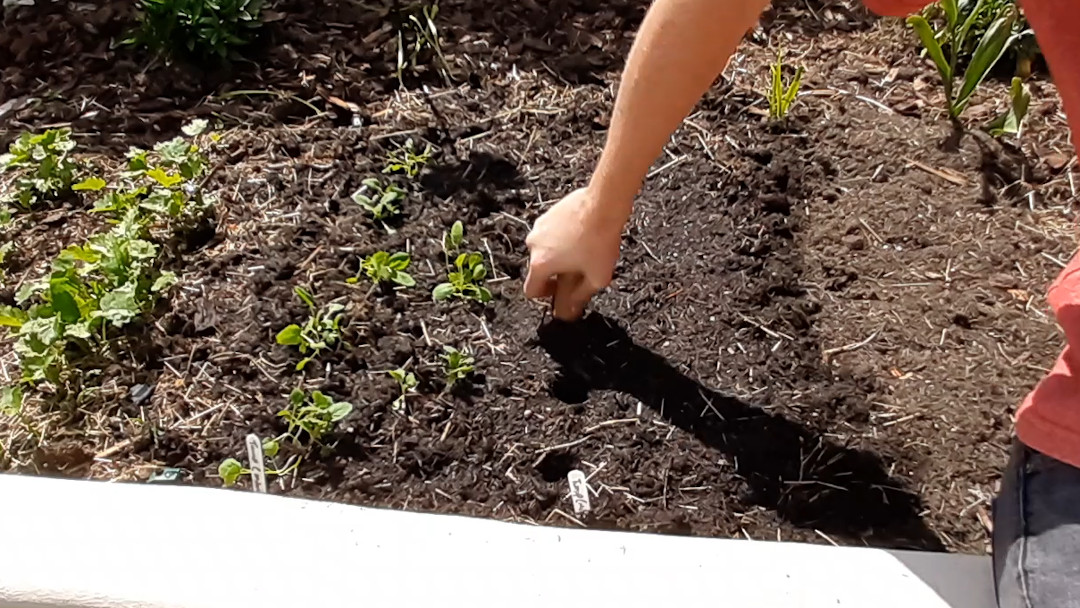
Step 5: Press in and water
Press the seedling down into the hole and gently bring soil up around the seedling stem.
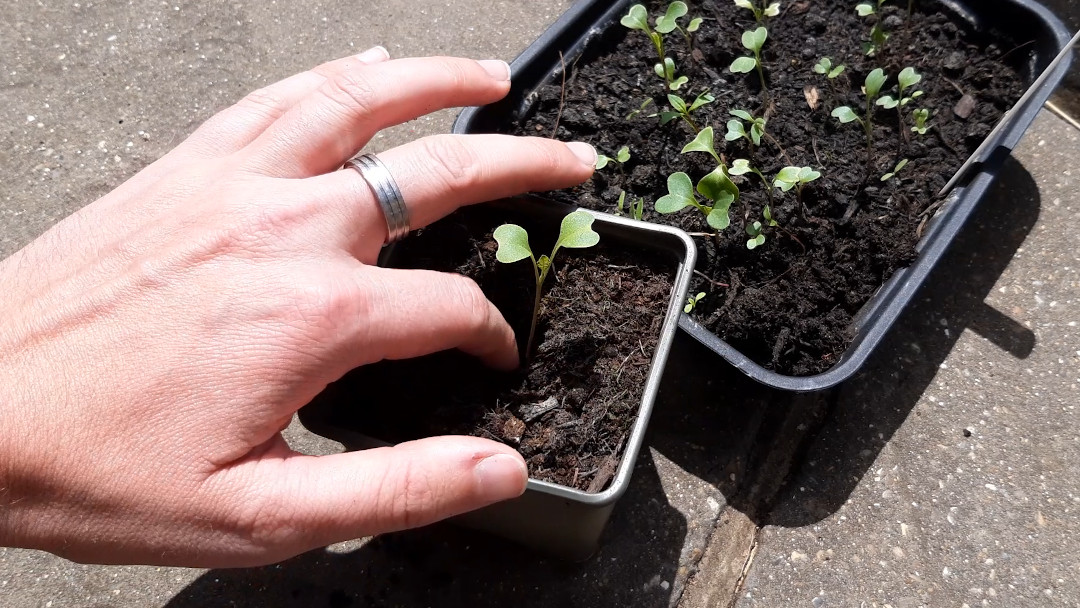
Lastly, give it a really good water. Transplanted seedlings can get shocked by being moved and having their roots disturbed and exposed. We can limit this by giving it a good soak.
From a cell tray or pod
This is for when you have a cell tray or plants growing in small pods (e.g. toilet roll tubes) and the seedlings have outgrown their cell. They would now either be transplanted into their final position or upgraded to a pot.
You should look to move plants on from a cell tray when the plant has developed 3-4 true leaves.
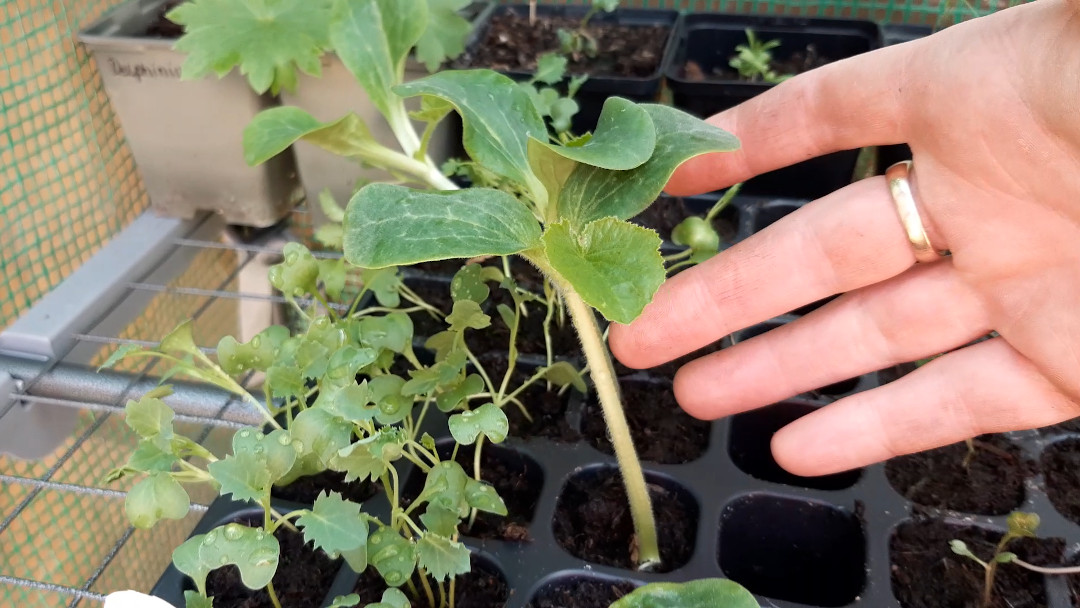
A seedling of this age has a greater ability to create energy and to grow more roots. A seedling smaller than this will have a harder time growing into it’s new position. It will happen, it’ll just be slower.
Step 1: Make the holes
Using a dibber or anything which is the same girth as the seedling’s cell, make a hole the same depth as your cell tray. If the seedling is particularly tall (often with tomato seedlings), you can transplant the seedling deeper to give it some additional stability.
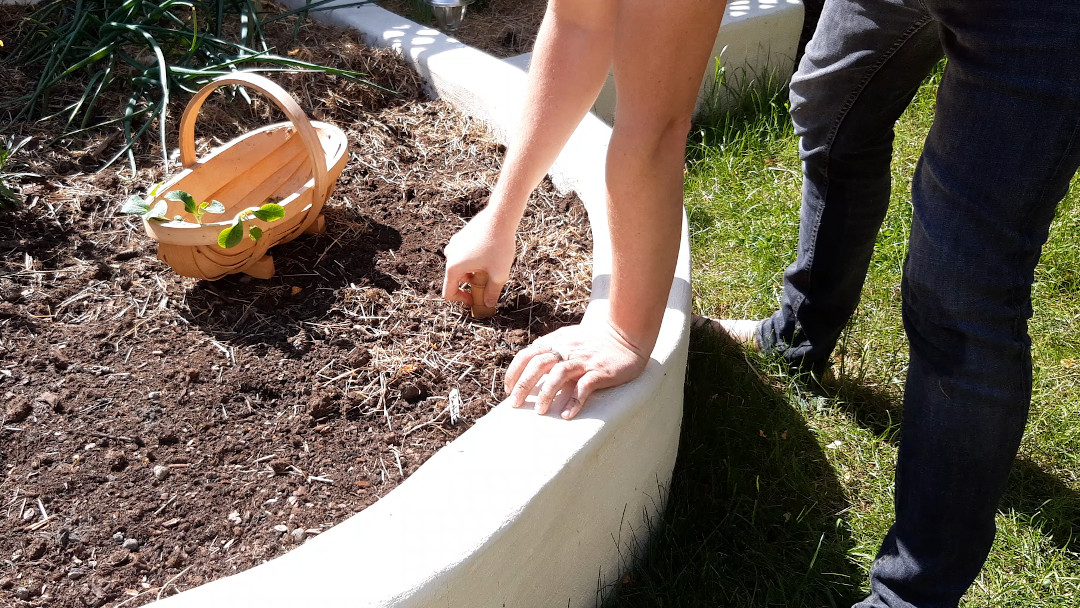
Step 2: Ease pods from cell
You can ignore this step if transplanting from a pod.
Using the flat end of a pencil, poke out the pod from the cell using the hole in the bottom. If this is a little tricky, water the soil in the tray first so it holds together.
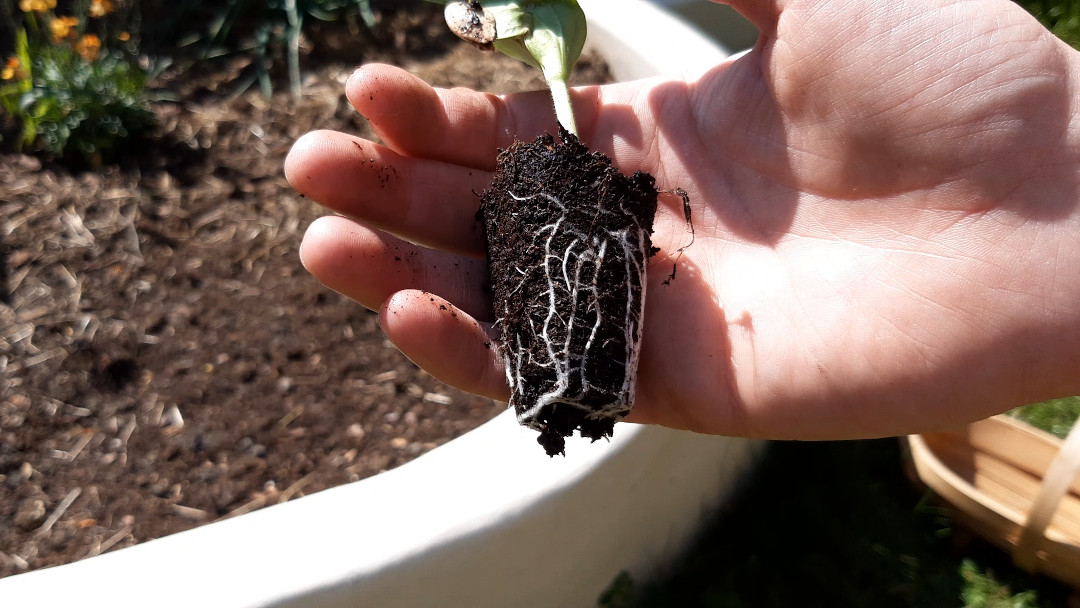
Step 3: Transplant
Place each pod into it’s hole and gently press it down at the sides to push the pod to bottom. Bring some soil up to surround and support the stem.
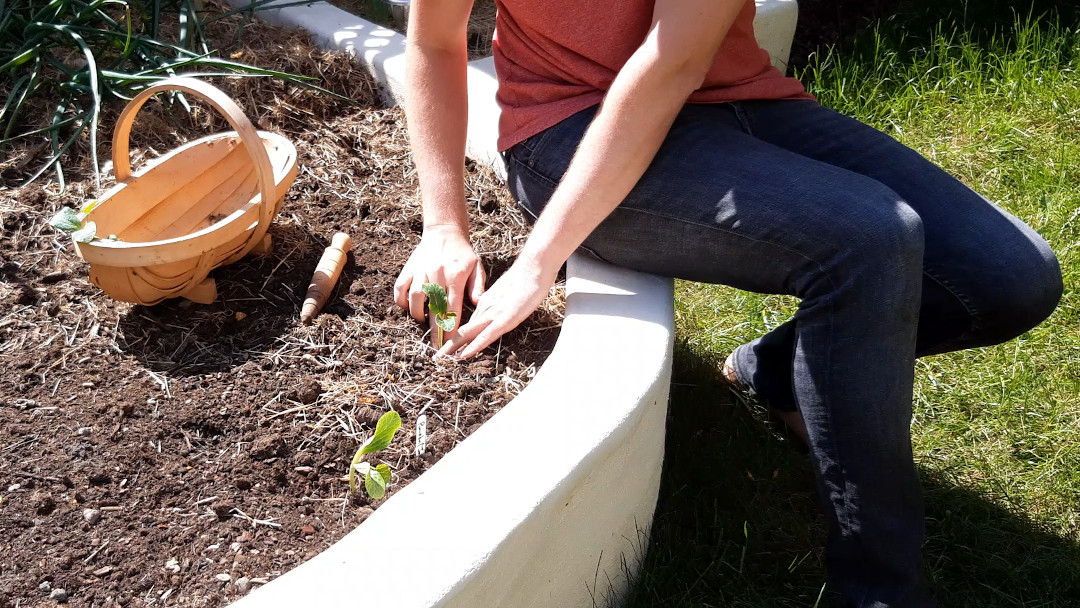
Step 4: Water
Lastly, give them a really good water. Transplanted seedlings can get shocked by being moved and having their roots disturbed and exposed. We can limit this by giving it a good soak.
Share your learnings
I’d love to hear from you now. Share with us your tips and advice so we can all learn and grow together.
If you liked this article, consider joining us on social media where the community shares their stories and tips:
Article written on Jun 02, 2020
Updated Jun 01, 2020