Basil
A nice compliment for tomatoes and garlic
Used in many Mediterranean meals, it’s a great herb to grow alongside tomatoes and garlic. I’m going to grow this indoors in a windowsill herb garden.
This is a week by week diary of the growing, maintenance and harvesting basil.
Quick tips
- Sow into a seed tray
- Germinates in 2-3 weeks, in a warm spot
- Grows as a bushy plant
- Seeds can be sown from February → June
- Prefers full sun
- Can be grown in pots on the kitchen windowsill
Dates
To grow basil through the summer, use the following dates:
| Jan | Feb | Mar | Apr | May | Jun | Jul | Aug | Sep | Oct | Nov | Dec | |
|---|---|---|---|---|---|---|---|---|---|---|---|---|
| Sow | I | I | I | I | I | |||||||
| Harvest | H | H | H | H |
Types of
We’re growing “Sweet Green” basil this year which can be found here from Thompson & Morgan

Growing diary
I started this diary, and sowed these seeds, towards the end of October (43rd week of the year).
Week 1: Sowing
The first step for our diary is to sow our Basil seeds into a seed tray. Make sure the seed tray has holes in the bottom so that any excess water can drain away.

Start by filling the seed tray with some compost and pressing it down gently to remove any air holes.

Next, open your seed packet and sprinkle a few of your Basil seeds on the surface. We only need a few healthy seedlings, so don’t go crazy.

Then, cover the seeds with a little more compost to cover them and allow the moisture of the compost to surround the seeds:

Lastly, water this thoroughly to give the seeds the best chance of germinating.

Put this on a warm/sunny windowsill so that the seeds are warm enough to germinate. All we need to do now is wait.
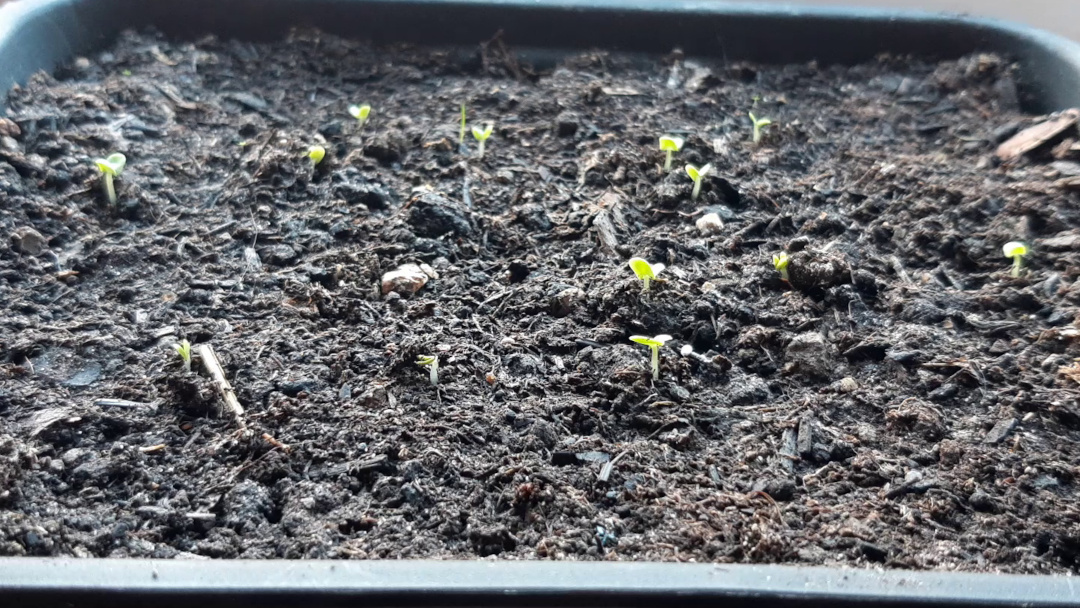
Week 2: Germination
The seeds have started to germinate at the end of week 2.

Make sure to not let the compost dry out.
Week 3 → 7: Seedlings growing well
More seedlings have germinated this week and over the next 3 weeks, they will start to grow taller.
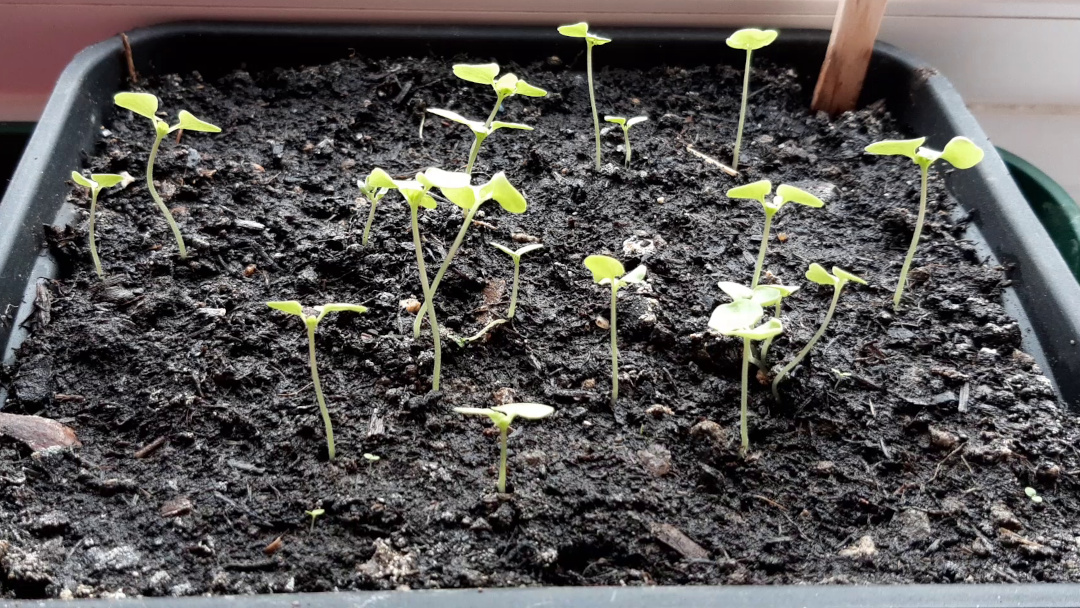
If you need to, turn the tray every few days to stop the seedlings leaning to one side.
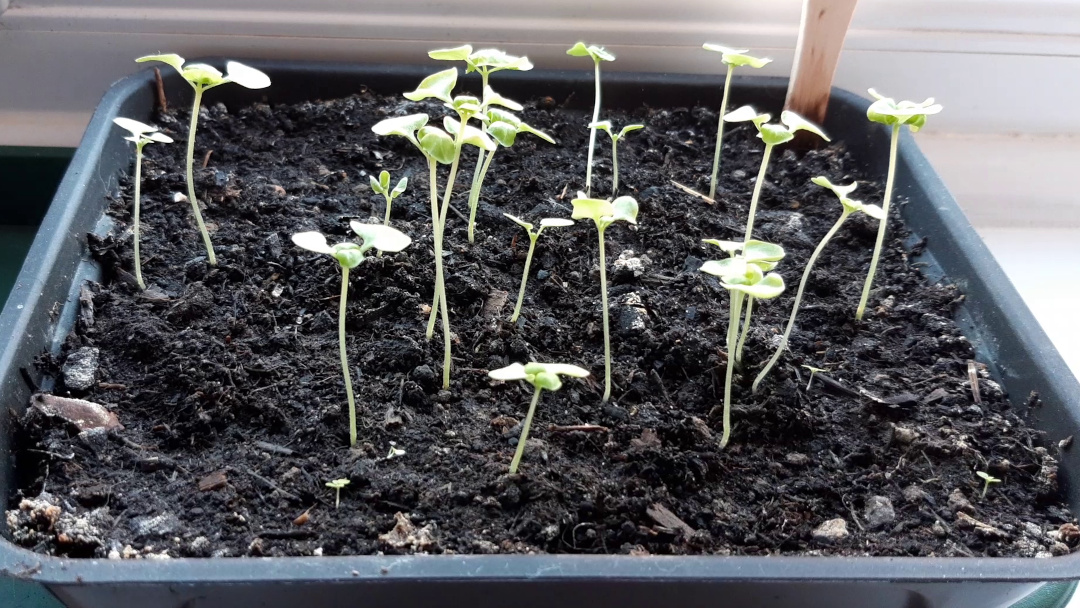
Depending on the time of year that you’re growing your basil, you may need to water the compost every so often to stop it drying out.
Week 8: Ready to move on
By week 8, the seedlings are growing quite tall and are ready to move on into a pot, for the added root space and support.

Step 1: Gently ease each seedling from the tray
Being very careful not to damage the roots of the seedling, gently ease it out of the compost. An old spoon or a lolly-pop stick works well for this.

Step 2: Clean up the root ball
Remove as much of the soil around the roots as possible, without damaging them. This will make it easier to drop the seedling into it’s new pot.

Step 3: Drop into new pot
Fill a pot with some potting mix, or a simple mix of soil and compost/manure. Make a hole in the center with a pencil or stick and place the seedling into the hole

Step 4: Clean up
Using a little more compost, if you need it, surround and gently firm the compost around the stem of the seedling to hold it upright. Give this a water and pop in a sunny location.

Transplanted plants need a little more water than others, while they build a healthy root structure.
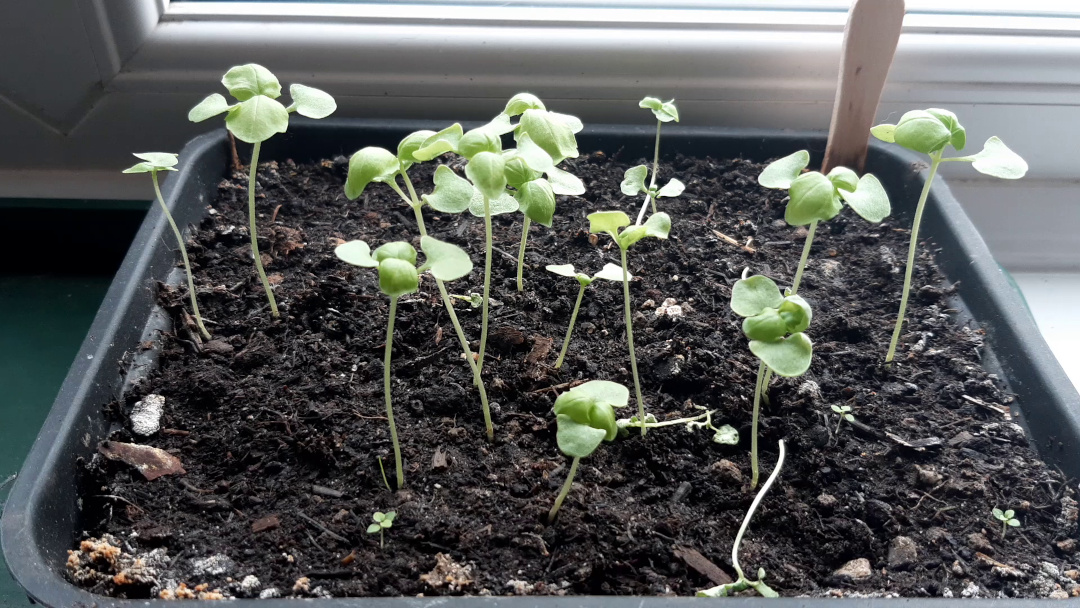
Week 9 → 14: Growing on nicely
Over the next six weeks, the basil plants are growing on well in their pots.
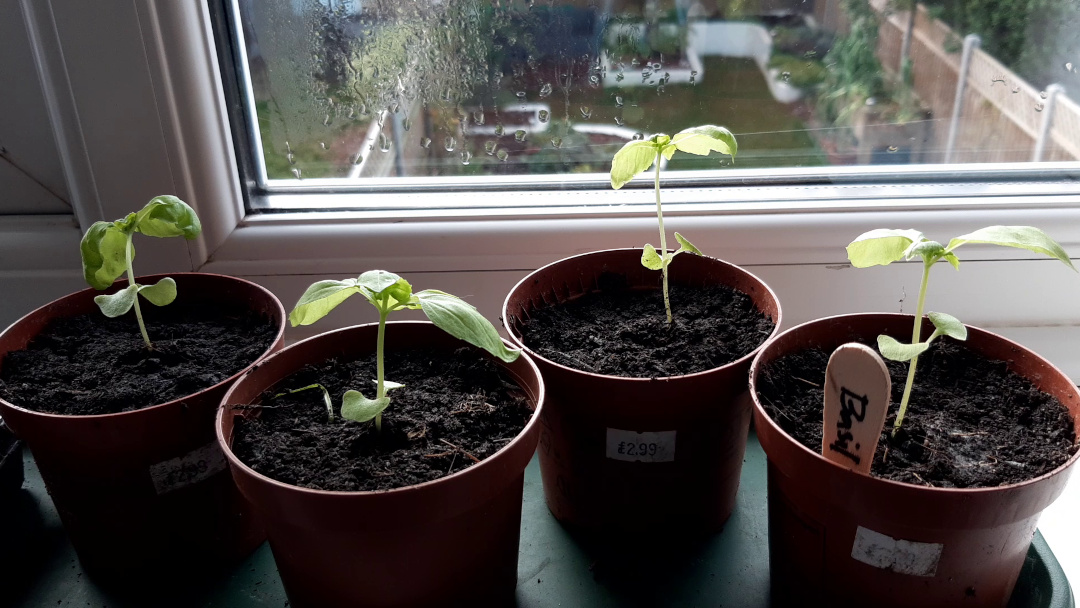
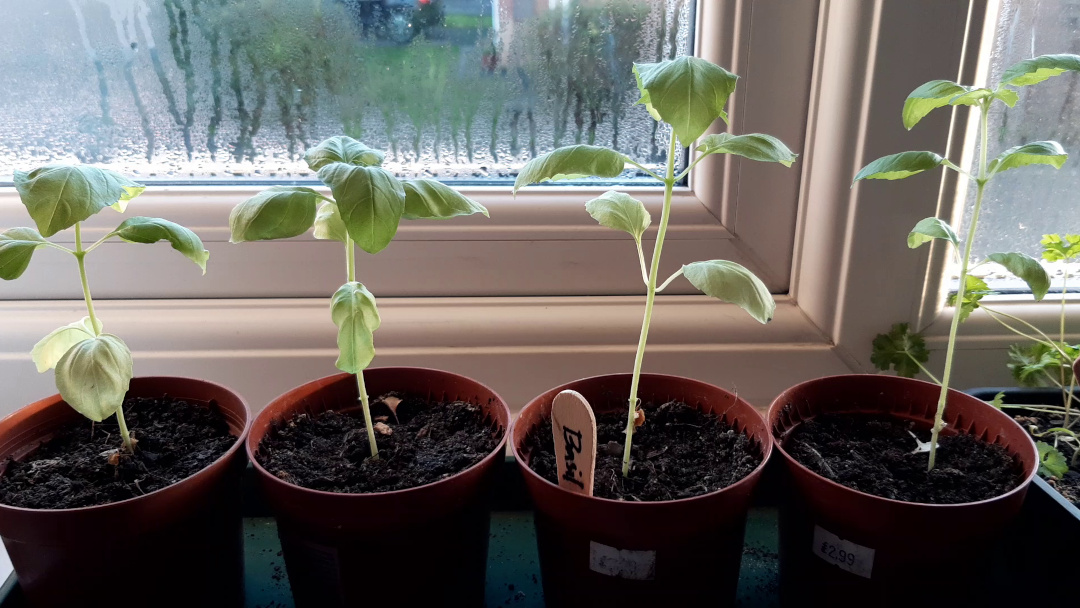
I’m growing this Basil through the winter, so the growth will be slower than in the Spring or Summer. Yours may have many more leaves that this.
Week 15: Coming next week
I’ll update this page with the basil’s progress. If you have any questions or tips, please put them in the comments so we can all benefit from your experience.
Article written on Oct 22, 2020
Updated Jan 27, 2021