Broad beans
Grows when all else has come indoors for the winter
If you need an excuse to don your wooly hat and gloves, to get out into the fresh air, look no further than the hardy broad bean.
Oh, and they taste nice.
This is a week by week diary of the growing, maintenance and harvesting broad beans.
Quick tips
- Sow into a cell tray
- Germinates in 10 days
- Compact 30cm tall plants
- Seeds can be sown from February → May
- Prefers full sun
Dates
To grow broad bean for harvest in the spring, use the following dates:
| Jan | Feb | Mar | Apr | May | Jun | Jul | Aug | Sep | Oct | Nov | Dec | |
|---|---|---|---|---|---|---|---|---|---|---|---|---|
| Sow | I | I | ||||||||||
| Harvest | H | H | H |
To grow broad bean for harvest in the summer, use the following dates:
| Jan | Feb | Mar | Apr | May | Jun | Jul | Aug | Sep | Oct | Nov | Dec | |
|---|---|---|---|---|---|---|---|---|---|---|---|---|
| Sow | I | I | I | I | ||||||||
| Harvest | H | H | H |
Types of
We’re growing “The Sutton” broad bean this year which can be found here from Thompson & Morgan

Growing diary
I started this diary, and sowed these seeds, at the start of November.
Week 1: Sowing
The first step for our diary is to sow our Broad bean seeds into a cell tray. Make sure the seed tray has holes in the bottom so that any excess water can drain away.

Start by filling the seed tray with some compost and pressing it down gently to remove any air holes.

Next, open your seed packet and place one broad bean, on it’s side, in each cell.

Then, cover the seeds with a little more compost to cover them and allow the moisture of the compost to surround the seeds:

Lastly, water this thoroughly to give the seeds the best chance of germinating.

These can now go into a coldframe, greenhouse or grow tent to germinate. All we need to do now is wait.
Week 2 → 3: Nothing yet
It’s a little cold for this time of the year, and it can take a couple of weeks for the seeds to germinate.

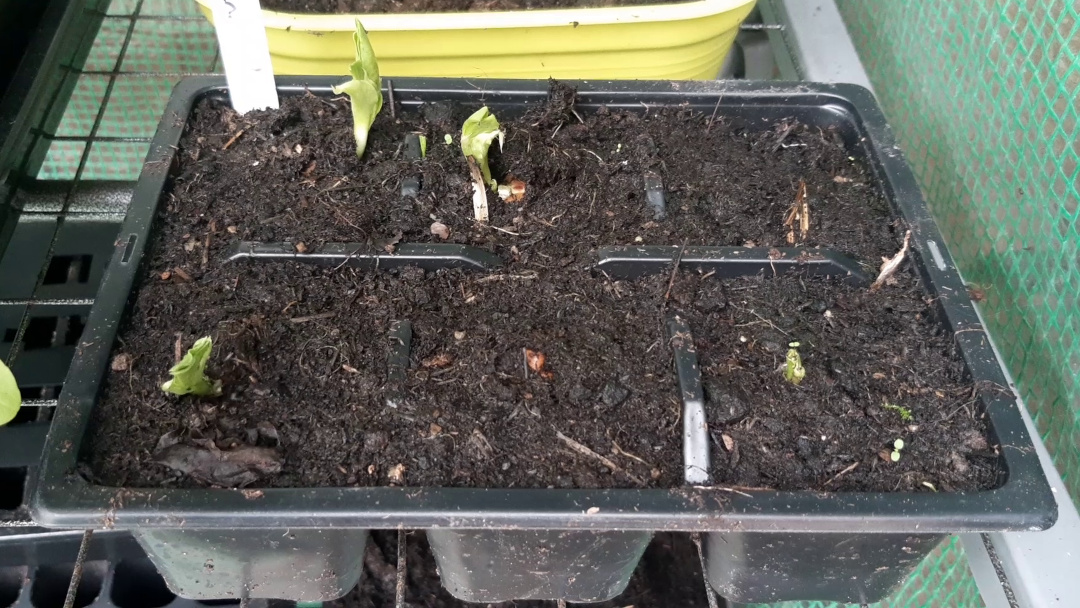
Week 4 → 5: Germination
The seeds have now germinated and the seedlings are starting to push their way up through the compost.
If you’ve sowed these in the spring, make sure to not let the compost dry out.
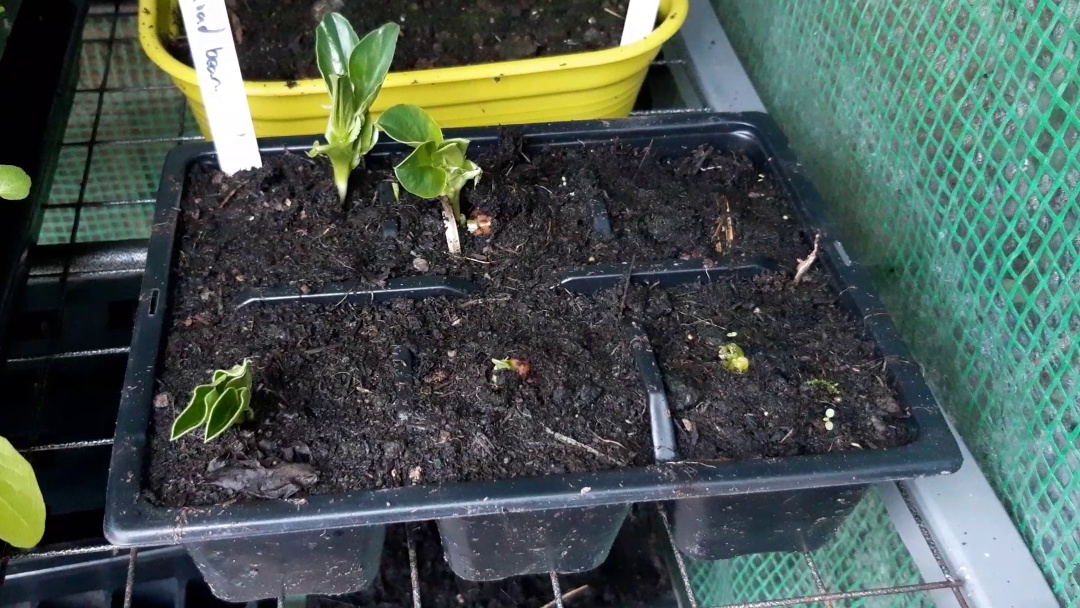
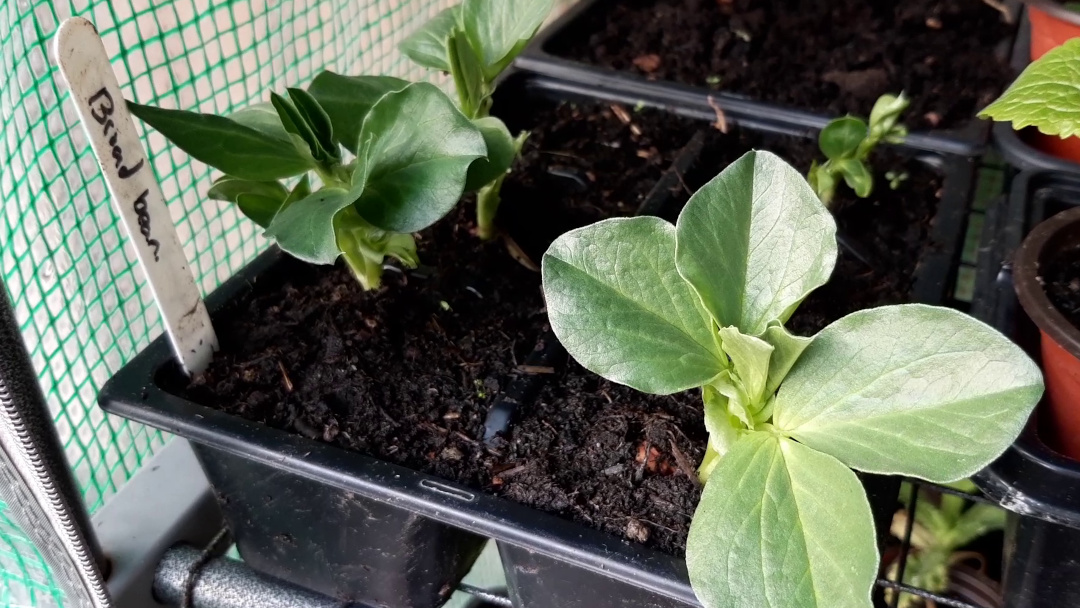
Week 6 → 8: Seedlings growing
The seedlings are growing on well and the leaves broaden (aye… Broaden..) over the next 3 weeks.
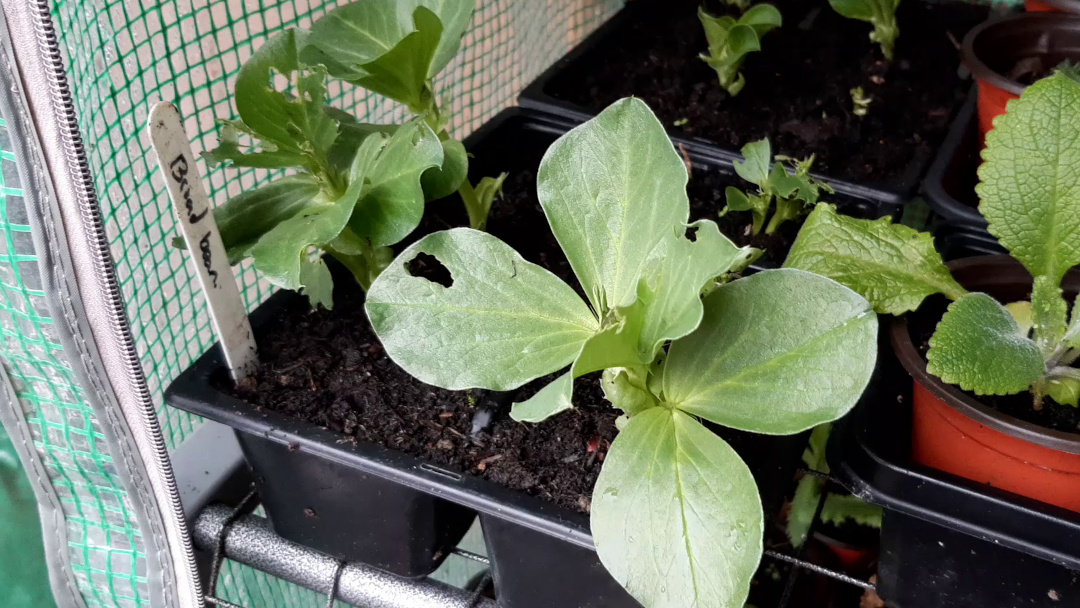
There’s not much to do at this stage other than making sure no slugs or snails get to these seedlings. They would quickly destroy this crop given the chance.
Week 9: Transplant into ground
When the seedlings look like they’re getting a little big for their cell, it’s time to transplant them into their final growing position.
Step 1: Make a hole
Using a hand shovel, make a hole in the chosen growing position. The hole needs to be the same width and depth as the cell the seedling is in.

Step 2: Gently remove the seedling from the cell
Placing your fingers either side of the seedlings stem, gently squeeze on the side of the tray to encourage the seedling to drop into your hand.

Like so. As you can see, the roots are looking thick and healthy:

Step 3: Drop in the hole
Place into the hole and firm at the sides so that the stem is secure.

Give it a good water and, as newly transplanted plants need a little more water for a few days, make sure the soil does not dry out.
Week 10 → 11
Now they’re in the ground, the broad beans will take a couple of weeks to settle in.
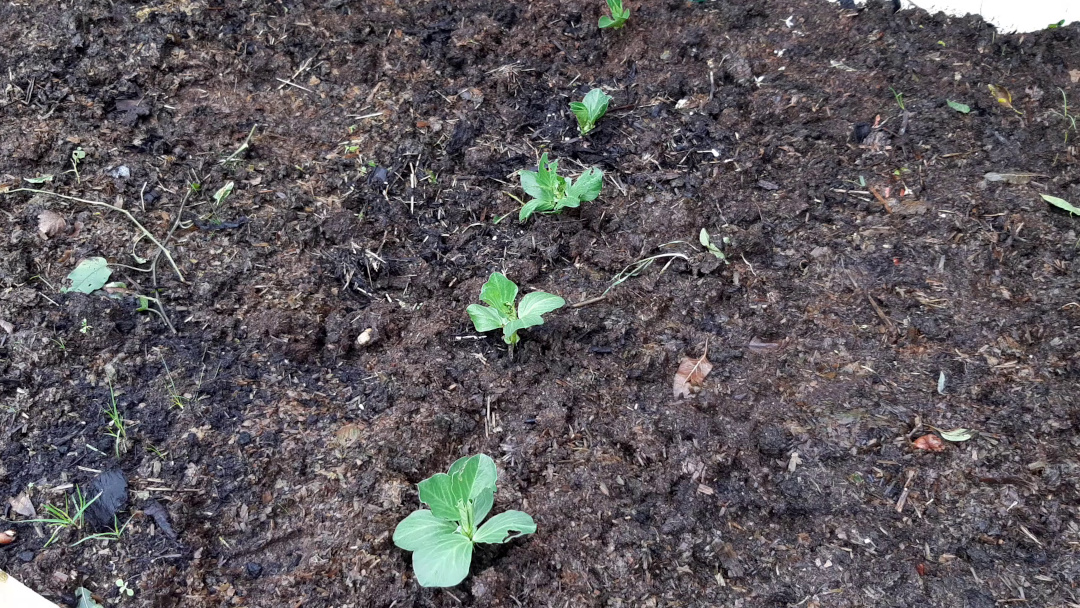
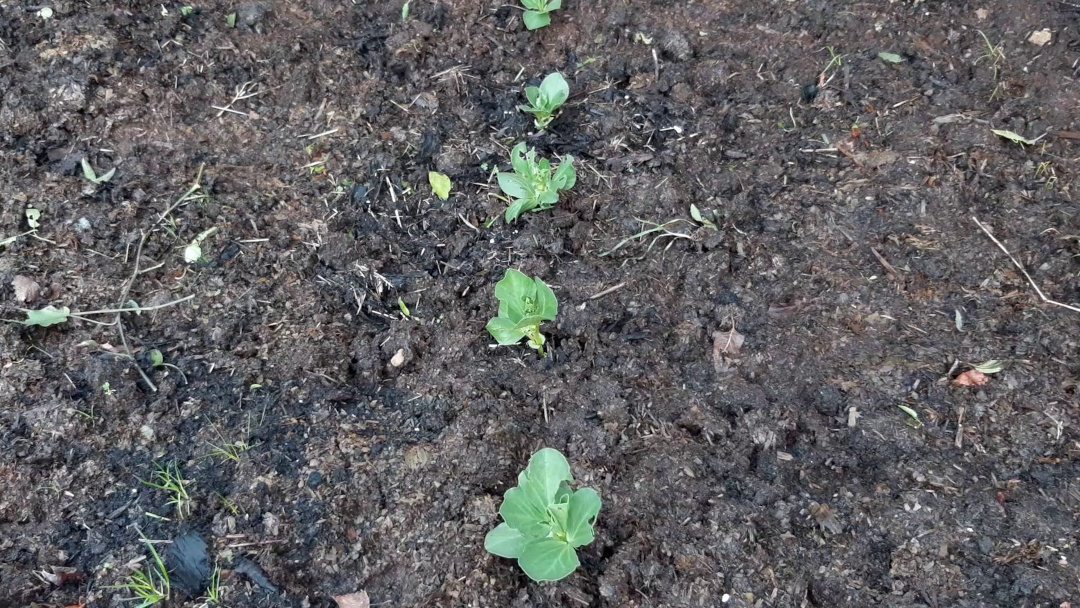
The plants are putting their energy into growing new roots, so don’t be too surprised if there is little above-ground growth.
Week 12: Coming next week
I’ll update this page with the broad bean’s progress. If you have any questions or tips, please put them in the comments so we can all benefit from your experience.
Article written on Dec 08, 2020
Updated Jan 27, 2021