Turnip (Milan purple top)
Chuck them in a stew or add to a soup for sweetness
Growing turnips is similar to growing beetroot, radish and swedes… which means it’s straight forward, cheap and doesn’t require much maintenance. The green tops are also high in vitamins and very low in calories.
This is a week by week diary of the growing, maintenance and harvesting of turnips.
Quick tips
- Sow 3-4 seeds into each module of a seedling tray
- Grows well for most of the year
- Seeds can be sown from March → August directly outdoors
- Prefers full sun
- Can be multi sown
Dates
To grow turnips through the summer,use the following dates:
| Jan | Feb | Mar | Apr | May | Jun | Jul | Aug | Sep | Oct | Nov | Dec | |
|---|---|---|---|---|---|---|---|---|---|---|---|---|
| Direct sow outdoors | O | O | O | O | O | O | ||||||
| Harvest | H | H | H | H | H | H | H |
Pests
Turnip (milan purple top) are susceptible to the following pests:

Types of turnip
I grew “Milan Purple Top” turnip this year which we received for free with our subscription to Grow You Own magazine, which is worth the price for the free seeds alone. The seeds can also be found here from Thompson & Morgan or here from Mr.Fothergills

Watch it
I’ve compiled this growing diary into a short video for you:
Growing diary
I started this diary, and sowed these seeds, on the first week of May (19th week of the year).
Week 1: Sowing
Sowing turnip seeds is similar to many other root vegetables. Start by filling your chosen seed tray (I’m using the 84 cell tray as I grew other veg at the same time) with a seed, or general, compost. You don’t need to press too firmly, the seedlings will have an easier time pushing down their roots if it’s a little fluffy. Make sure each module is full and there aren’t any air pockets.

Next, water thoroughly or sit the tray in water to allow the compost to soak up as much water as possible. This’ll ensure the seedlings have a good starting drink to get them going and will mean the compost wont dry out too quickly.

I recommend multi-sowing these turnips, which means they wont be thinned out. Instead, we’ll thin them later by harvesting the largest root to leave the rest to continue growing. It allows us to grow more in a smaller space. Sow 3-5 seeds per cell.

Sprinkle a little compost over the seeds, patting down gently and making sure the seeds are covered. Lastly, give them a splash of water.

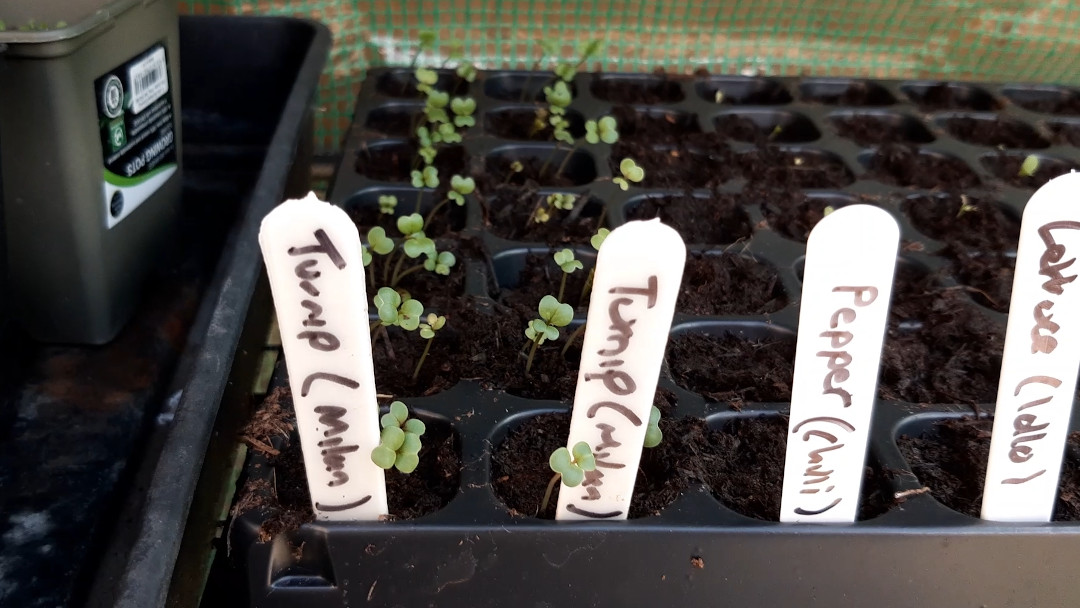
Put your label in place so you remember what you have planted.
Tip: Instead of writing a label for each column of your seed tray, write two and put them in the outermost columns that you used. If you always do this, you know that everything between the labels is the same.
If you’re getting your seedlings going indoors, put this on a sunny windowsill. If, like me, you’re growing in a grow tent (which I would recommend) then this tray can go near the bottom as the seedlings don’t need light yet.

Week 2: Excellent germination
Turnip seeds take between 5-7 days to germinate so you should already see seedlings poking out of the compost. If you haven’t had a very good germination rate, check the date on your seed packet or move them to warmer/cooler position.
If your seedlings start leaning towards the light, move them up in the grow tent and rotate the tray every few days to encourage them to grow straight.
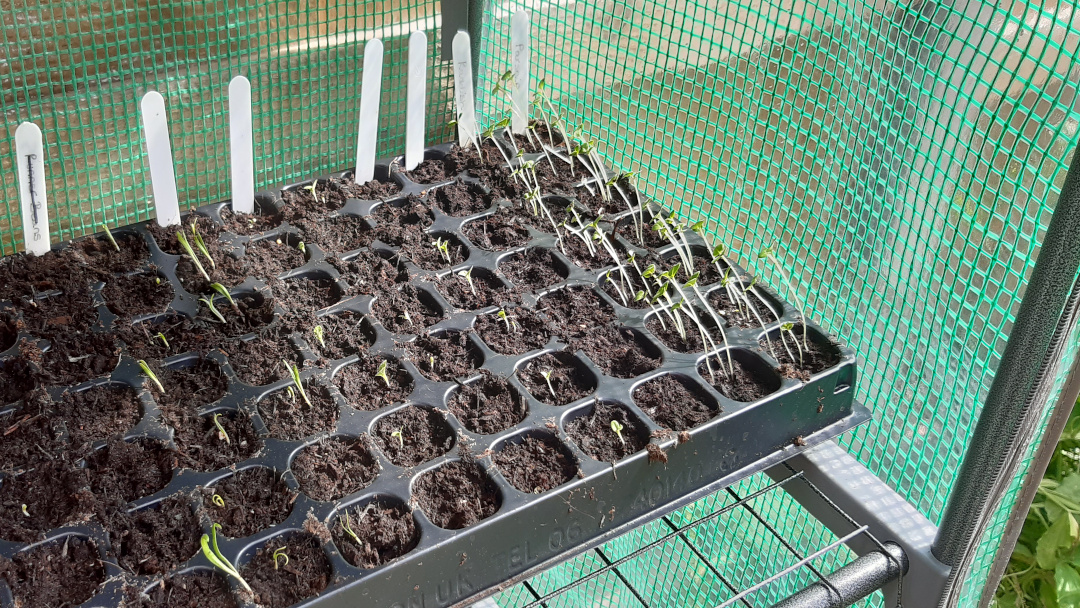
Week 3: Tall seedlings
If you are keeping an eye on your seedlings and rotating the tray, you should see the seedlings starting to thicken and grow on nicely.

Be careful to not let the seedlings overheat by either opening a window or the door to the grow tent during the hottest parts of the day.
Week 4: Lots of growth
You should see lots of new growth by week 4 and they should now be ready to transplanted.

Turnips will be happy in small pots, large pots, window boxes or straight in the ground. I grew mine in the ground this year. The bed has been covered in a layer of compost and is good to go.

Make the holes
Using a dibber (make your own if you don’t have one, it makes transplanting much easier), make a two inch deep hole for each cell.
If you have a dibber, the lines on it are spaced an inch apart for reference
As we are multi-sowing our turnips, you can afford a little space between the seedlings. Aim for around an inch or two gap.

Ease pods from cell
Using the flat end of a pencil, poke out the pod from the cell using the hole in the bottom. If this is a little tricky, water the soil first so it holds together.

Transplant
Place each pod into each hole and press down so the top of the cell is flush with the top of the soil. Place your fingers either side of the stem and gently push down.

Water
Lastly, give them a really good water. Transplanted seedlings can get shocked by being moved and their roots disturbed. We limit this by using a similar soil in both the tray and the pot and by watering the roots in well after moving them.

Week 5: Bulking out
Weedy or stretched seedlings do eventually settle and bulk out, sometimes it just takes a week of nice weather.

With all transplanted seedlings, water them every day for the first week while they settle in.
Week 6 → 8: Wowliage, so much foliage
That title doesn’t really work does it? You try writing a better title than “It’s still growing”.
The turnips should be growing on well and the foliage having doubled in size. There’s not much to do other than watching out for pests and keeping it watered.
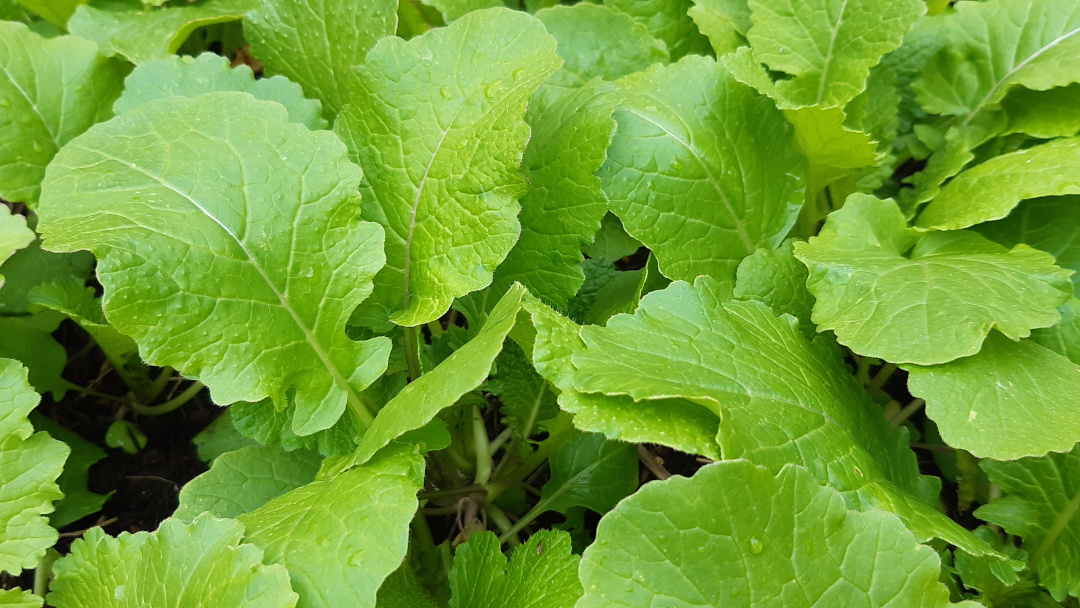
By around week 8, the ground around the turnips should be shaded by the foliage. This keeps the soil cooler, allowing us to water it less often. You can also mulch around the turnips with hay or bark.
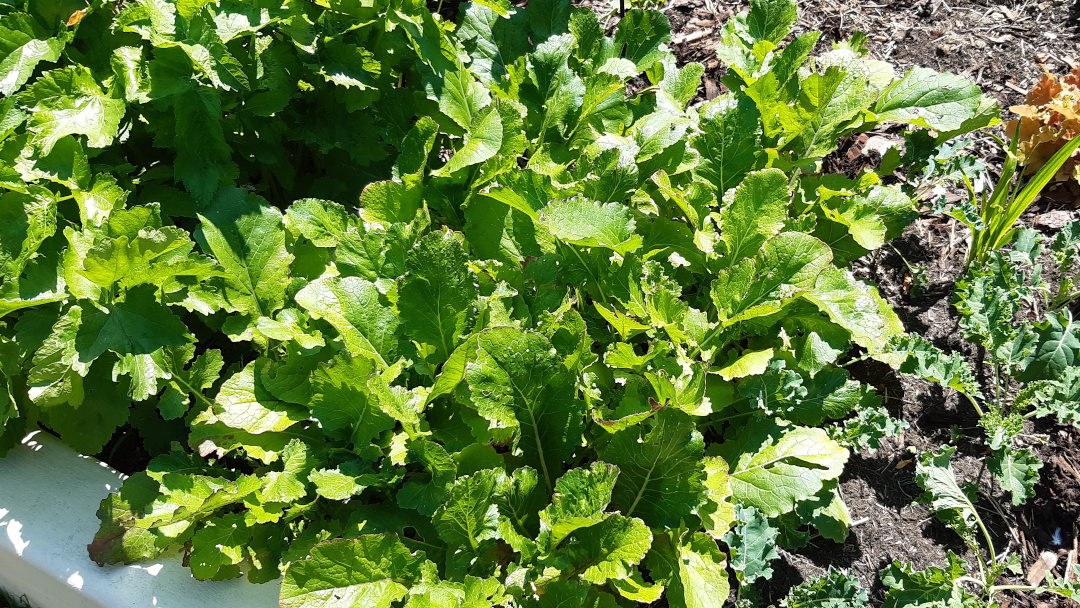
Week 9 → 10: Roots developing
Sweeping back the crazy foliage, you should see lots of bulging roots pushing out of the ground.
With multi-sown roots, as you can see, they push away from each other, giving them space to grow.
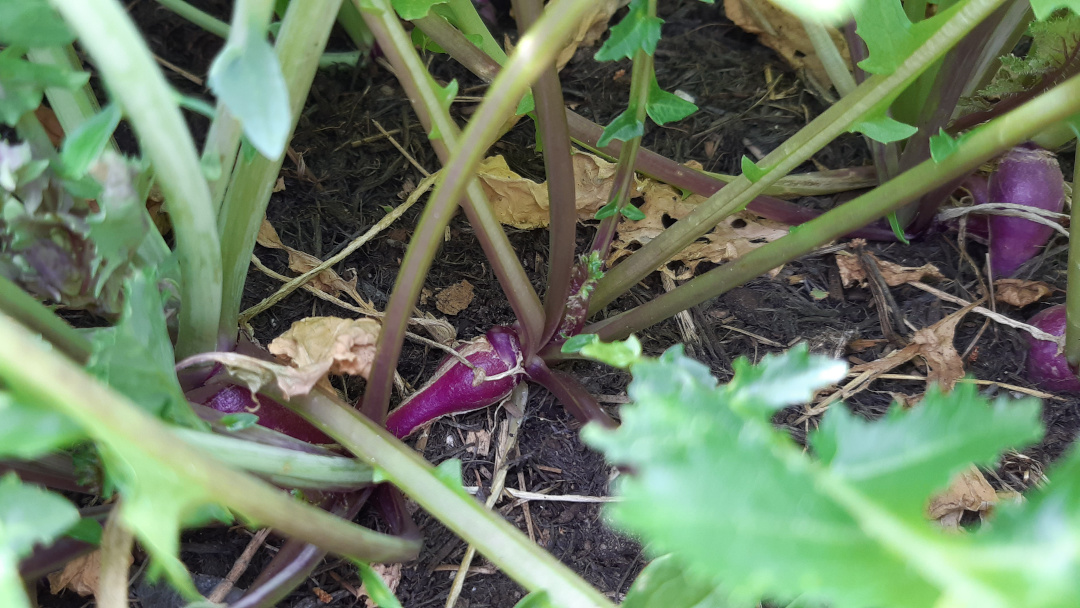
The general rule is to start liquid feeding fruits and vegetables as soon as you see it flowering or fruiting. Give it a liquid feed once a week.
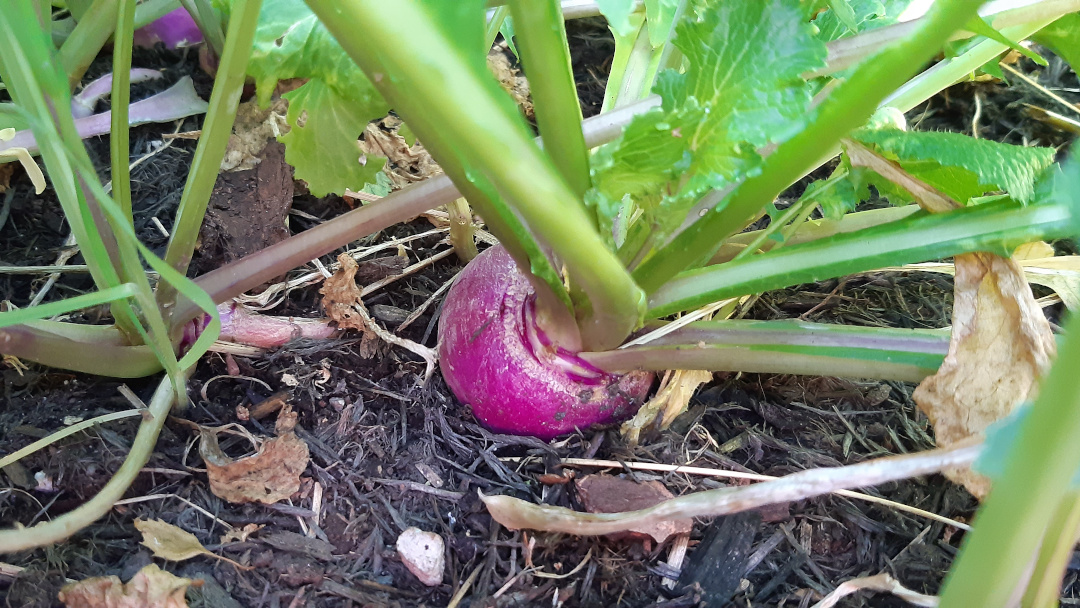
Week 12: Ready to harvest
By week 12, they should now ready to harvest.

As these were multi-sown, you should harvest the largest of the roots from each clump first. This’ll give the other plants in each cluster the room and sunlight to grow and will prolong your harvest window.
Harvesting
Harvesting is straight forward, but with multisown roots, you need to be careful not to damage the other plants in the clump.
You only need to harvest what you wish to cook and eat and the rest should stay in the ground to continue to grow.
Look at each of the clusters and harvest from those which have a large root showing.

Take the largest root and twist it out of the cluster. Don’t pull it out or it’ll damage the other plants.

The rest now have more space to grow.

This can be chopped up and added to stews, soups or baked with other roots for a side to a roast dinner.
Article written on May 12, 2020
Updated Jul 27, 2020