Radish
Easy, consistent and reliable vegetable
Growing radish is similar to growing many other root vegetables, like beetroot, turnips and swedes… which means it doesn’t take up much space, it’s cheap and doesn’t require much maintenance. Radish also grows very quickly which helps when trying to get in a quick harvest or to fill empty areas.
This is a week by week diary of the growing, maintenance and harvesting of snowball radish.
Quick tips
- Sow 4-5 seeds into each module of a seedling tray
- or direct in the ground in drills (rows) 20cm - 30cm apart
- Grows well throughout most of the year
- Seeds can be sown from May → September
- Prefers full sun
- Can be multi sown: Don’t thin and grow as a “clump” instead
Dates
To grow radish through the Spring and Summer, use the following dates:
| Jan | Feb | Mar | Apr | May | Jun | Jul | Aug | Sep | Oct | Nov | Dec | |
|---|---|---|---|---|---|---|---|---|---|---|---|---|
| Sow indoors & outdoors | O | O | O | O | O | O | O | |||||
| Harvest | H | H | H | H | H | H |
Pests
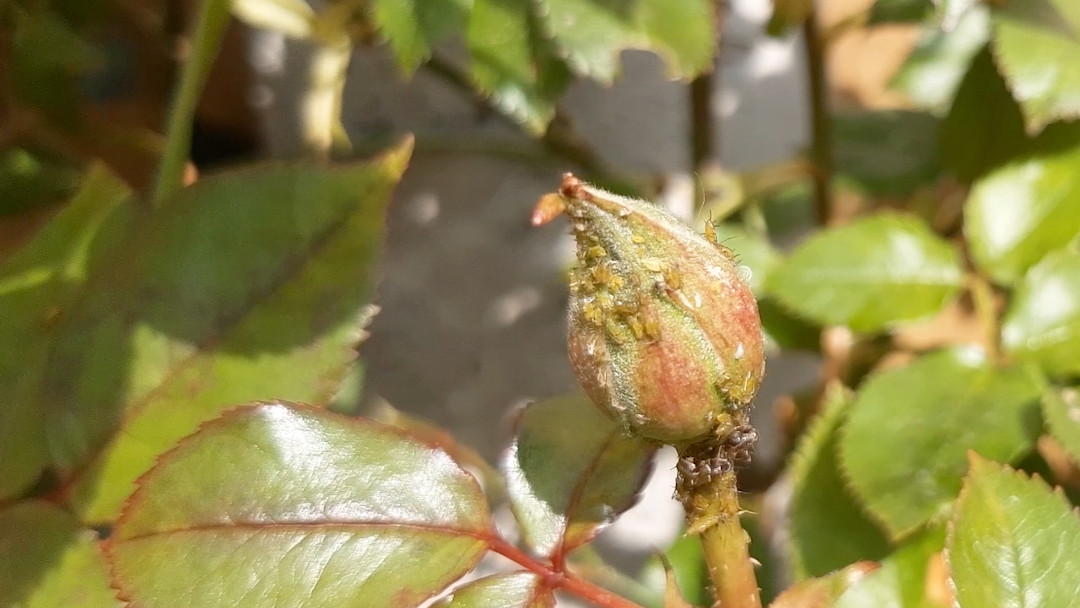
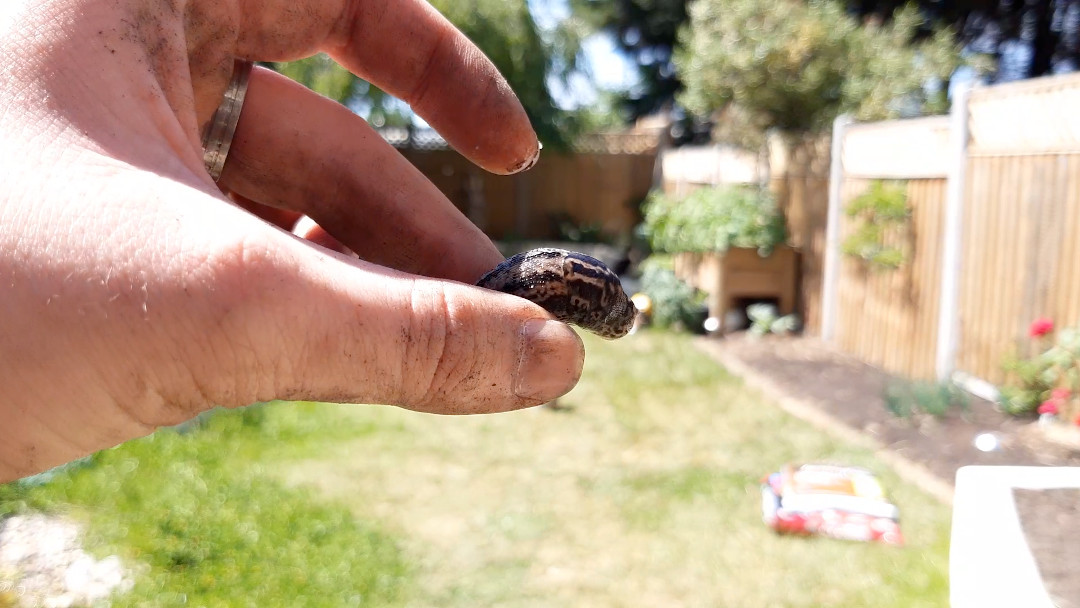
Radish are susceptible to the following pests:
Types of radish
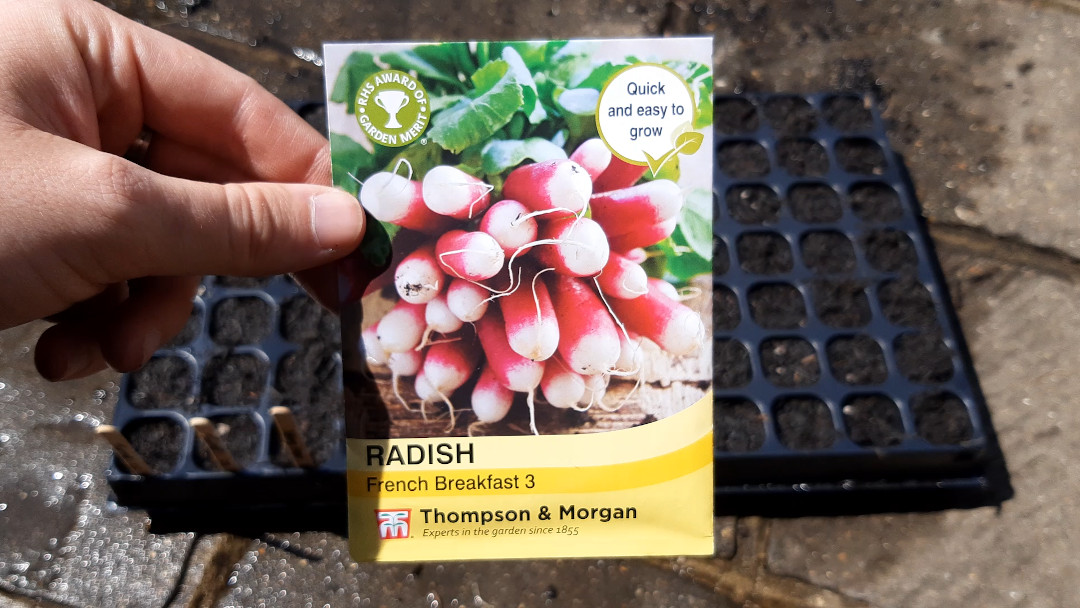
We are growing “French Breakfast 3” radish which can be found here from Thompson & Morgan or here from Mr.Fothergills.
Watch it
Coming soon
Growing diary
I started this diary, and sowed these seeds, on the first week of May (22nd week of the year).
Week 1: Sowing
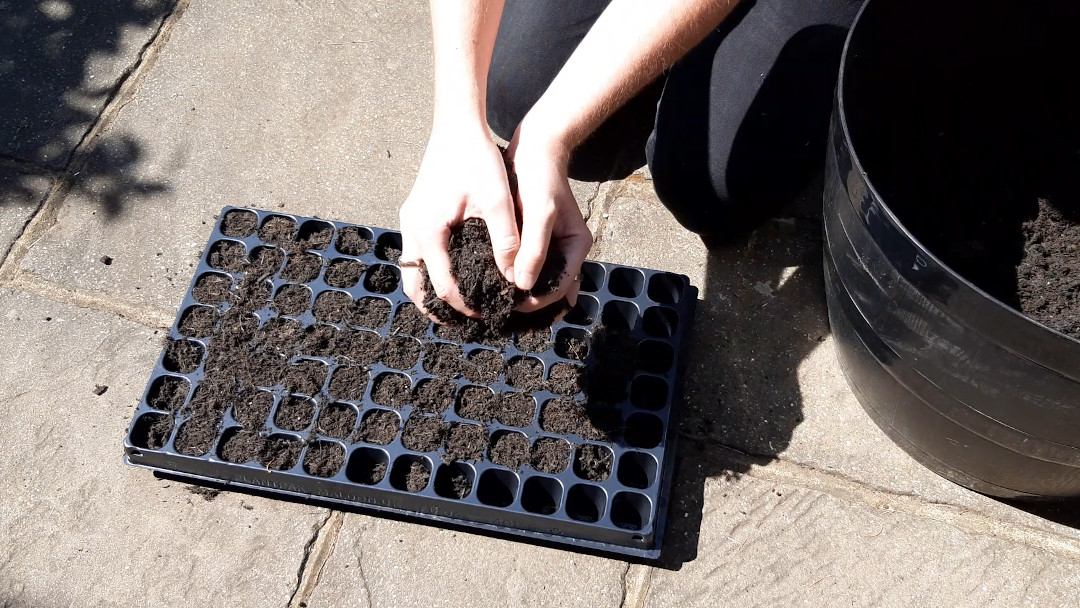
Sowing radish seeds is similar to many other root vegetables. First start by filling your chosen seed tray (I’m using the 84 cell tray as I’ll be sowing other veg at the same time) with a soil and compost mix. You can find my recommended sowing soil here.
You don’t need to press the soil too firmly into each cell, the seedlings will have an easier time pushing down their roots if it’s a little fluffy. Make sure each module is full though and there aren’t any large air pockets.
Next, water thoroughly or sit the tray in water to allow the compost to soak up as much water as possible. This will ensure the seedlings have a good starting drink to get them going and will mean the compost wont dry out too quickly.
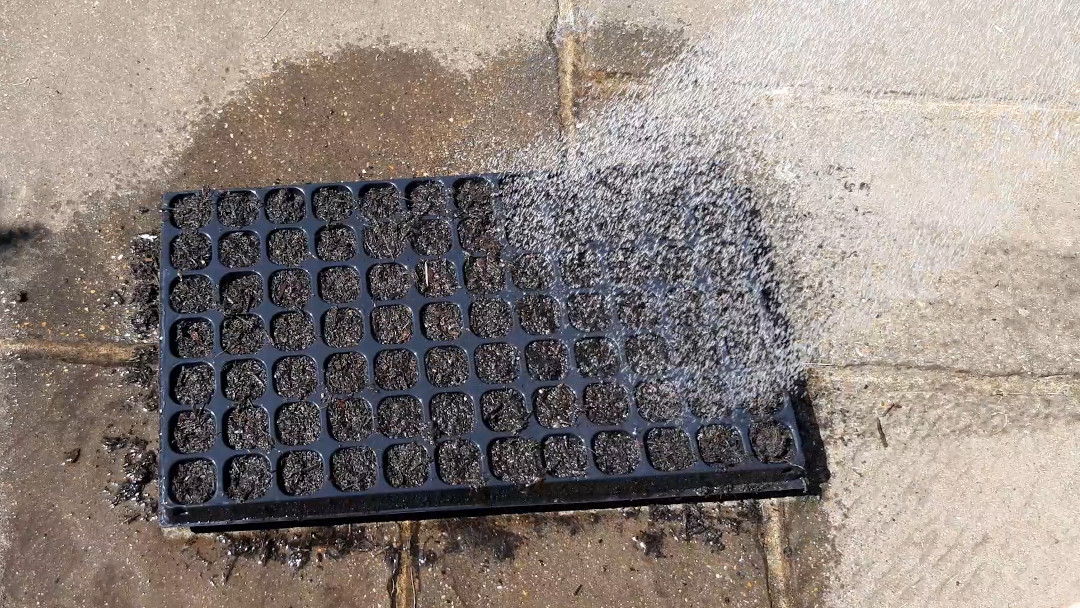
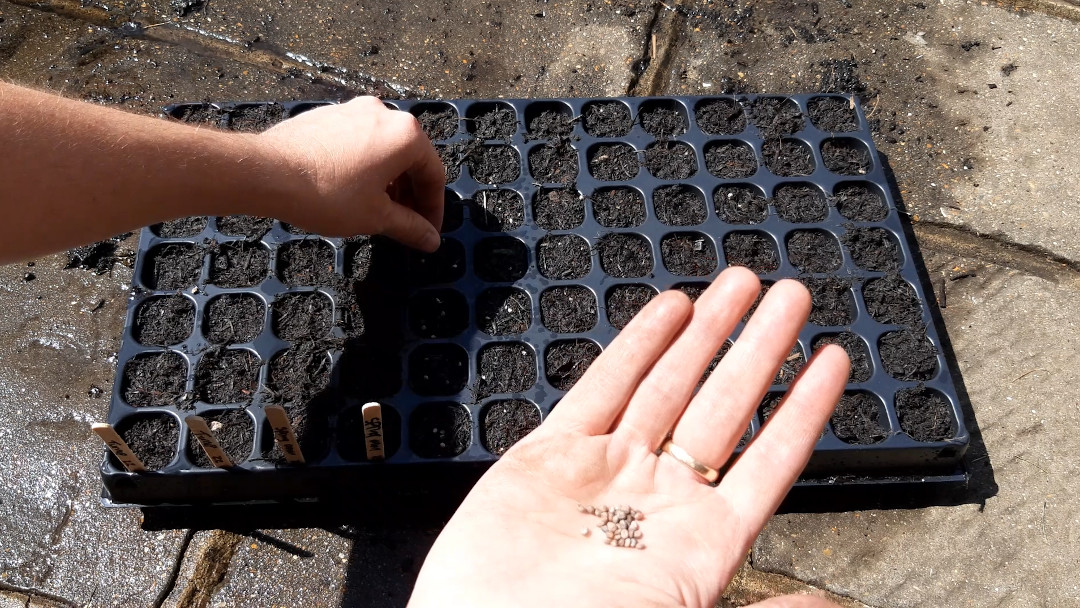
We’re going to be multisowing these radish seeds, so we won’t be thinning out the seedlings. Instead, we’ll thin them later by harvesting the largest root to leave the rest to continue growing. It allows us to grow more in a smaller space. Sow 4-5 seeds per cell.
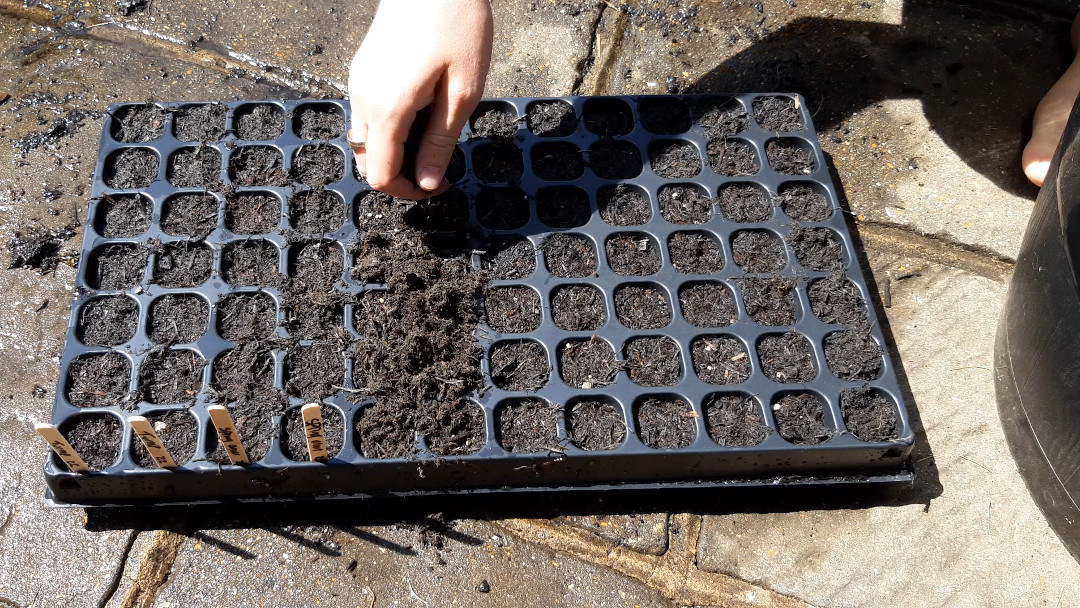
Sprinkle a little compost over the seeds, patting down gently and making sure the seeds are covered.
Lastly, give them a splash of water.
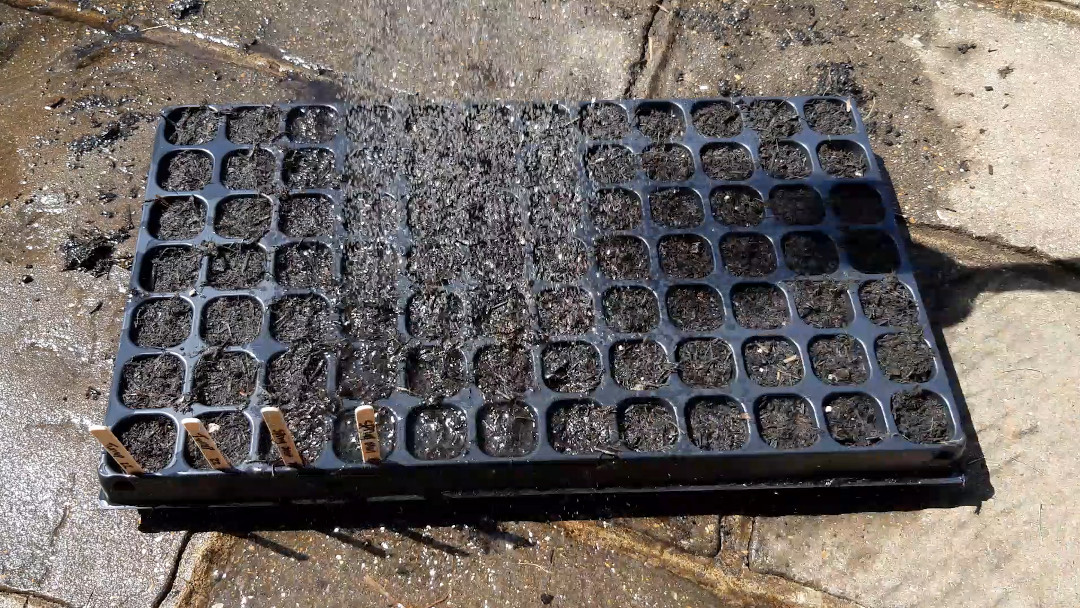
Put your label in place so you remember what you have planted.
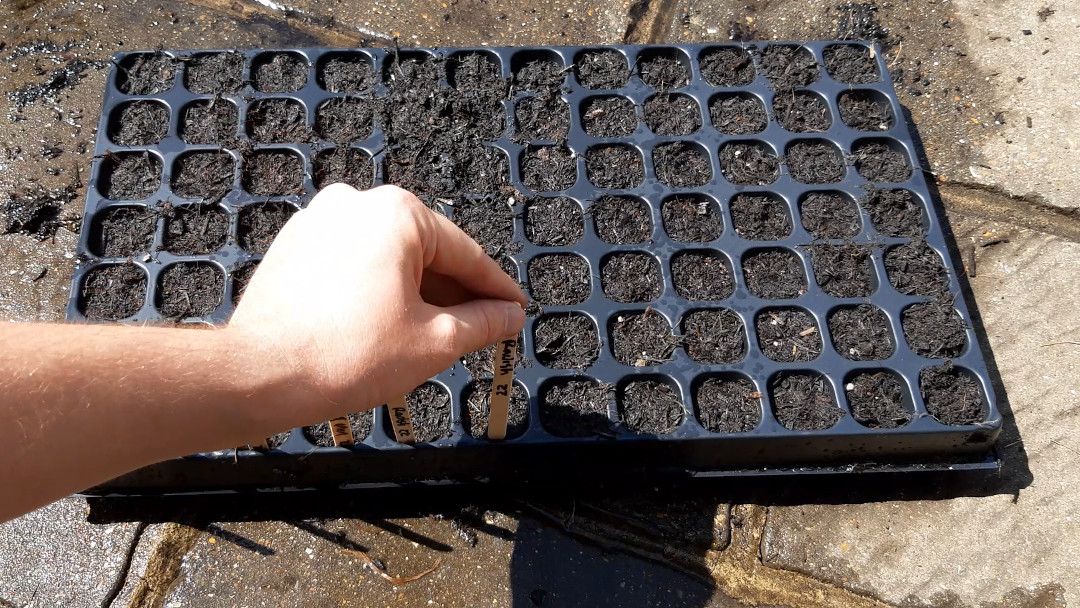
Tip: Instead of writing a label for each column of your seed tray, write two and put them in the outermost columns that you used. If you always do this, you know that everything between the labels is the same.
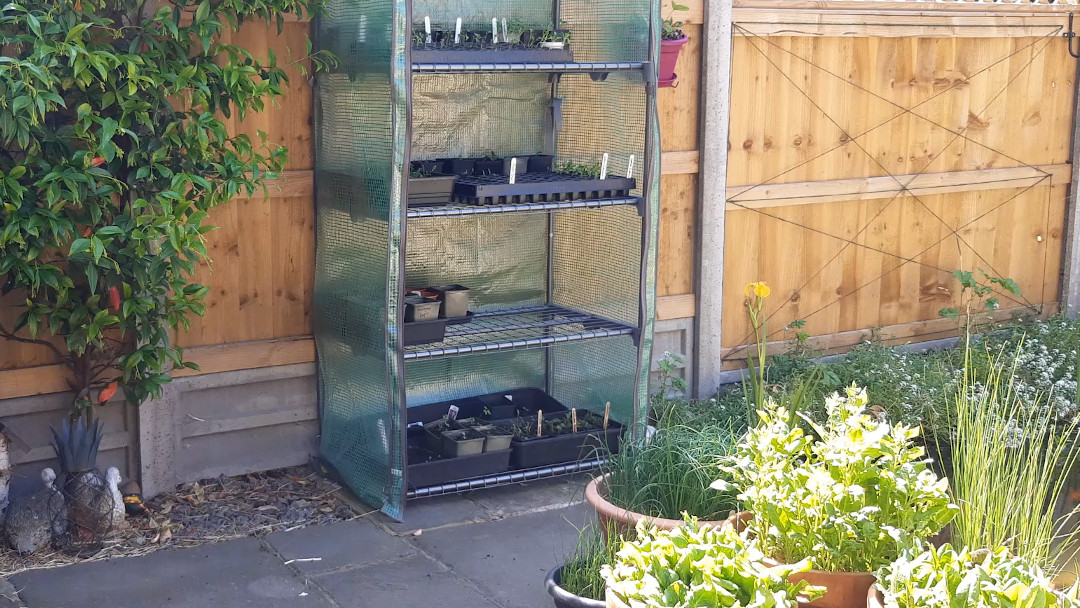
If you’re getting your seedlings going indoors, put this on a sunny windowsill. If, like me, you’re growing in a grow tent (which I would recommend) then this tray can go near the bottom as the seedlings don’t need any light yet.
Week 2: Germination
Radish is a good reliable vegetable and we have a great germination across most of the cells.
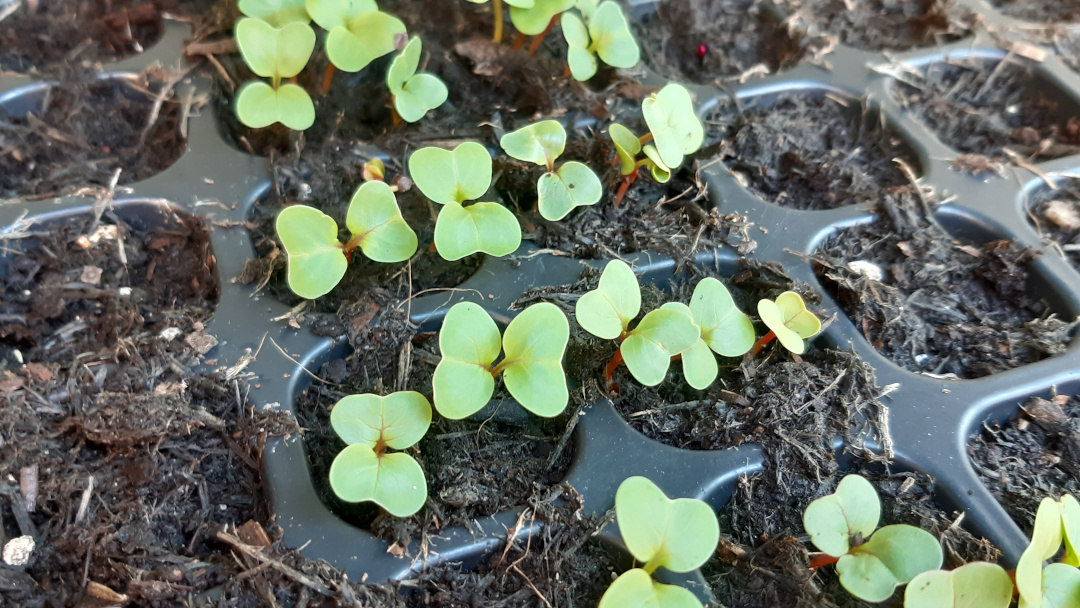
Now that they have popped out of the soil, this tray can be raised higher in the growhouse to ensure the seedlings get enough light and don’t become leggy.
Week 3 → 5: Growing well
Ah radish, you never let us down. We have a great germination across each cell and the seedlings are looking strong.
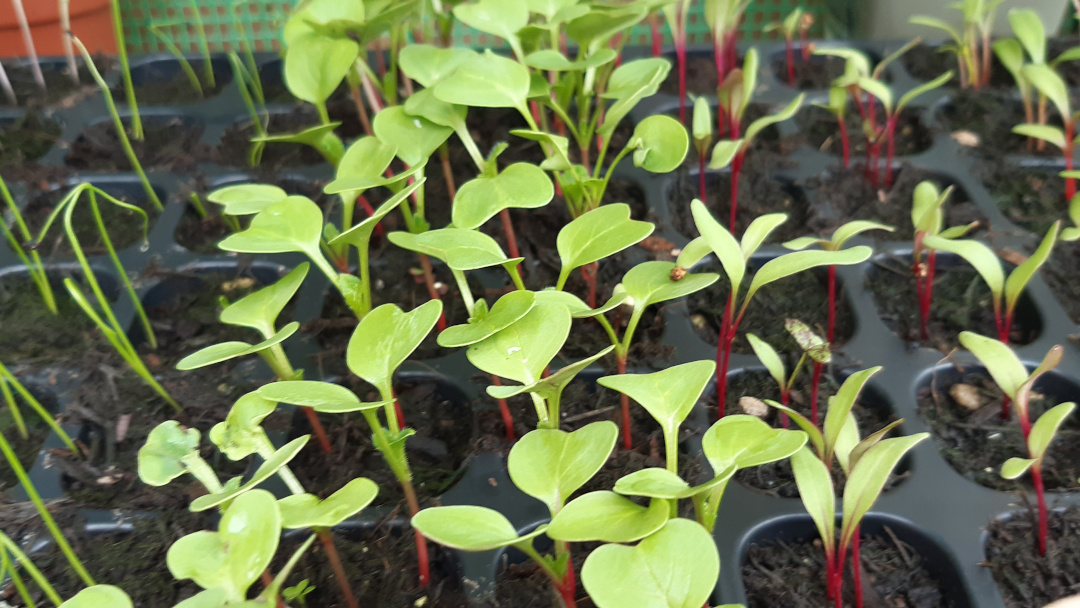
Keep them watered and rotate the seed tray every few days to stop them leaning in one direction.
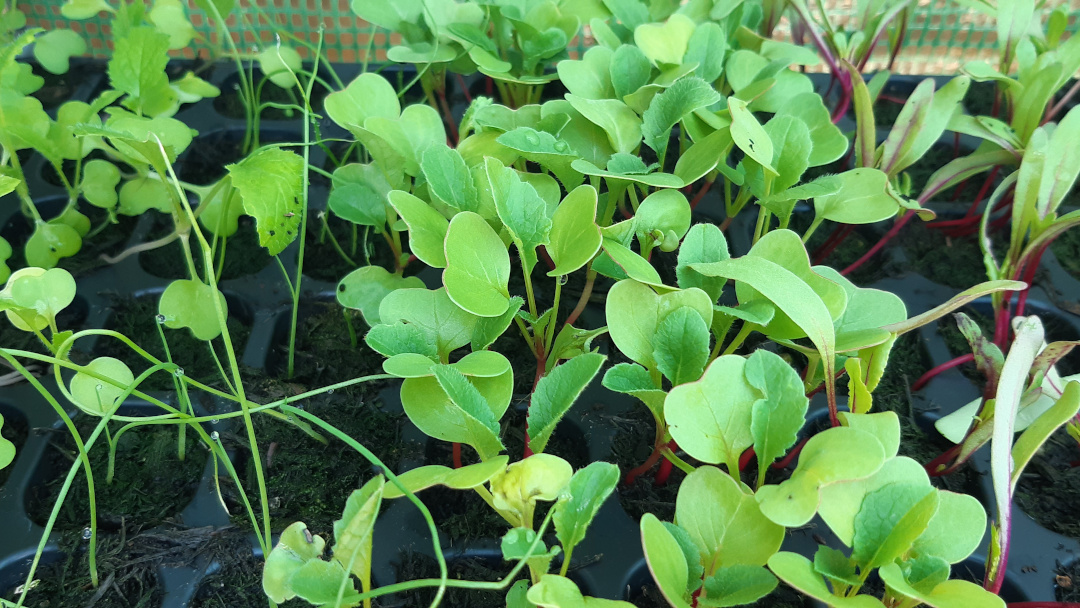
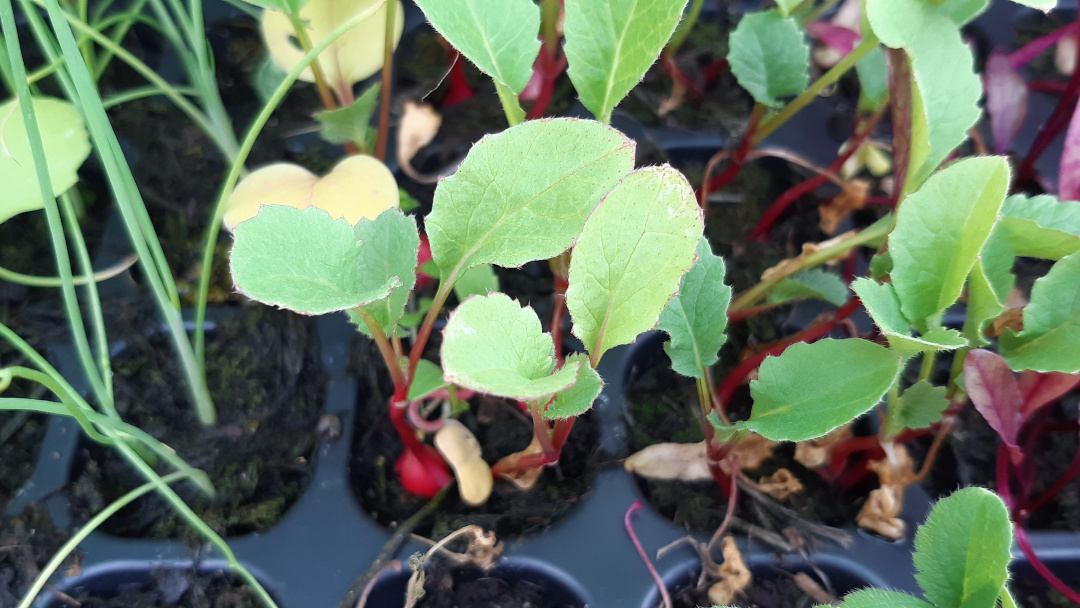
By week 5, we can see the first two leaves (not true leaves) of each plant starting to yellow and die back. This is fine and is a good indication that they are nearly ready to be transplanted.
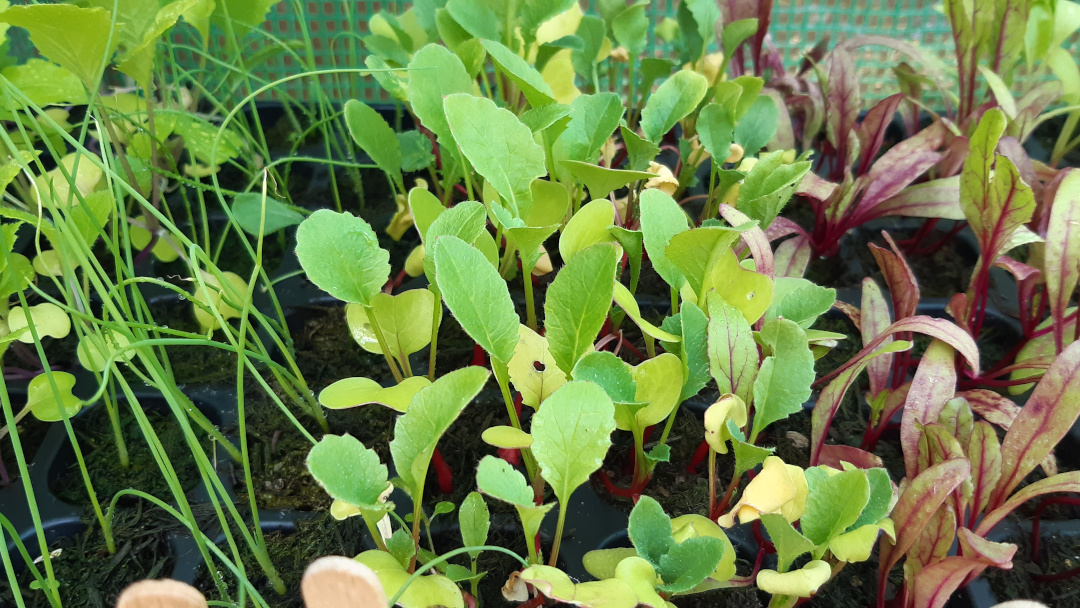
Week 6: Moving day
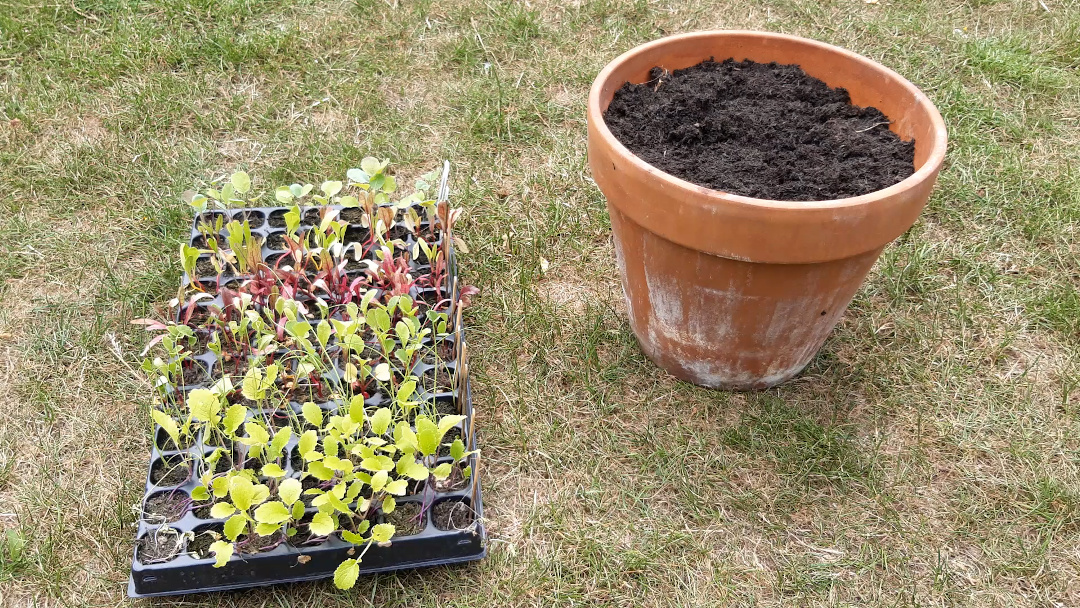
These radishes are large enough now to be moved into a pot. I have quite a large pot free and so will transplant the radishes with some spring onion I have.
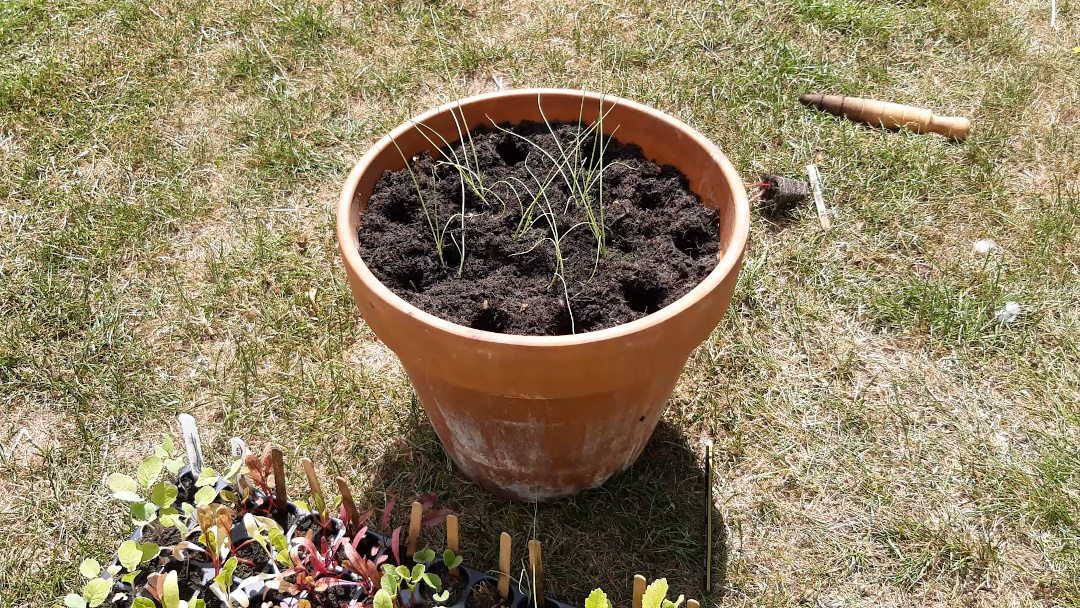
Fill container with soil
I’m filling this pot with my 1:1 mix of topsoil and compost. For more information, please check my post on soil.
Make the holes
Using a dibber or tool handle, make a two inch deep hole for each seedling. The hole should match the width and height of the seedlings pod.
Ease pods from cell
Using the flat end of a pencil, poke the pod out from the cell using the hole in the bottom. If this is a little tricky, water the soil first so it holds together.
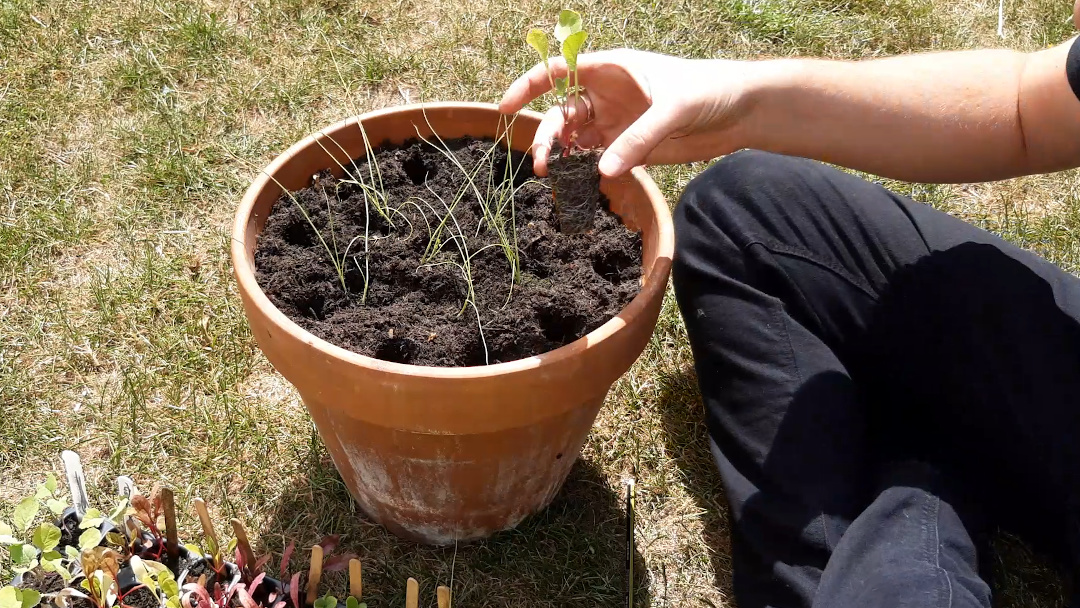
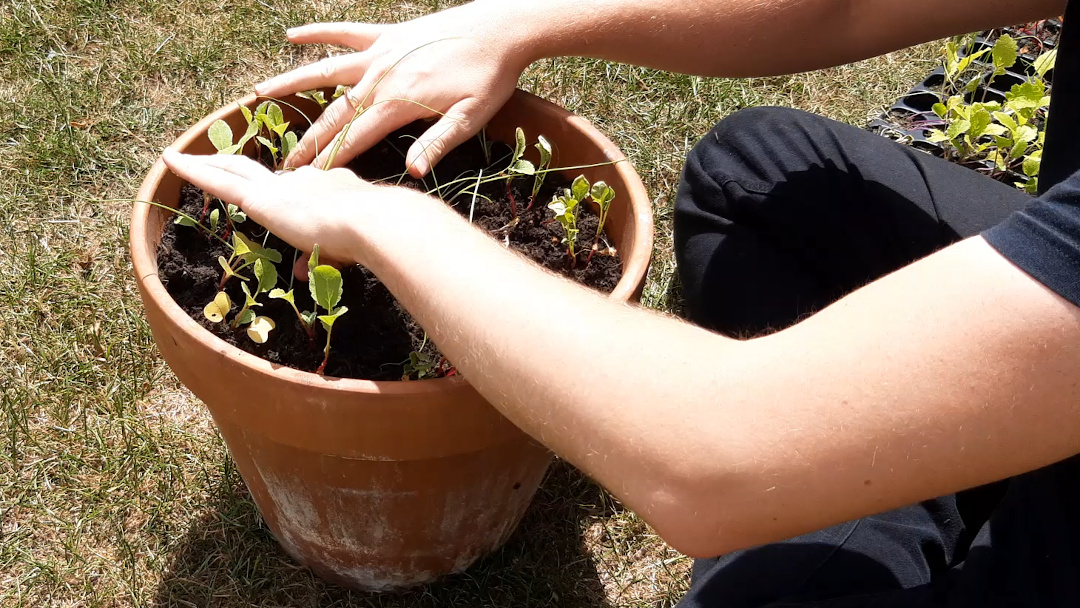
Transplant
Place each pod into each hole and press down so the top of the cell is flush with the top of the soil. Place your fingers either side of the stem and gently push down.
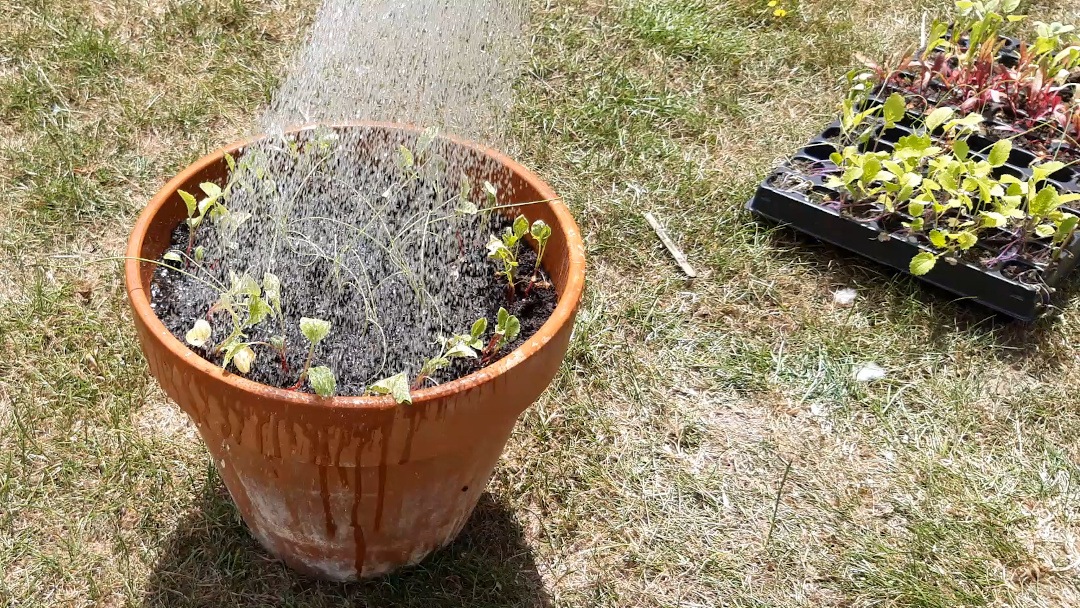
Water
Lastly, give them a really good water. Transplanted seedlings can get shocked by being moved and their roots disturbed. We limit this by using a similar soil in both the tray and the pot and by watering the roots in well after moving them.
Week 7 → 9: Growing on
The radishes have transplanted well and they have spent the week growing more roots.
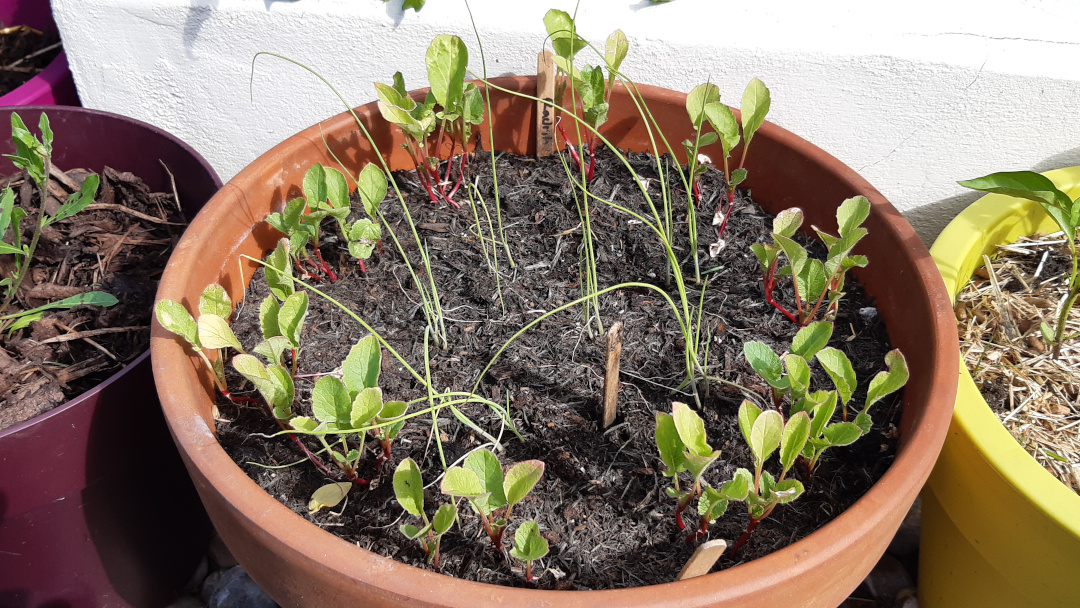
When transplanting and moving plants on, they will concentrate their efforts on establishing strong roots so don’t be too surprised by reduced foliage growth.
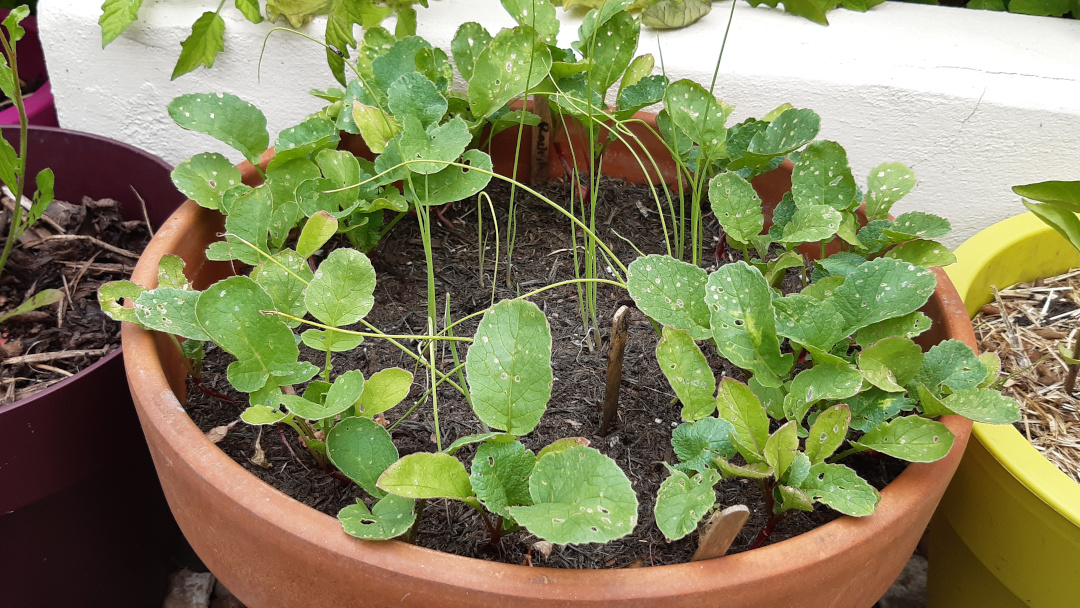
Checking in at the start of week 9, we can see the radish is starting to fill in the gaps between the plants and are enjoying the long sunny days we are experiencing.
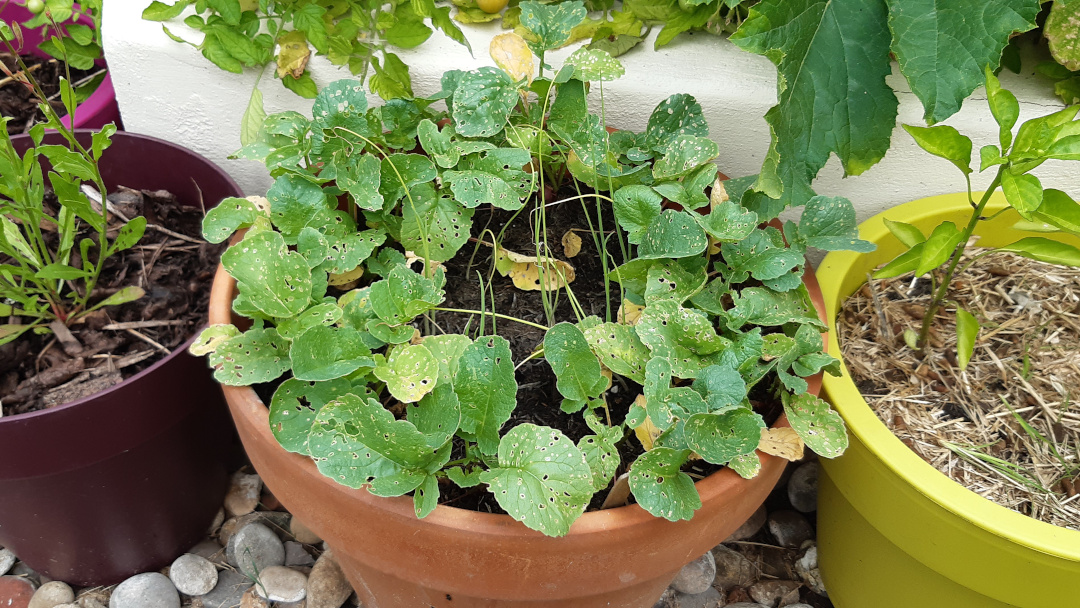
Don’t worry too much if, like me, you also have small holes in the leaves of your radish. I’ve grown them for years and found that it makes little to no difference to the growth of the root.
Week 10: Roots showing
We’re only 10 weeks into growing these radishes and we can already see the red roots popping out of the soil.
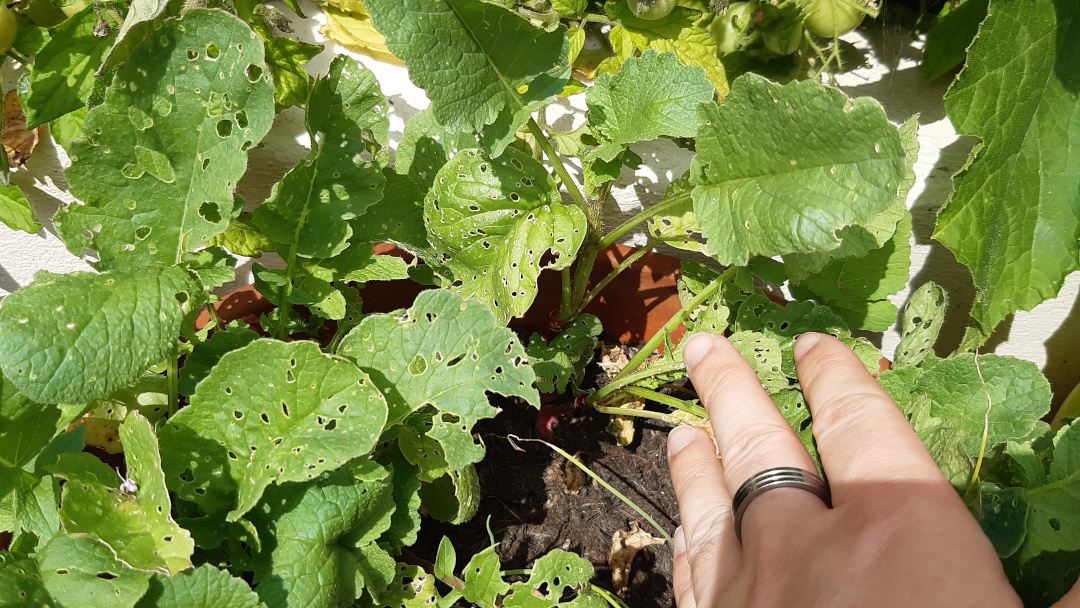
We aren’t far away from eating these now, which is exciting. Continue to check their moisture levels and use a liquid feed once a week if growing in pots.
Harvesting
Some of these radishes are now ready to be harvested, we know this because:
- The leaves are starting to wilt and turn orange, which is a good sign that the plant is “done”
- The radishes are poking out of the soil surface
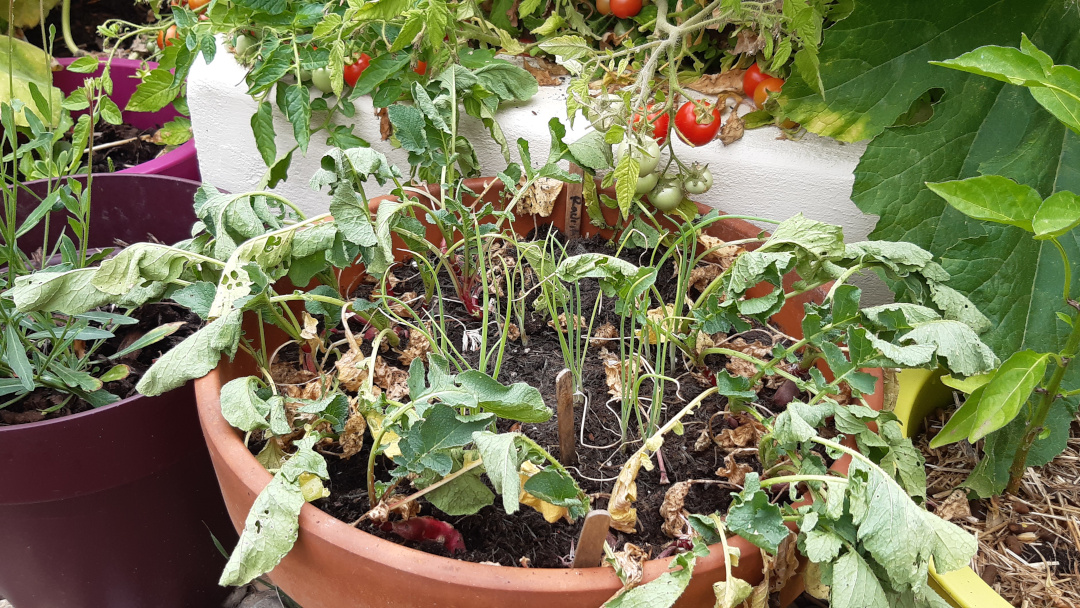
As we multi-sowed these as clumps, we only want to harvest the largest of the roots from each clump when we need them.
This will then allow the remaining roots to continue growing a little longer. This extends the harvesting period.
To harvest, take the largest root from the clump and twist it out of the soil.
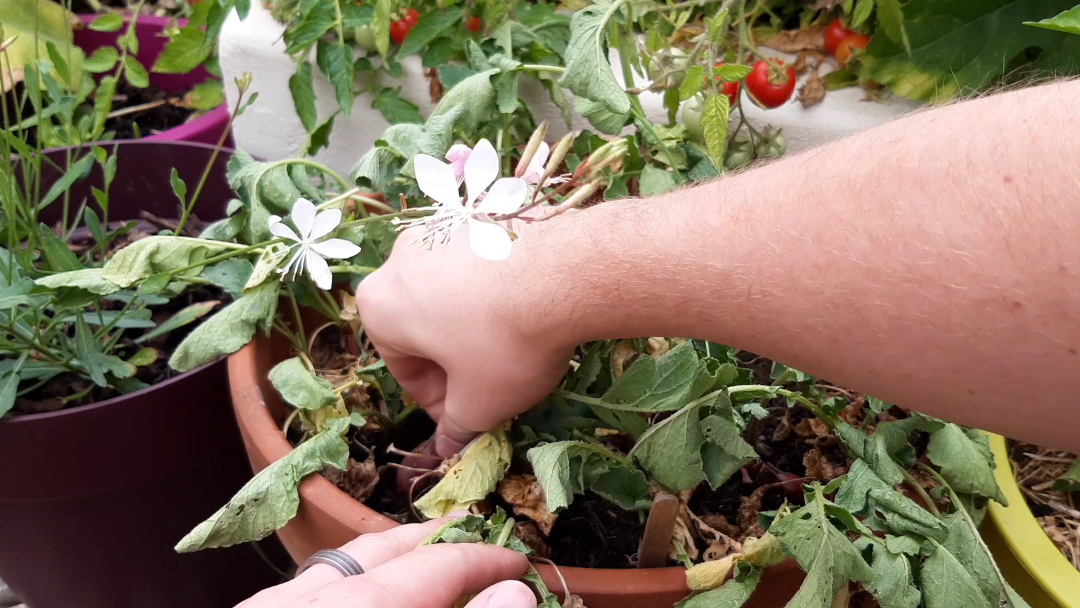
Don’t pull it out as it’ll damage the rest of the roots in that clump.
Cut off the greenery and cook it however you like and in whichever meal makes you smile.
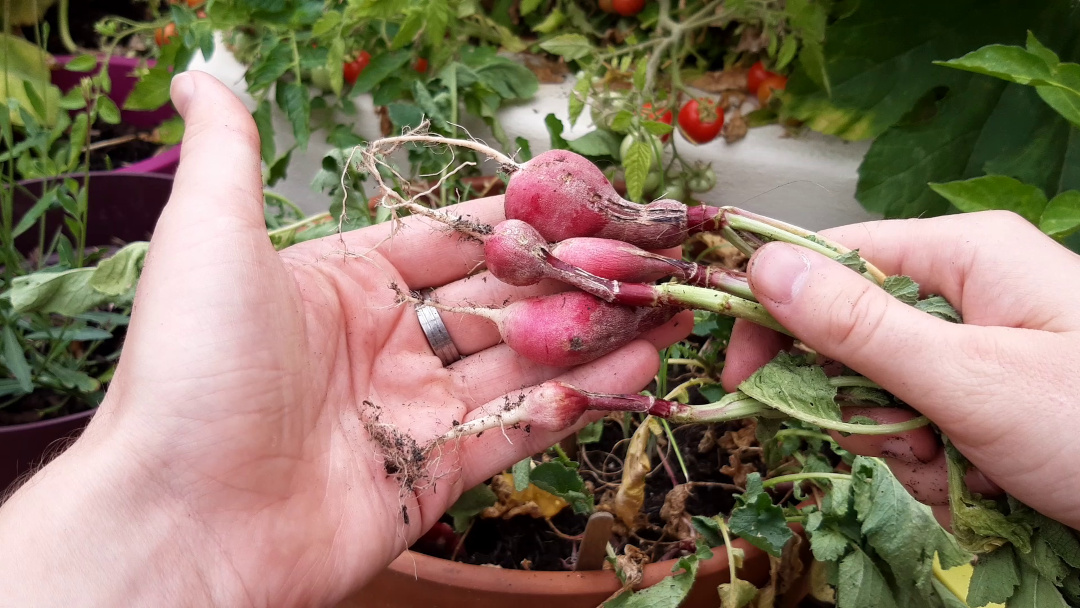
There you have it, radishes in just 11 weeks. Now you know how long they take to grow in your garden or plot, you also know when to sow the next batch so you can be harvesting roots throughout the whole growing season.
Article written on May 28, 2020
Updated Aug 14, 2020
