Tomatoes
A week by week diary
Most of our meals include tomatoes and picking them fresh for dinner is so much better than ones chilled in the fridge for weeks. This year I’m giving cherry tomatoes a go for the first time.
This is a week by week diary of the growing, maintenance and harvesting of tomatoes.
Quick tips
- Properly harden off seedlings if started indoors, they are very stunted by the cold
- Squirt off aphids with water if being pestered, or squash with fingers
- When they start to flower, feed with liquid fertiliser every two weeks
- Give plenty of support as fruit will become heavy
- Seeds can be sown indoors/under cover between March and April
Dates
To grow tomatoes through the summer, use the following dates:
| Jan | Feb | Mar | Apr | May | Jun | Jul | Aug | Sep | Oct | Nov | Dec | |
|---|---|---|---|---|---|---|---|---|---|---|---|---|
| Sow indoors | I | I | ||||||||||
| Transplant | T | T | ||||||||||
| Harvest | H | H | H |
Type of tomato
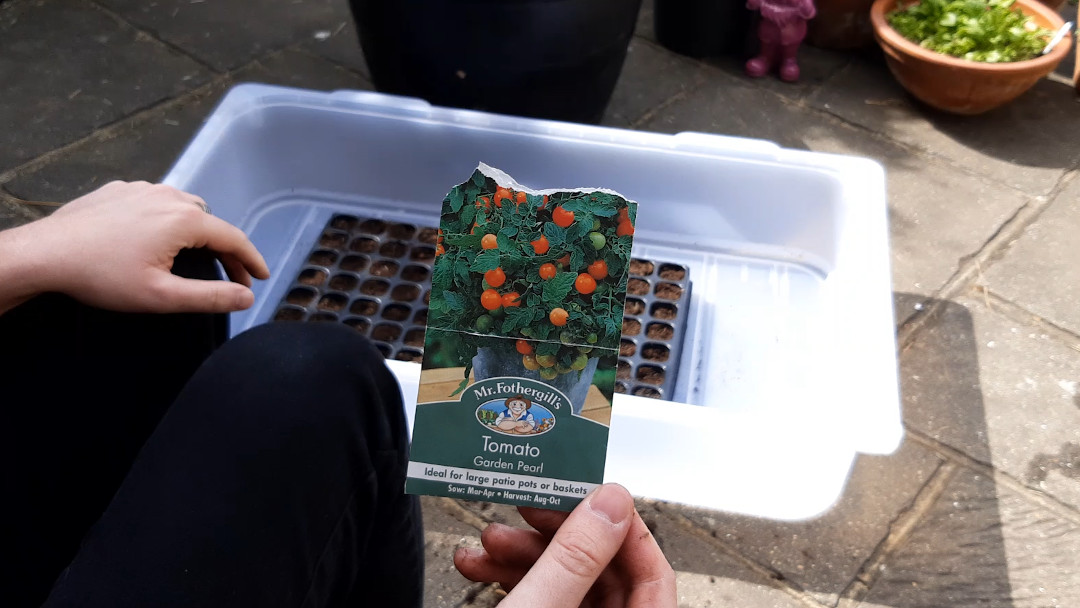
We are growing the “Garden Pearl”, or cherry, tomato which you should be able to pick up from most garden centres. You can find them here from Mr Fothergill’s.
It’ll try to tumble over the edge of its container so I aim to support it up a wall and grow carrots at the base, as they make a great companion plant.
Pests
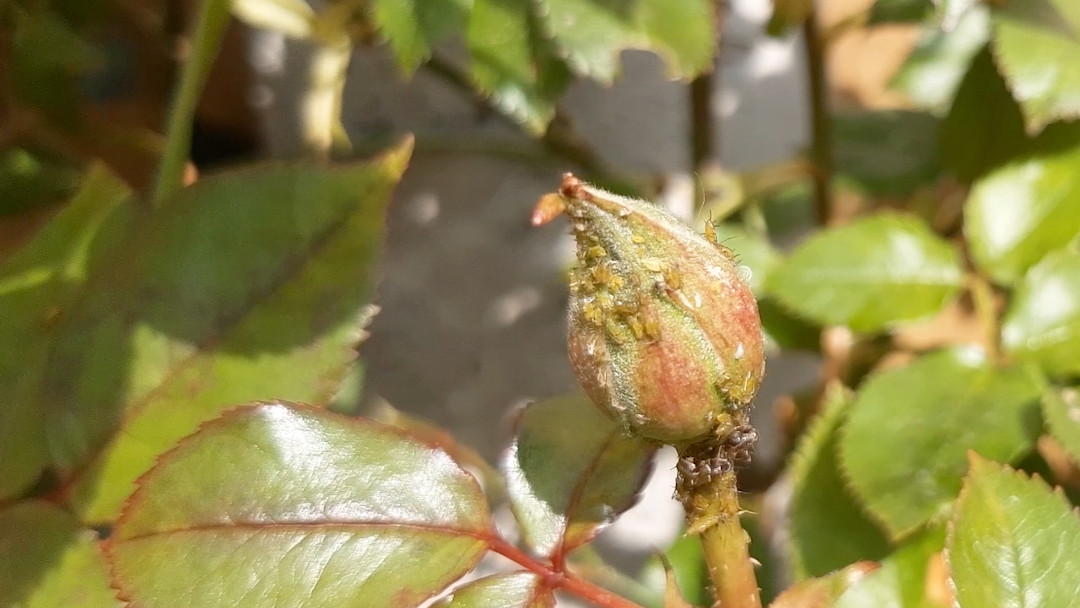
Tomatoes are susceptible to the following pests:
Watch it
I have compiled the growing diary for tomatoes into a short video for you:
Growing diary
I started this diary, and sowed these seeds, on the first week of May (19th week of the year).
Week 1: Sowing
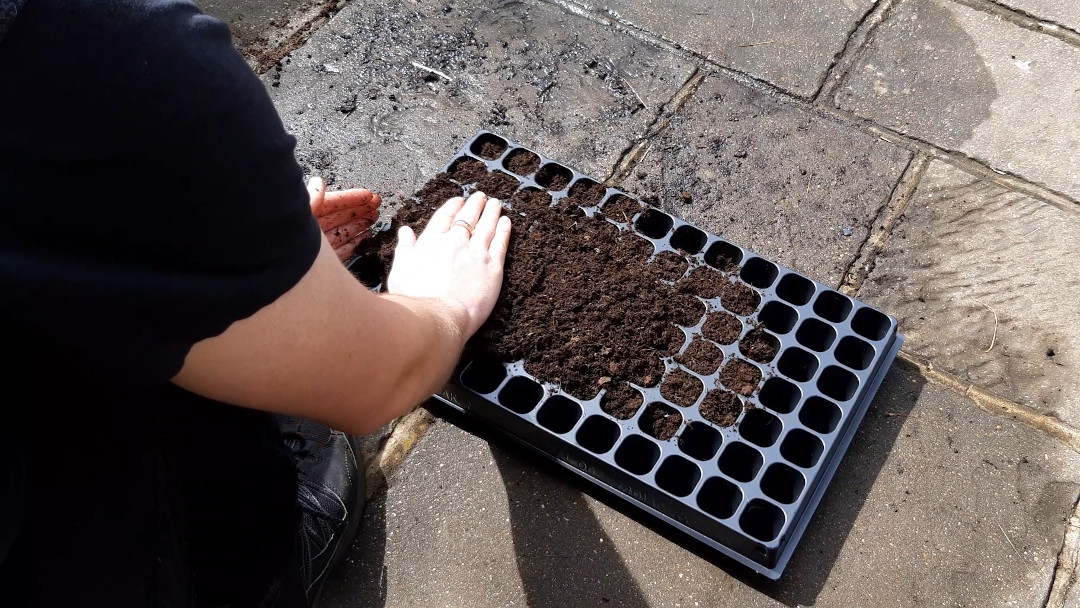
Sowing tomato seeds is similar to how you would sow most vegetables. Start off by filling your chosen seed tray (I’m using the 84 cell tray as I’ll be sowing other veg at the same time) with a general compost or one specifically for seedlings.
When doing this, you don’t need to compact the compost too firmly. The seedlings will have an easier time pushing down their roots if it’s a little fluffy. Make sure each module is full though and there aren’t any large air pockets.
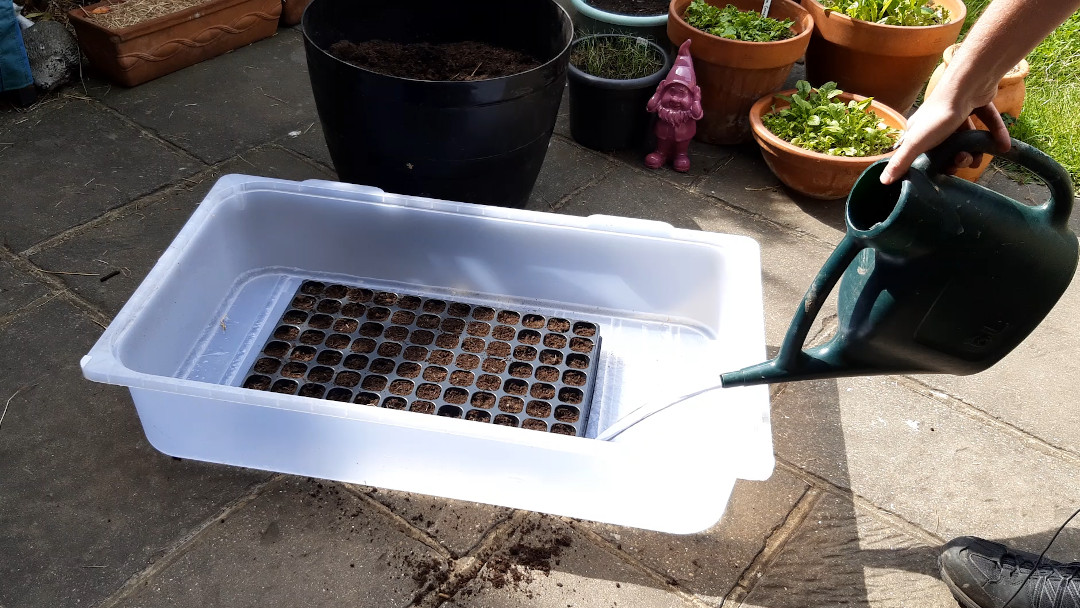
Next, water thoroughly or sit the tray in water to allow the compost to soak up as much water as possible. This will ensure the seedlings have a good starting drink of water to get them going and will mean the compost wont dry out too quickly.
To ensure you have the best chances of the seeds germinating, I recommend sowing 2-3 seeds per cell. We will thin out the weakest later.
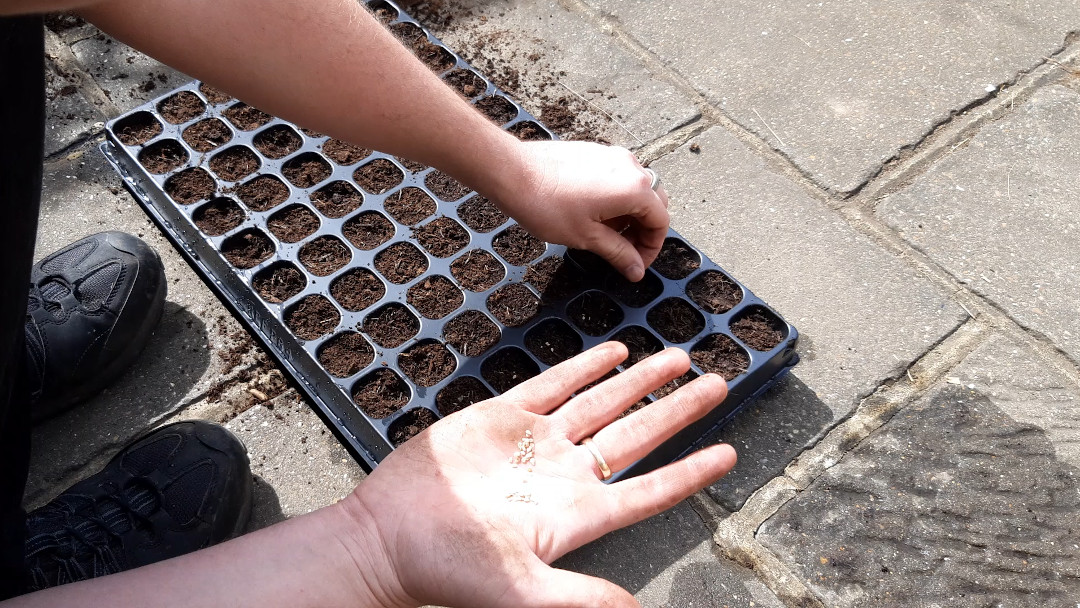
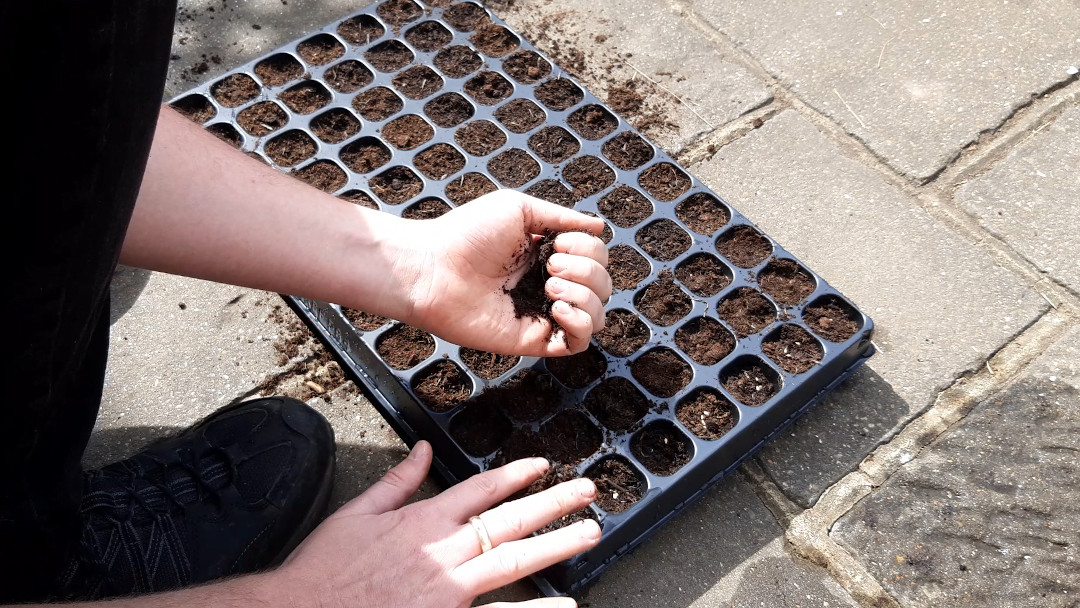
Sprinkle a little compost over the seeds, patting down gently and making sure the seeds are covered. Lastly, give them a splash of water.
Put your label in place so you remember what you have planted.
Tip: Instead of writing a label for each column of your seed tray, write two and put them in the outermost columns that you used. If you always do this, you know that everything between the labels is the same.
The seeds can now go in a warm spot to germinate. A sunny windowsill or growhouse, which I’m using, will be perfect as they need to be around 25°C (77°F) to get going.
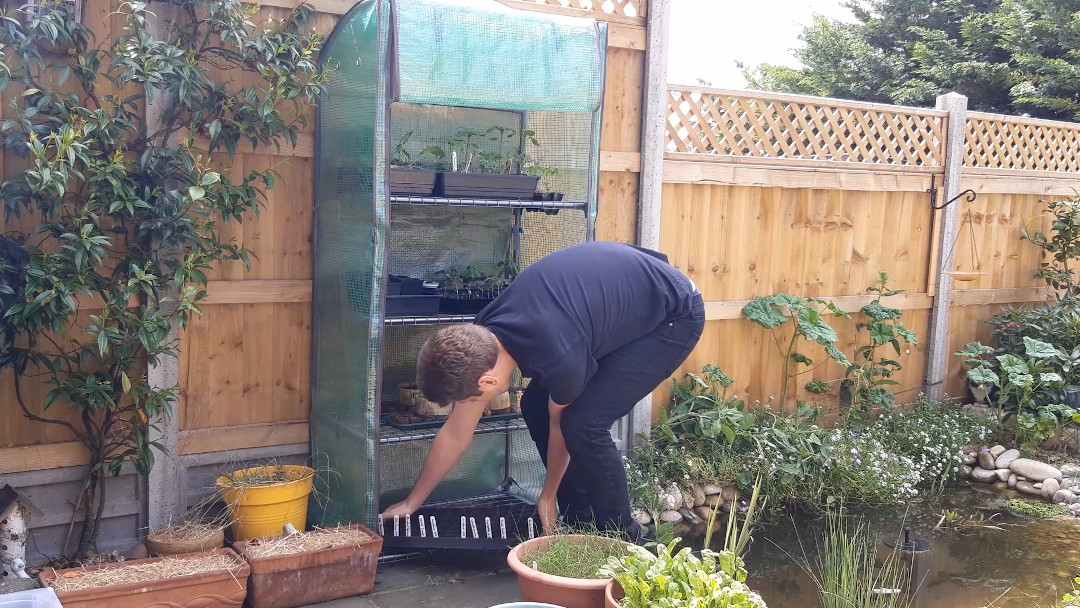
Week 2: Nothing yet
Tomato seeds take between 7-14 days to germinate and need around 15-20°C, which is a little warmer than the average for this time of the year. We have one seed which has germiniated and I’m sure the rest will wake up throughout the week.
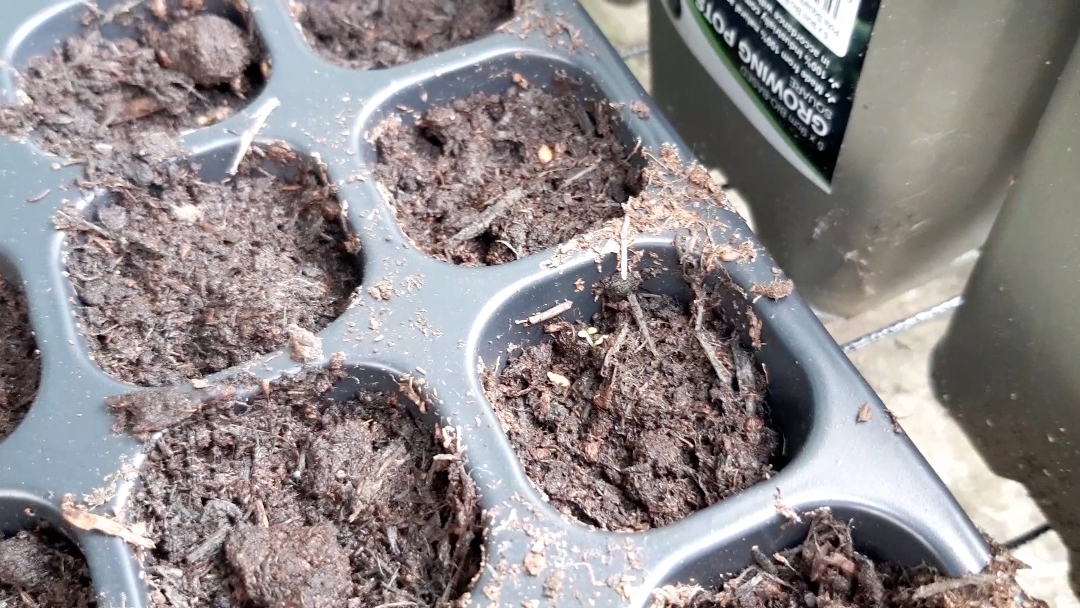
Week 3: A few little seedlings
Considering it’s been much warmer than normal, for this time of the year, I’m a little suprised at how slowly these are germinating. I’ll be patient though, it’s the first time growing tomatoes away from my windowsill.
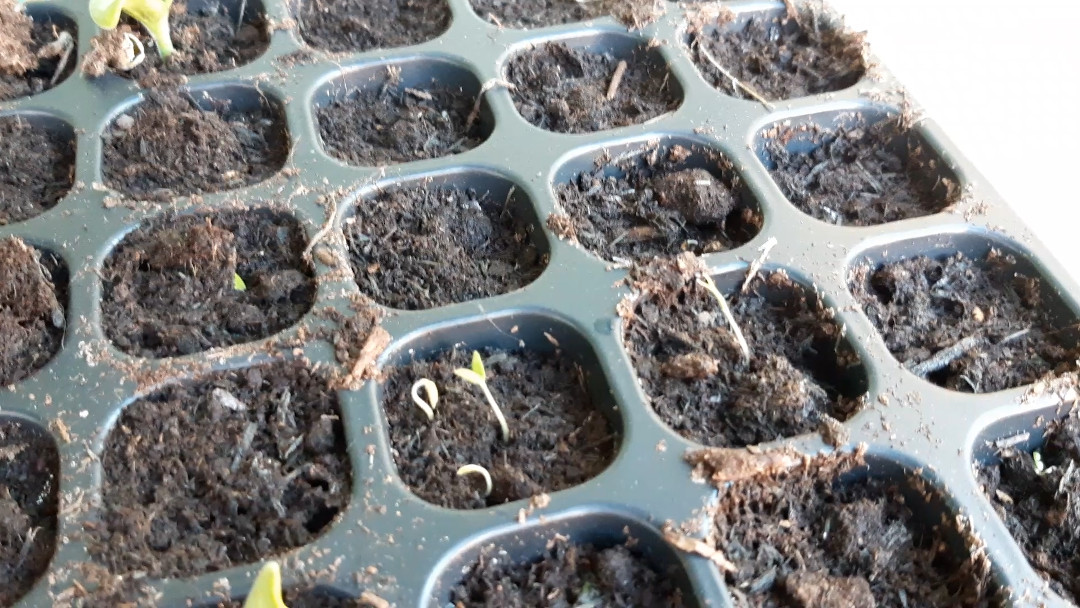
Week 4: That’s better
Phew, we have good germination now. As the seedlings grow, make sure they are well watered as them drying out now will kill the plant.
If they start leaning towards the light, turn the tray and move them as high up in the growhouse as possible.
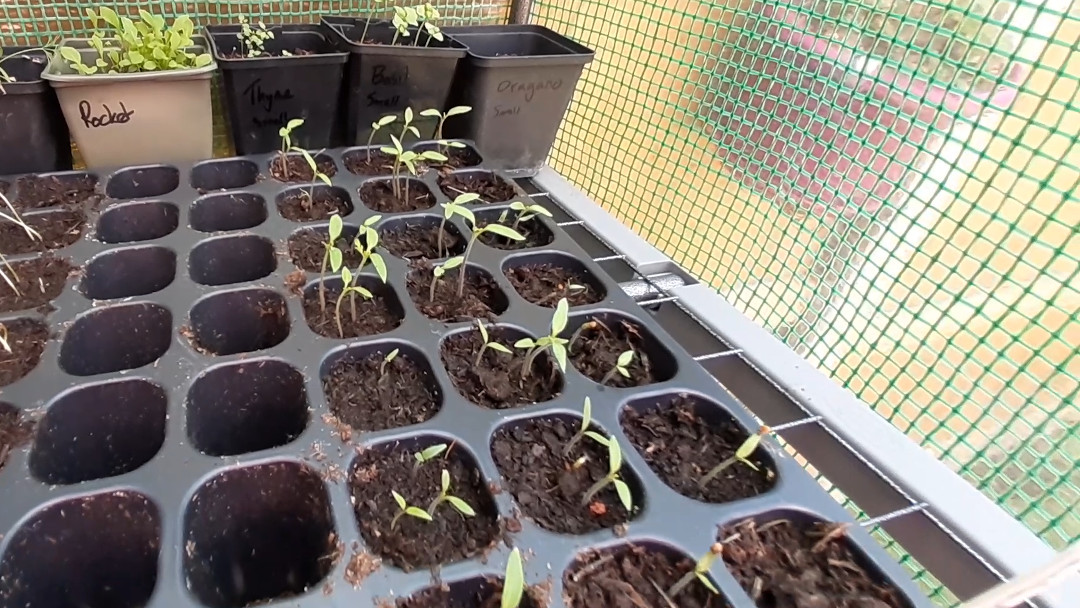
Week 5: Thinning
These seedlings have really shot up this week. The weather has been nice and I’ve made sure they don’t overheat.
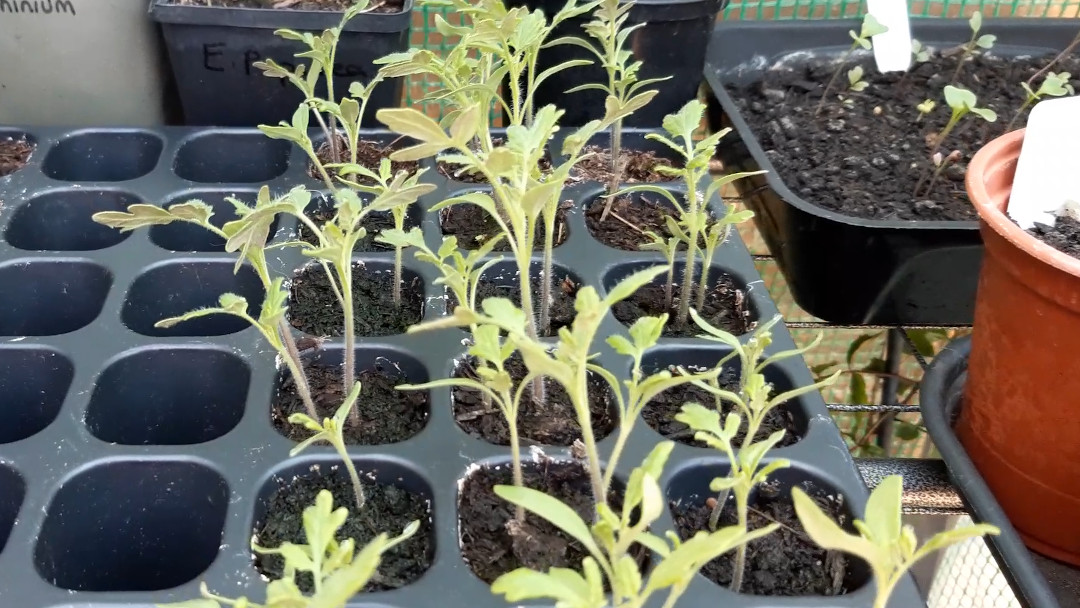
So that they aren’t competing for light, space or nutrients… I’ll thin these down now.
Using a small pair of scissors, if you have them, or by pinching out at the base, reduce the number of seedlings in each cell down to the strongest looking one.
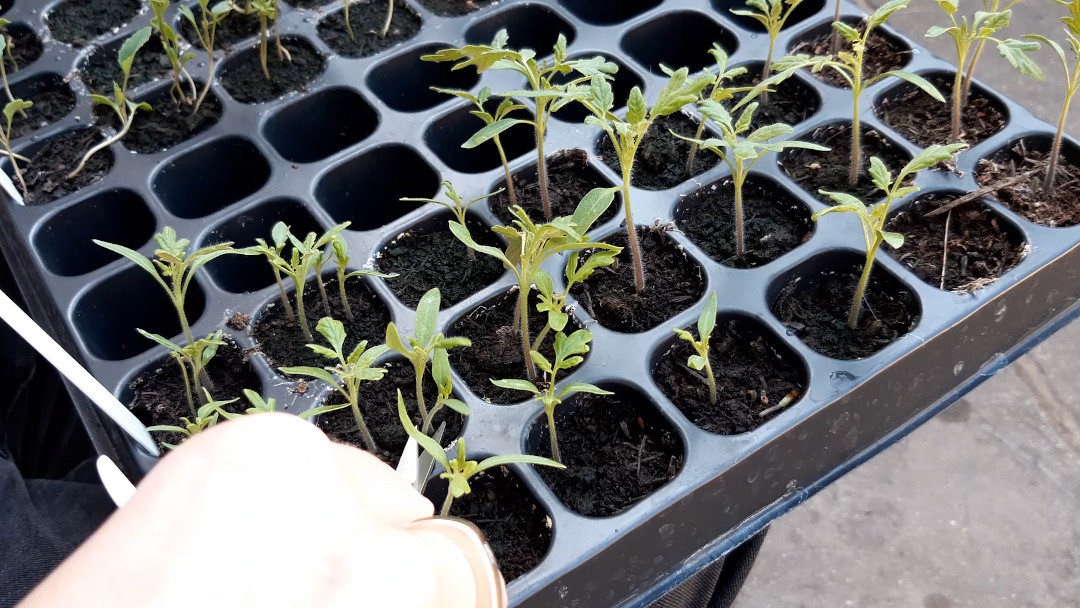
The strongest is not necessarily the tallest. If a seedling looks stretched and thin, this should be removed.
Also check the number of leaves the seedlings has: If it has more leaves than a seedling which is taller, keep the one with more leaves.
If there are two which are exactly the same, you can wait a few days to find a winner and thin again.
Week 6 → 7: Growing well
The seedlings have grown well this week, though it’s been a little cooler and more overcast than the previous weeks.
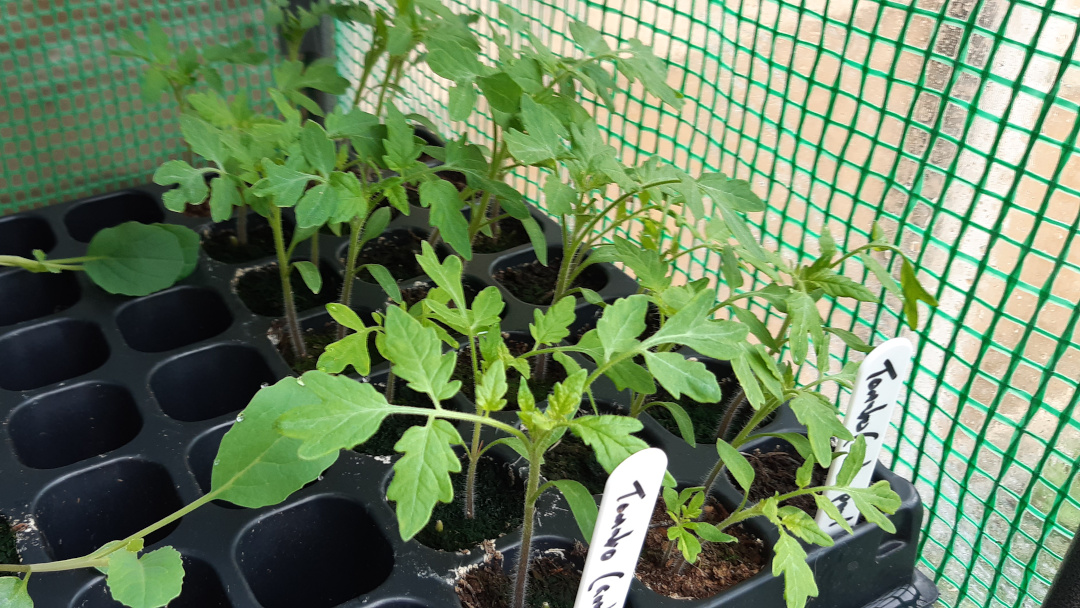
They have responded well to being thinned out and I am noticing that the soil isn’t drying out as quickly because of it. They have more space to grow and aren’t fighting for soil space.
Make sure to keep the tray rotated to stop them leaning.
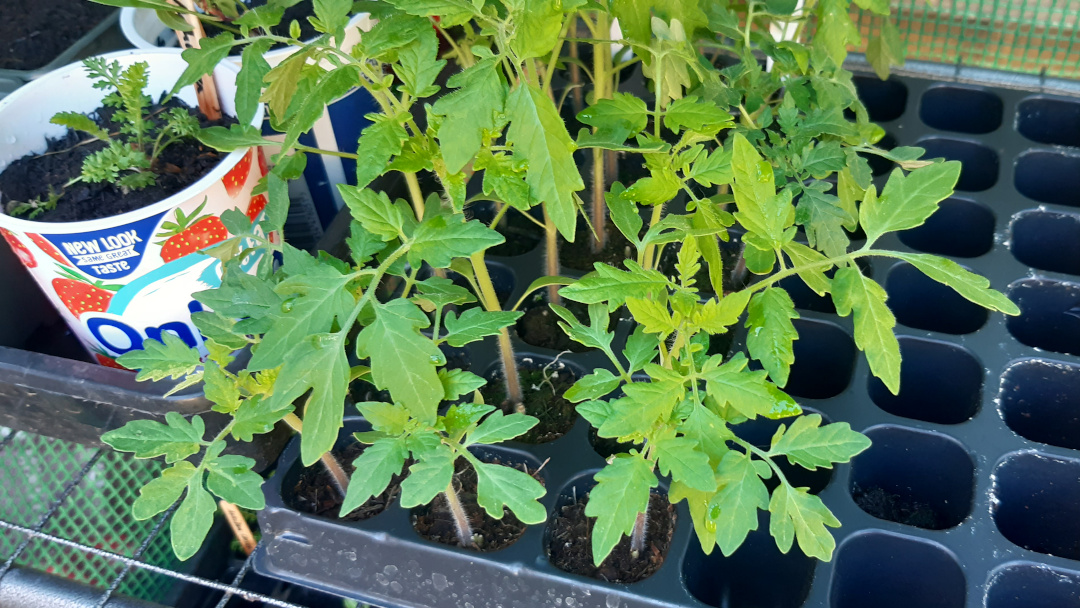
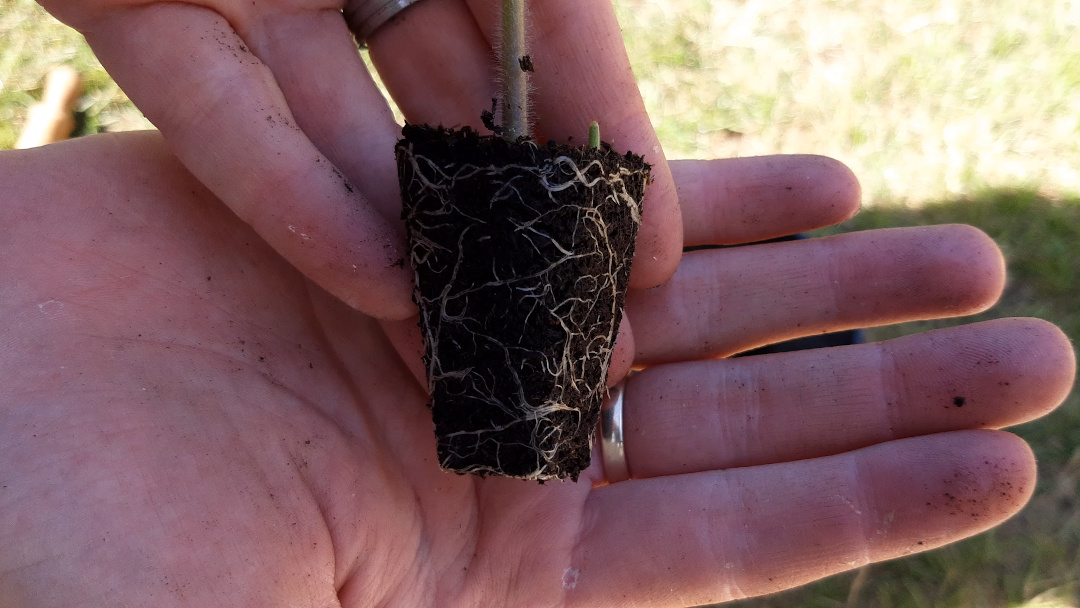
Don’t be too concerned if you see roots coming out of the bottom of the cell, tomato plants grow roots up their stem when buried and we’ll use this to our advantage. We wan’t these to be as big as possible before being transplanted.
Week 8: Transplanting
The seedlings are now outgrowing their cells and it’s time to transplant them into a taller pot.
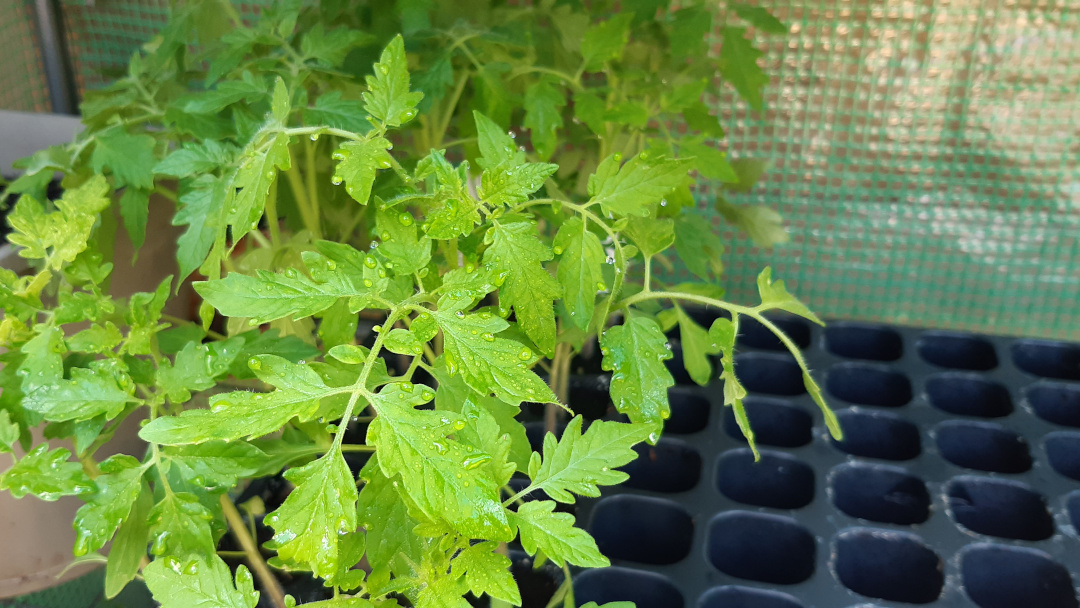
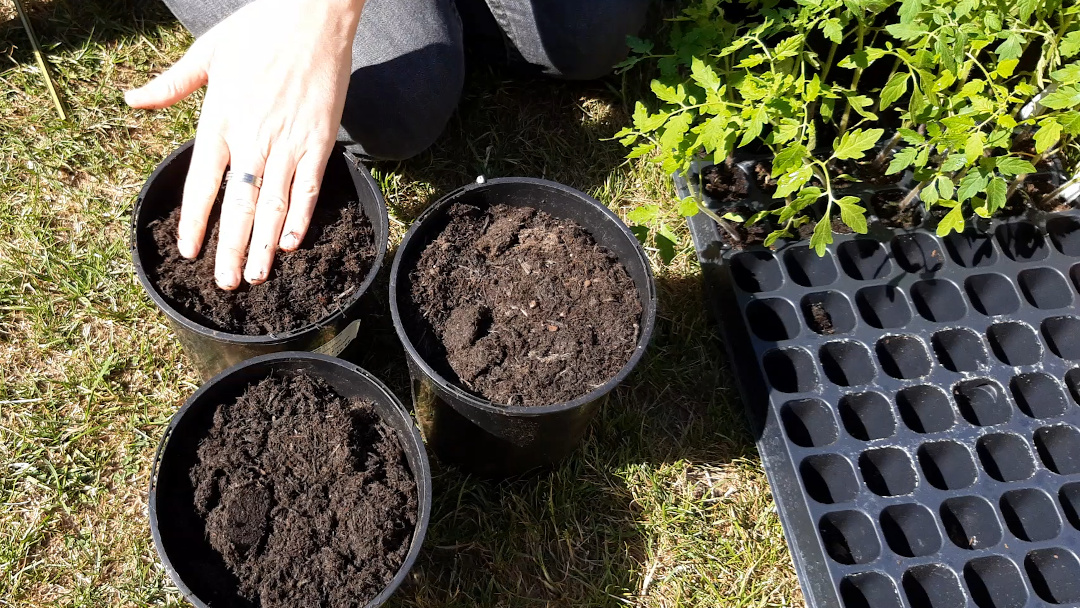
I have three tall pots and so will keep the strongest three of the plants. The rest will go in the composter.
Fill pots with soil
I’m using my 1:1 mix of topsoil and compost for the potting soil. For more information, please check my post on soil.
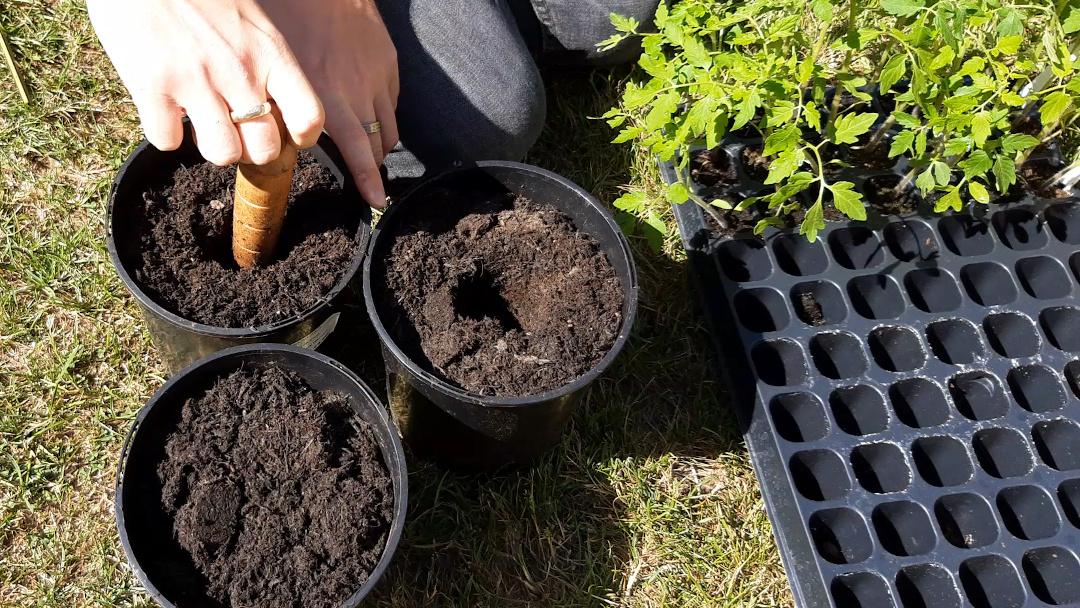
Make the holes
Using a dibber (make your own if you don’t have one, it makes transplanting SO much easier), make a deep hole for each seedling. Tomato plants grow roots from their stem, so, to make sure the plant has the biggest root system possible, make the holes as deep as possible.
If you have a dibber, the lines on it are spaced an inch apart for reference
Ease pods from cell
Using the flat end of a pencil, poke out the pod from the cell using the hole in the bottom. If this is a little tricky, water the soil first so it holds together.
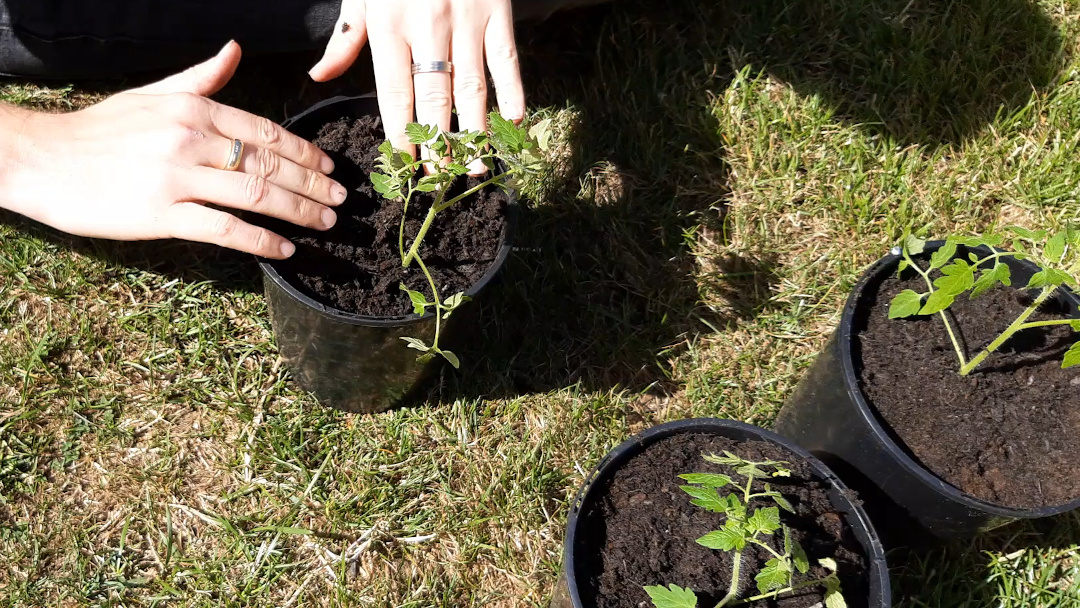
Transplant
Place each pod into each hole and press down so the top of the cell is flush with the top of the soil. Place your fingers either side of the stem and gently push down.
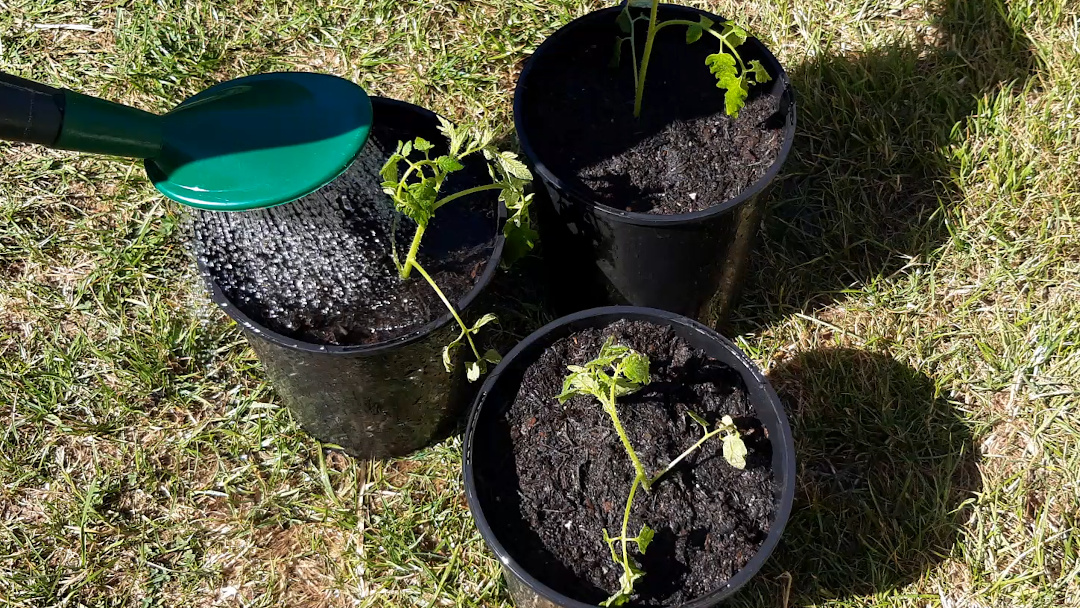
Water
Lastly, give them a really good water. Transplanted seedlings can get shocked by being moved and their roots disturbed. We limit this by using a similar soil in both the tray and the pot and by watering the roots in well after moving them.
Week 9: Growing on nicely
The tomato plants seem to have settled well into the tall pots.
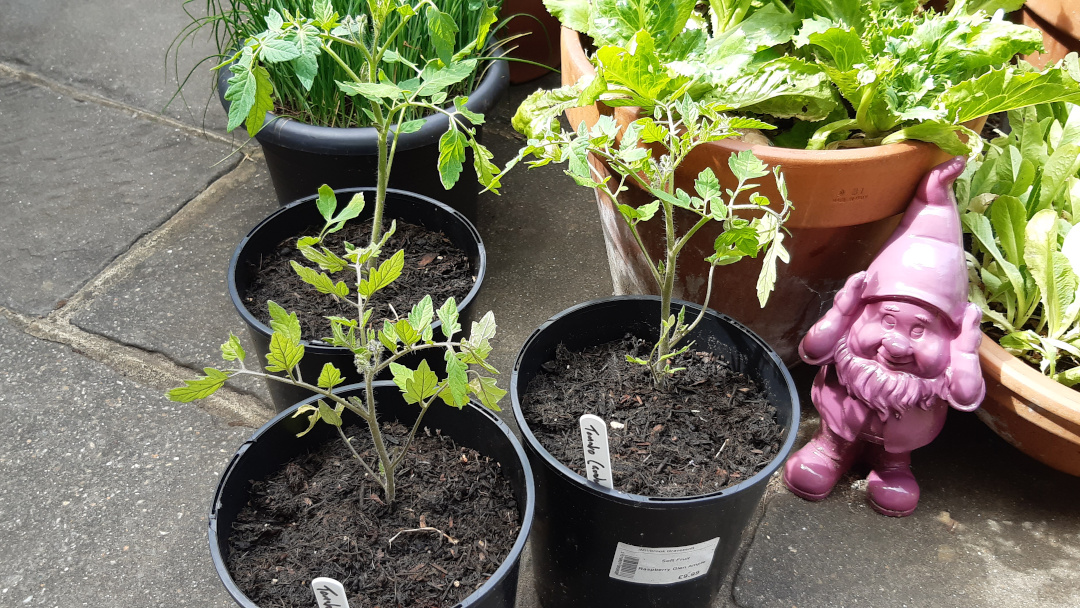
The foliage growth will slow down a little while it’s growing more roots, so don’t be too suprised that it doesn’t grow much over the next few days.
Week 10 → 12: Flowers starting to show
The tomato plants are growing nicely and are looking strong.
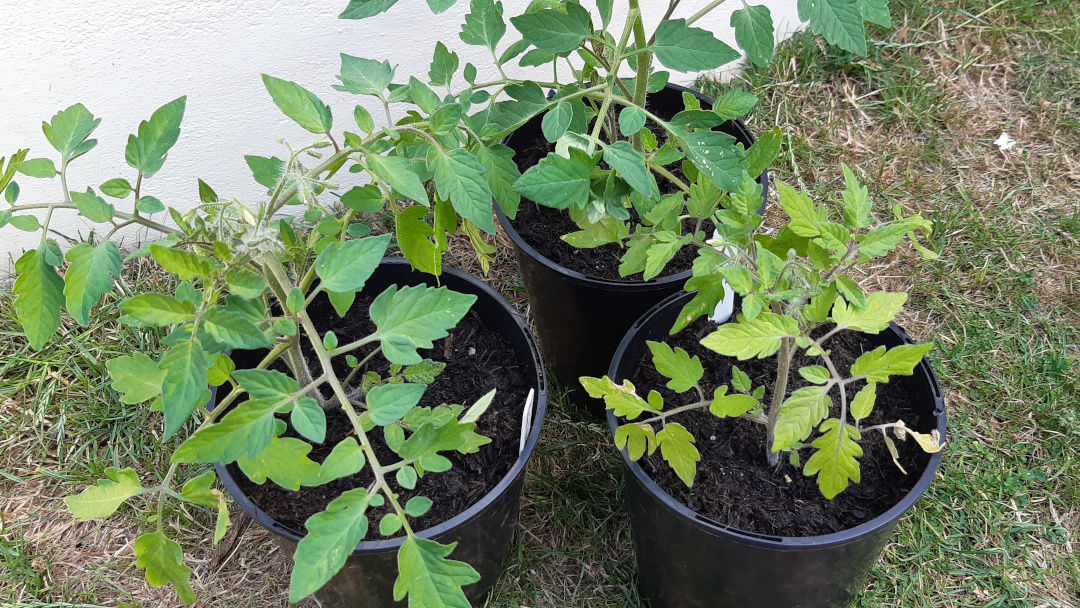
The start of week 10 also shows the flowers starting to grow which is a very good sign.
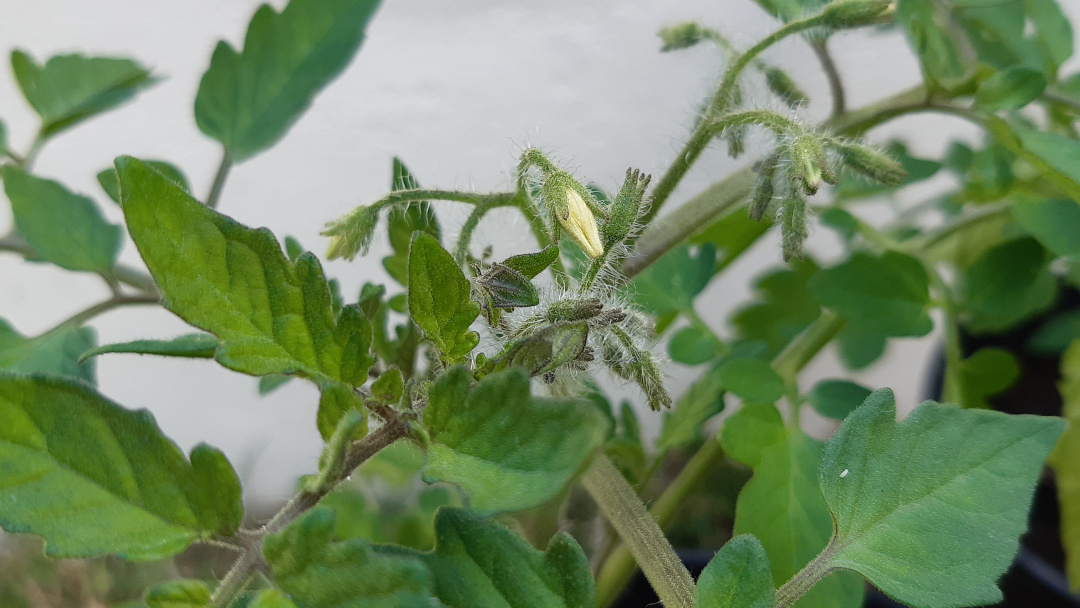
The areas that these are moving into is not free yet, so they will stay in these pots a little longer. Yours would now go into the ground or a larger pot at this stage though, where they will have more space to grow.
By week 11, each plant has lots of flowers.
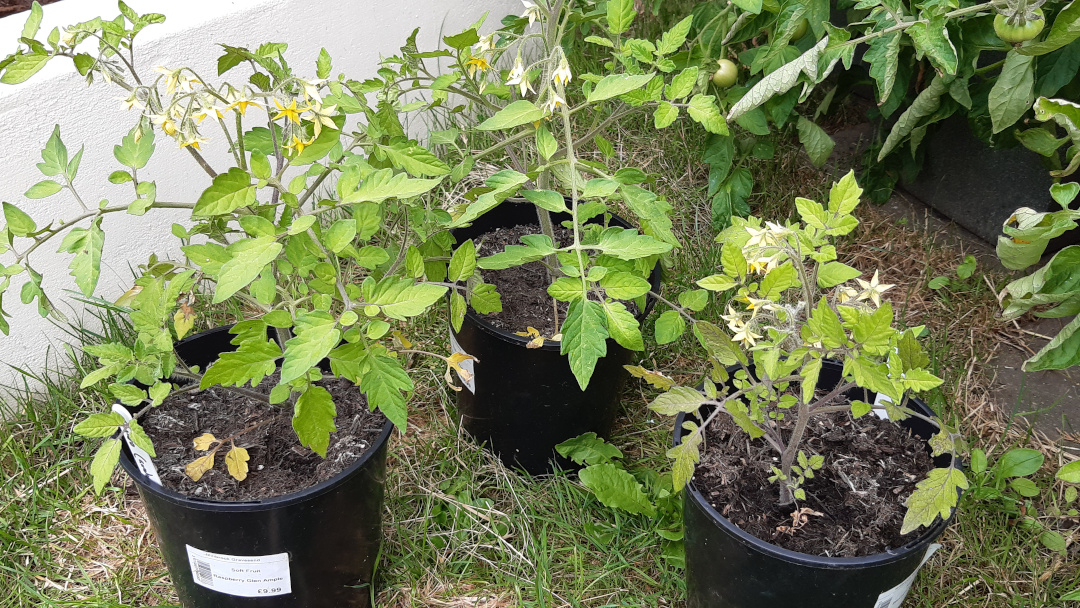
… and week 12 is showing the start of fruit developing.
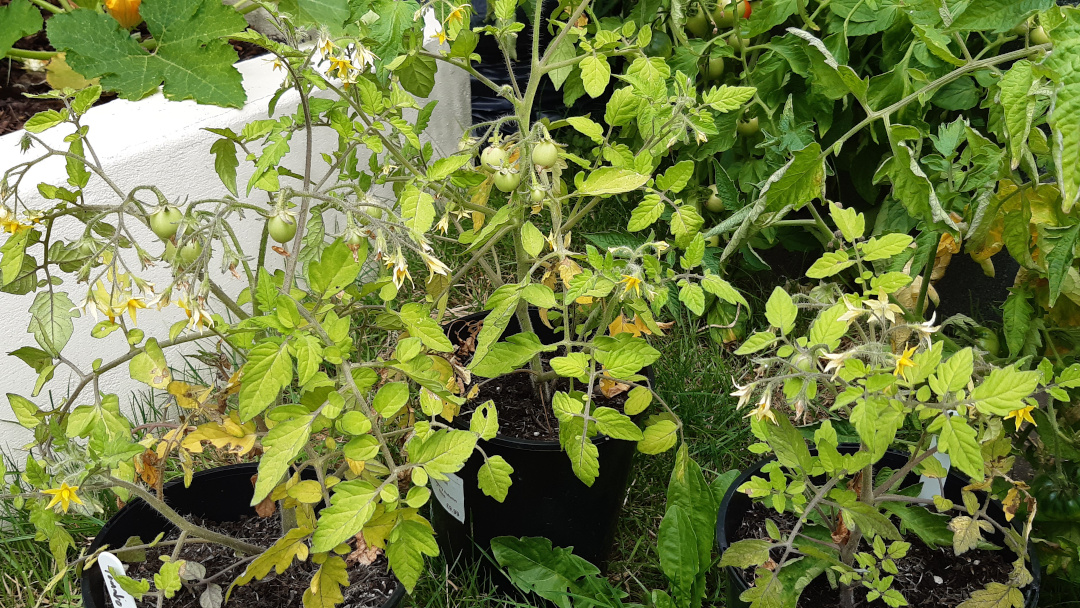
While they are growing fruits, give them a really good liquid feed once a week.
Week 13: Transplanting time
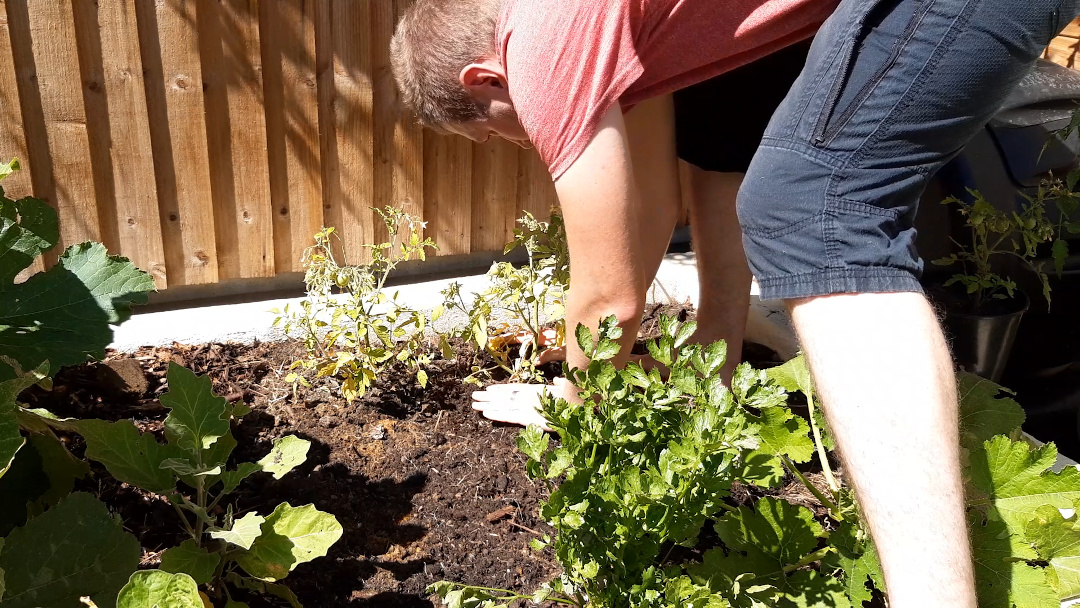
Ideally, these plants should have gone in the ground before they started to flower but the area in the garden is finally ready for them.
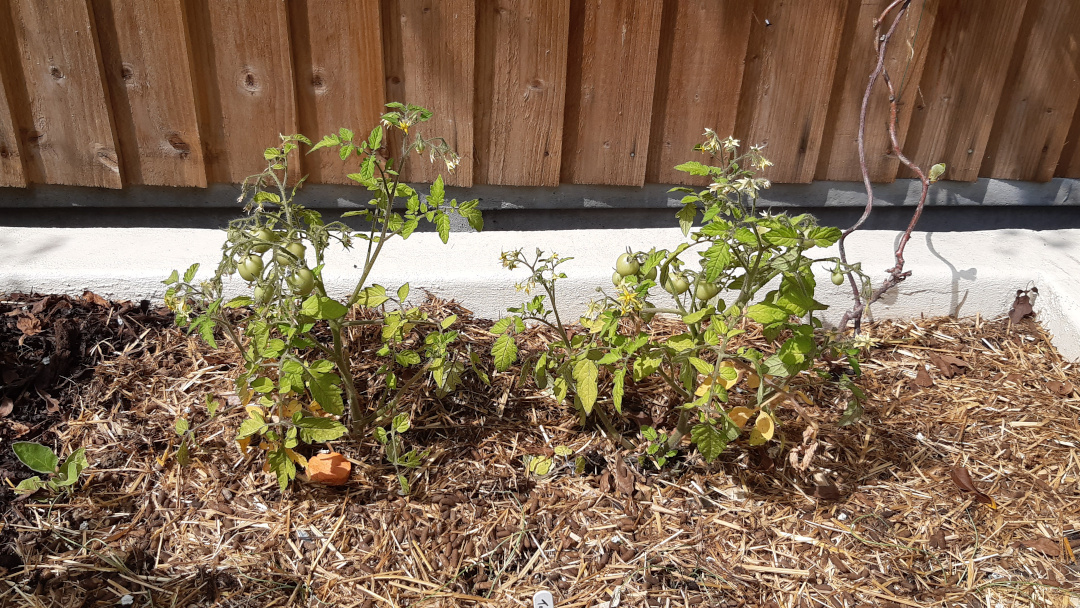
Make the holes
Using a spade or a hand trowel, dig out a hole for your tomato plants. Usually the hole would match the depth of the plant pot but tomatoes can be planted deeper and will benefit from the additional support. So, dig a hole which will cause the bottom most leaves to be at the soil level.
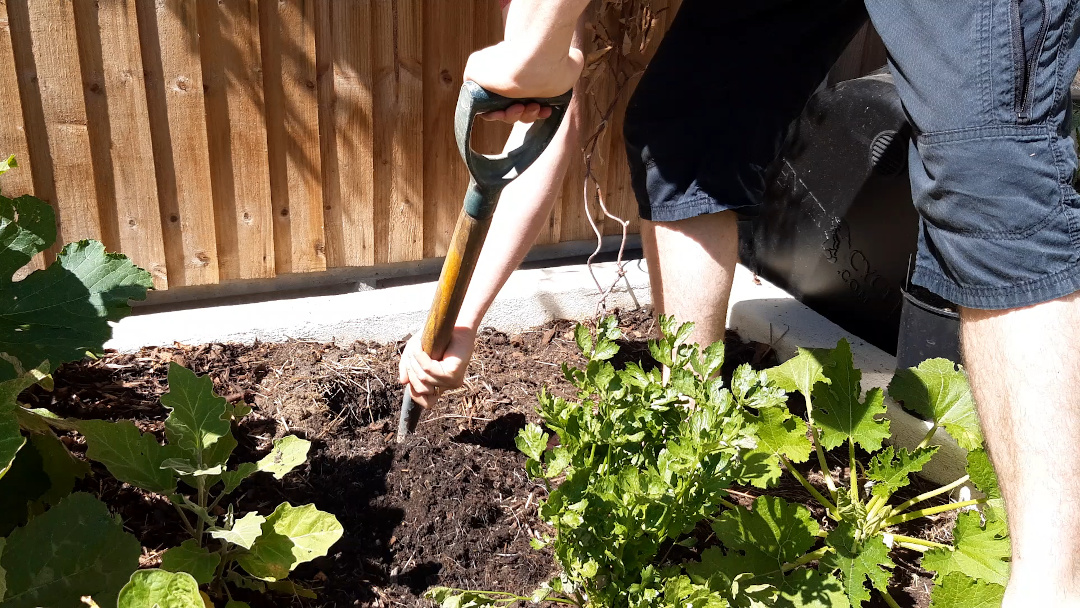
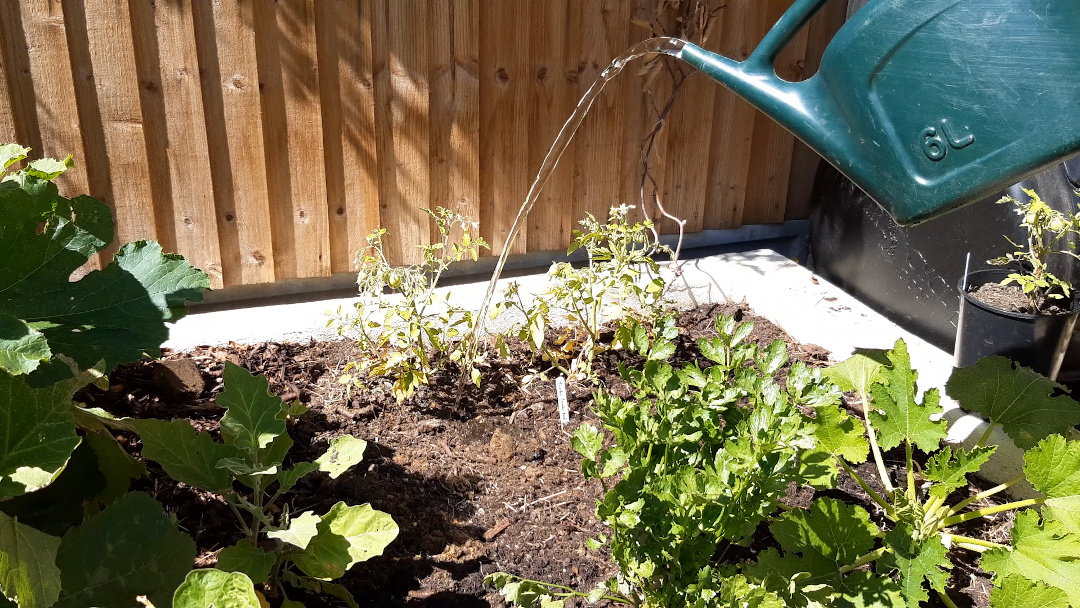
Give the hole a water as this will encourage good root development and reduce the amount of transplant shock for the plant.
Ease plant from pot
Take the plant out of the pot and drop into the hole. If the plant doesn’t come out easily, try squeezing the side of the pot to encourage it to drop into your hand. Don’t hold onto or pull the plant, instead place your thumb on one side of the plant and your hand on the other side and catch it as it slides out.
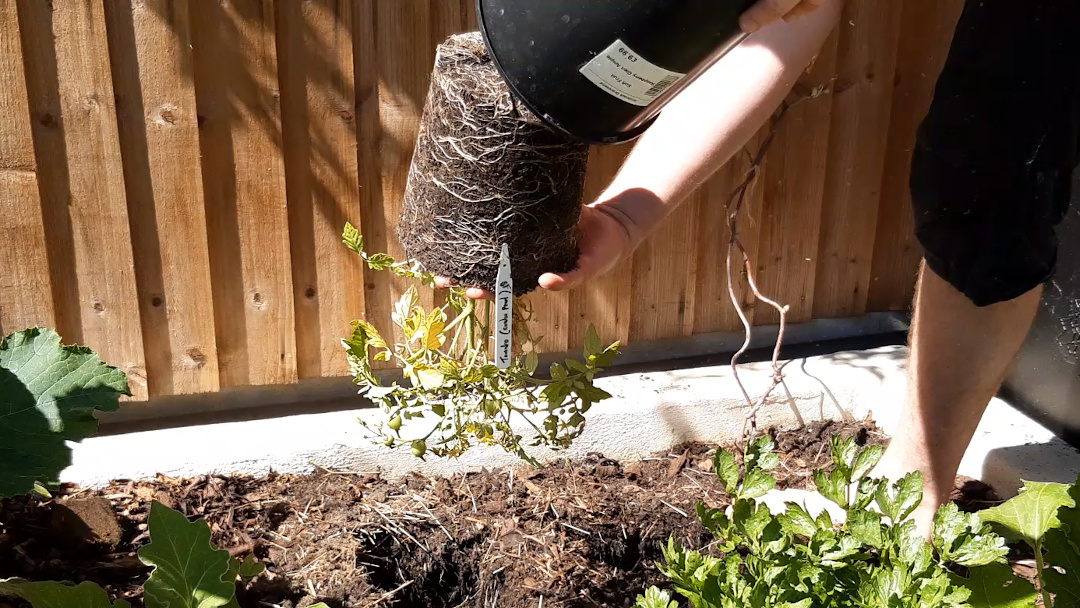
Transplant
Place each plant into the bottom of each hole and gently bring the soil up to surround and support the stem.
Water
Lastly, give them a really good water. Transplanted plants can get shocked by being moved and having their roots disturbed. They also dry out quicker than established plants because they haven’t yet developed deep roots.
Week 14 → 15: Fruit growing
The fruit is growing well, keep the plants well watered and add a liquid feed once a week.
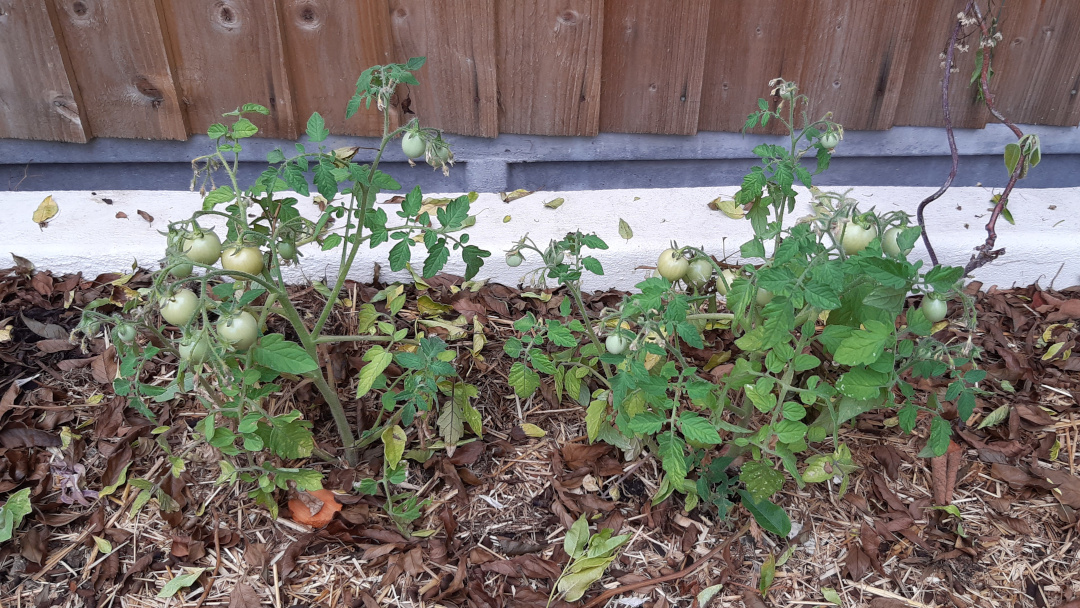
Your plants would be larger than these because they went in the ground at the right time, so support it with a cane if it becomes top heavy to stop it getting damaged in the wind.
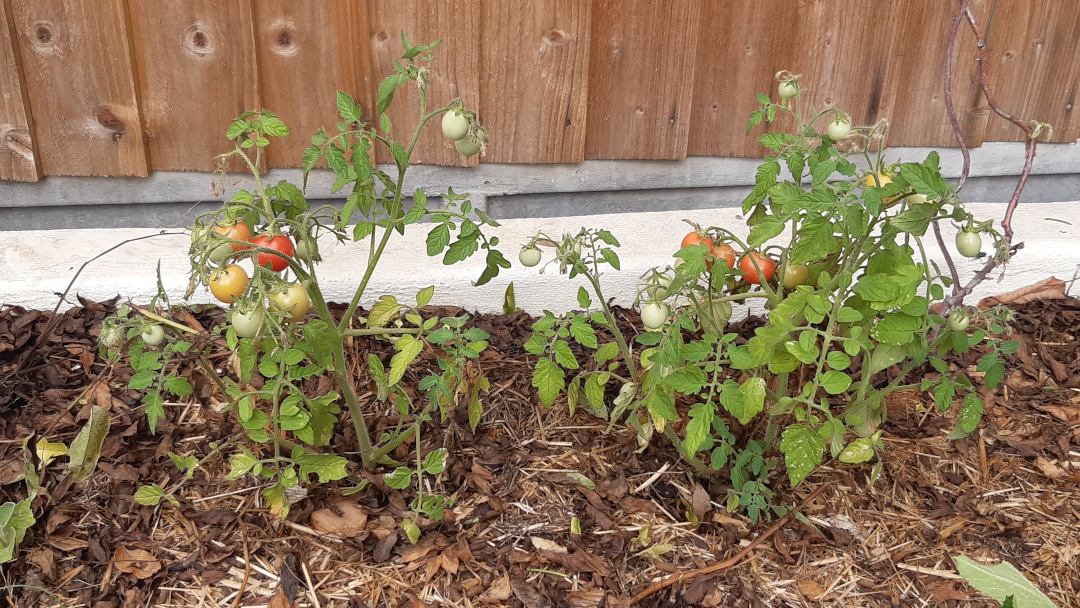
The fruits will be starting to ripen and turning from green to orange/yellow and then to red. My guess is that we can start harvesting these next week. I’m looking forward to cooking some of Lady Thorny Pot’s special tomato soup.
Harvesting
Once the fruits are a bright red all over, they are ready to harvest. They’ll pull off easily but be careful if there are fruits in the clump which aren’t yet ready, we don’t want to pull them off too but leave them on to continue growing.
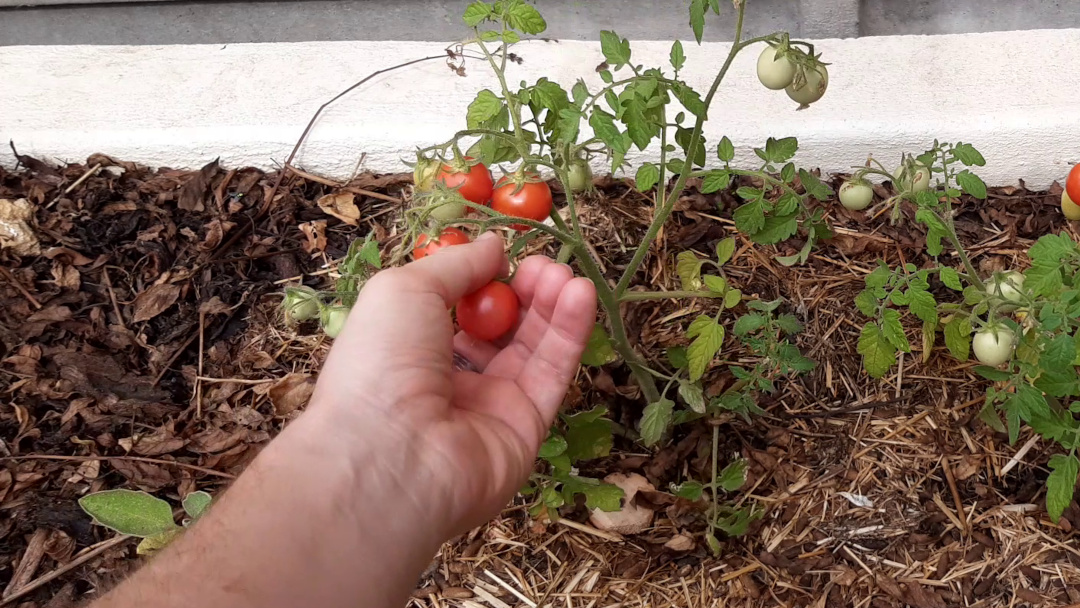
If there are fruits still on the plant, continue to give it a weekly liquid feed until the plant is spent.
Simple tomato soup
I have a delicious and simple tomato soup recipe, which I have created a video for you here:
Article written on May 05, 2020
Updated Aug 27, 2020
