Transforming our garden
The result of the best part of a years hard work.
Lady Thorny Pot and I moved into our first house just over two years ago. Before that, like many people, we moved between flats while we worked hard to save for a deposit.
Unlike most people though, during this time we also bought and lived on a houseboat. My theory was that we would save some money (living on a boat is much cheaper than renting a flat), make some improvements and sell it for a profit.
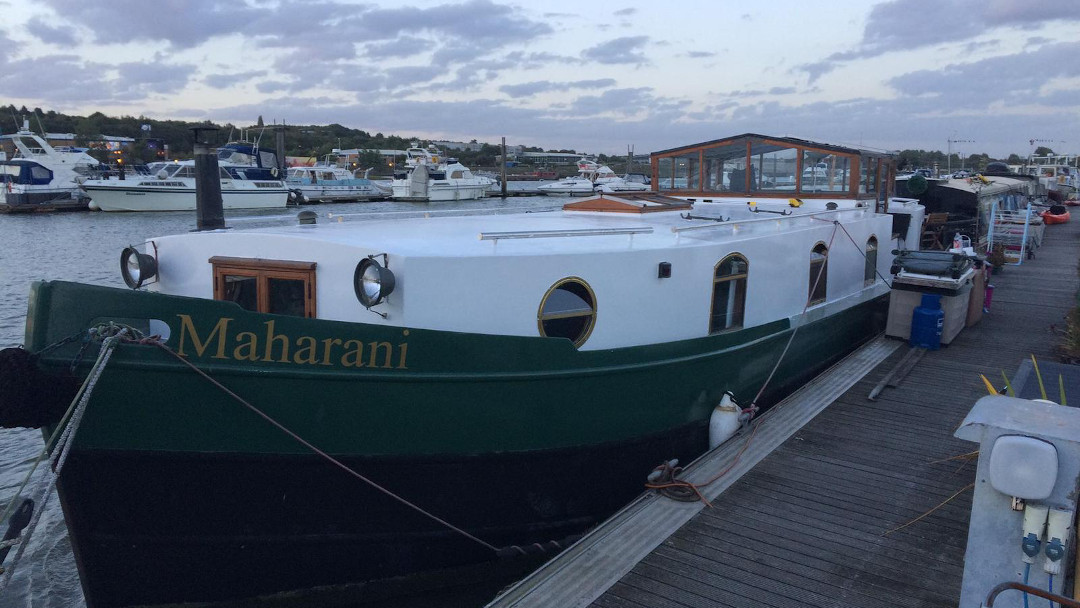
Turns out that Lady Thorny Pot get sea sick and we lived on a tidal river. It wasn’t the easiest time and we didn’t have heating for our first winter. Large metal buckets floating on an icy river aren’t known for their insulation properties.
We made it look homey though.
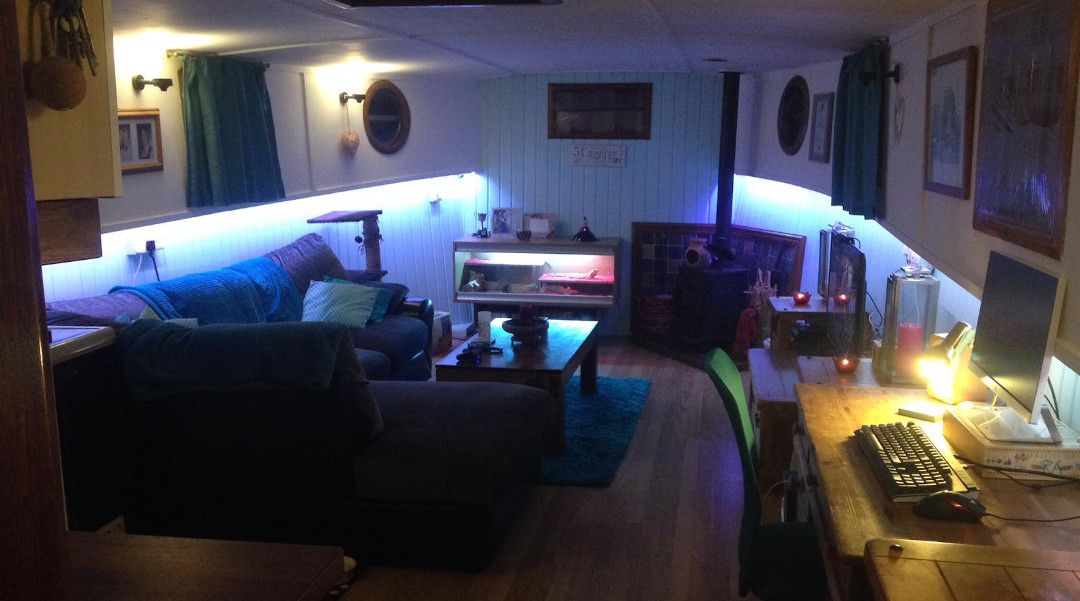
It worked though and we sold the boat for a profit and it gave us a healthy deposit to put towards a house… where we now live, in the warm and dry.
Why are you telling me this?
A good question (which I asked?). I tell you this little bit of back story because it explains why I now spend so much time in my garden, and why I set up A Thorny Pot - To grow my own food and pass on a little knowledge to others.
The flats we lived in either had no gardens or we weren’t able to do anything to them and the boat was not a great place to live, let alone grow anything.
Naturally I wanted to get stuck into the garden as soon as possible, which was a little tricky because the garden was already gorgeous. It just wasn’t mine. I didn’t know the name of any of the plants, where they came from, why they are beautiful or how to care for them. There was also quite a lot of wasted space and an old shed which was so rotten I could push my thumb through the wood to see the inside.
I had seen a post on the Gardeners World website (https://www.gardenersworld.com/how-to/diy/how-to-build-a-raised-bed/) about building raised beds and it looked amazing. I had set my heart on that style and we also needed to redo all the fences, as they were blowing down on windy days.
I called in the muscles and skills of my friend and over the span of around 3-4 months we completely transformed the garden.
Step 1: Cut it all back
The first step was to clear the area to see how much space we were working with. There was a lot of bamboo to the side of the shed and a whole load of shrubs. Once we removed the shed, we found a solid concrete slab underneath, which is pretty handy. It’s perfectly sheltered by our weeping birch (Lady Thorny Pot said its the only thing I have to preserve) and would make a lovely seating area.
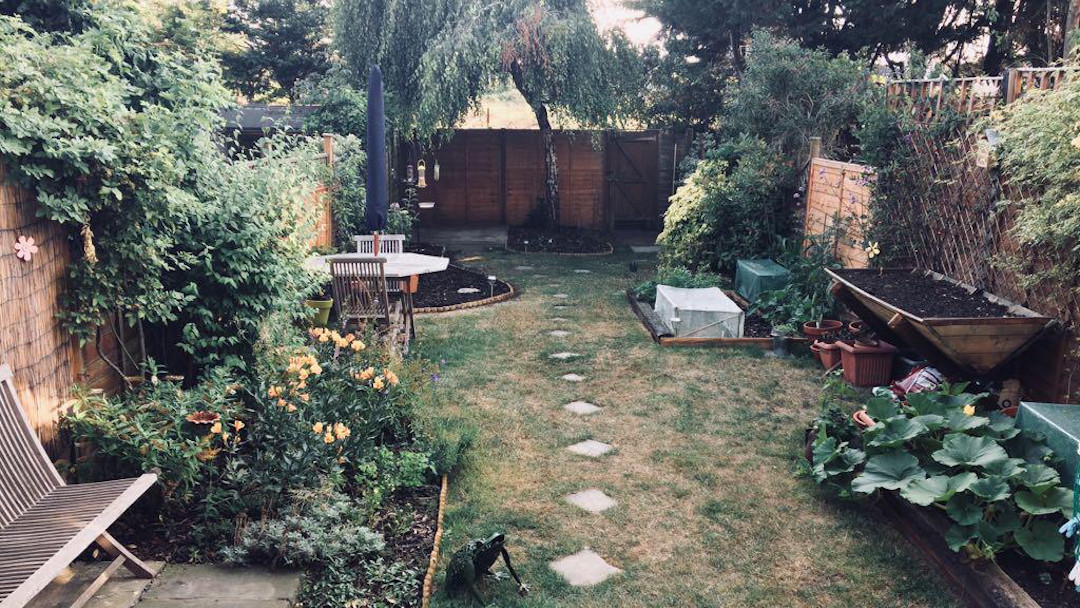
The ground down the end of the garden was very dry and lacked any nutrients at all. I don’t know if it was the bamboo or the tree but no grass was growing.
We kept what we liked and discarded the rest. I held onto some large daisy-like plant and the tiger lilies which are stunning in the summer.
Step 2: The fences have to come down
Our neighbours were due to be away on holiday for two weeks which was the perfect time to work on the fences. I wanted a simple wooden fence but supported using cement posts and gravel boards. I had already replaced a few of the panels and I wanted something that was easy to look after in the future.
Wood posts rot and snap over time and they are a pain to replace if you already have stuff growing there. It was a bit more expensive but as I was doing the work myself, I was already cutting costs. How hard can it be?
Turns out… very! Don’t underestimate the heavy lifting, the digging and the mess involved with replacing a whole garden of fencing. All of the previous cement blocks had to come out and this was made harder as the posts were all rotten.
We watched loads of videos about the easiest way to get these blocks out, e.g:
- Lots of water to saturate the ground: Only made it messier
- Break it up with a hammer drill thing: Nope
- Use a fence post borer: The hole wasn’t the problem, the heavy poured concrete was
None of these helped really.
I would recommend digging a hole next to the cement block, to its depth, and levering it out with a crowbar. We learnt this too late into the process but it saved a lot of time anyway.
I kept a lot of the old fencing and posts to one side because I had learnt about Hügelkultur (Link to Self Sufficient Me’s video) and thought it was a good use of the organic material. I also knew that my raised beds were going to be pretty big and needed filling with something.
Step 3: Raised beds
I wanted three raised beds:
- Under Treebeard (yes, our tree has a name)
- A “P” shape to the left of the garden (P for Peter, Me)
- A “D” shape on the right (D for Dawn, Lady Pot)
The end of the garden gets less sun, as its sheltered by the tree and it’s generally darker down there anyway. Therefore, this was to be the tallest of the raised beds, to get some interesting height and shapes. It should also frame the tree to make it an interesting feature.
The beds are made from breeze blocks, placed as a normal brick would be and mortared together. They are quite light which makes carrying easier and you can also cut them with a normal hand saw… which saved me having to buy lots of power tools.
My friend is a plasterer so he had all the equipment for mixing up mortar. At the time I was a programmer so naturally the heavy lifting was mostly left to him and his gigantic arms.
These block walls were then rendered with a similar mixture, waterproofed with a masonry waterproofer I found at B&Q and painted in an off-white masonry paint.
Bed 1:
The base of this bed was filled with a lot of fencing wood and the shrubs I had cut down. The top half was then filled with compost, some of which I had made myself already.
I then planted some hostas and a climbing hydrangea in the corner with some spring bulbs around the base of the tree.
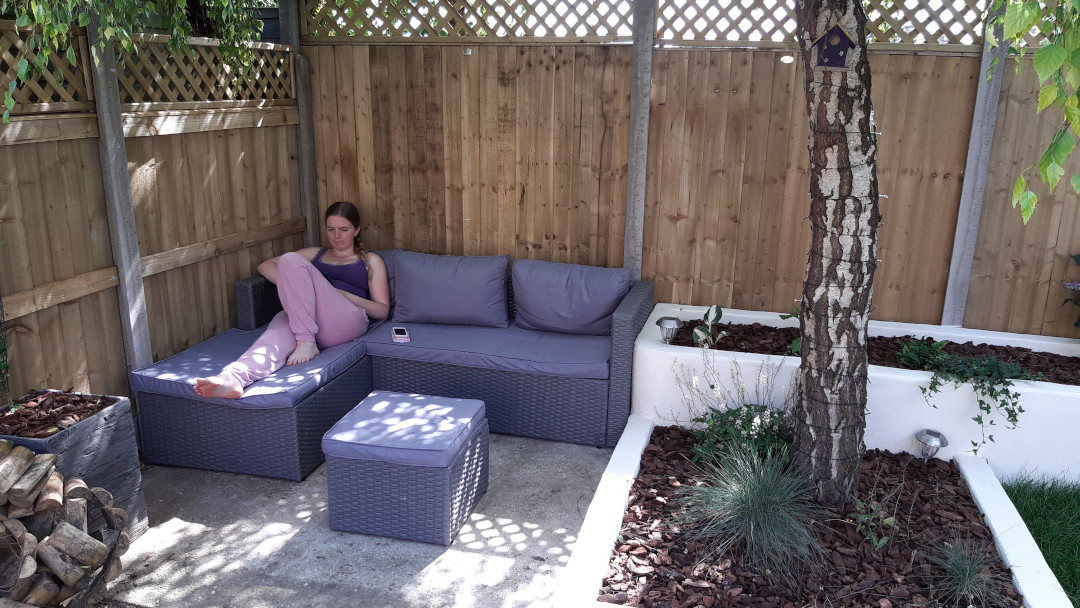
We then got ourselves a simple corner outdoor seating set so we could sit down and watch the garden grow… once I had finished of course.
Bed 2:
This is easily the largest bed and will be half flowers and half veg.
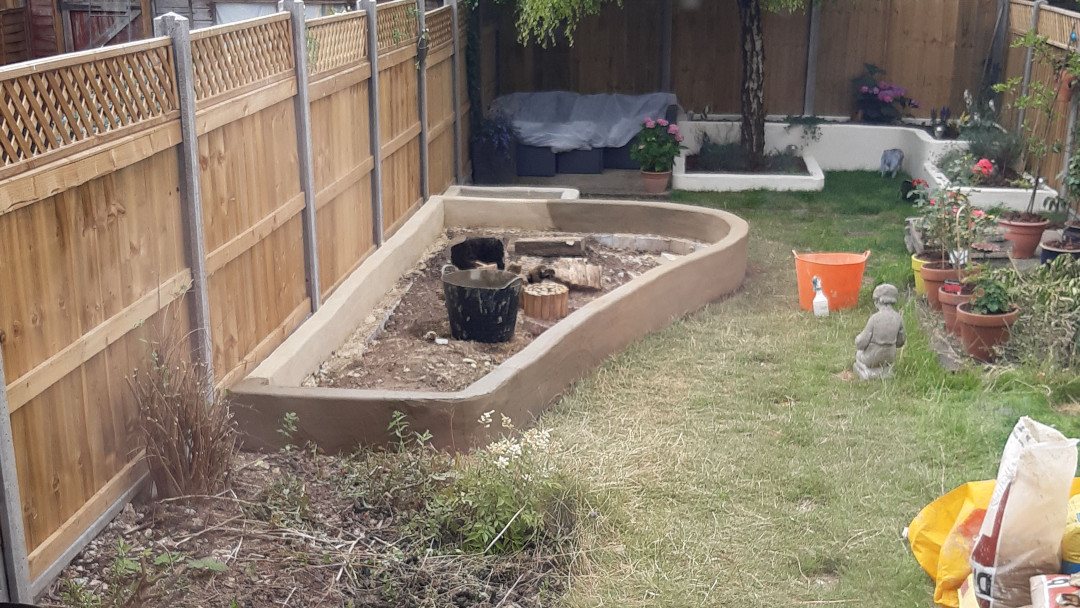
Lady Thorny Pot hates that weird stone statue of the child. I found it in the garden and I move it around a little each day just to creep her out.
We had some large heavy slabs which we had salvaged from other parts of the garden (the stepping stones mainly) which I used to make a flat area for a raised planter which I thought would suit potatoes well.
Pond:
No garden is complete with some sort of water feature or pond. My dad had recently built a wildlife pond and had some spare liner which, oddly, perfectly fit the area we had left.
Digging the pond out was quite therapeutic after the stress of rendering and cutting blocks. This also gave me some soil to start filling up bed 2.
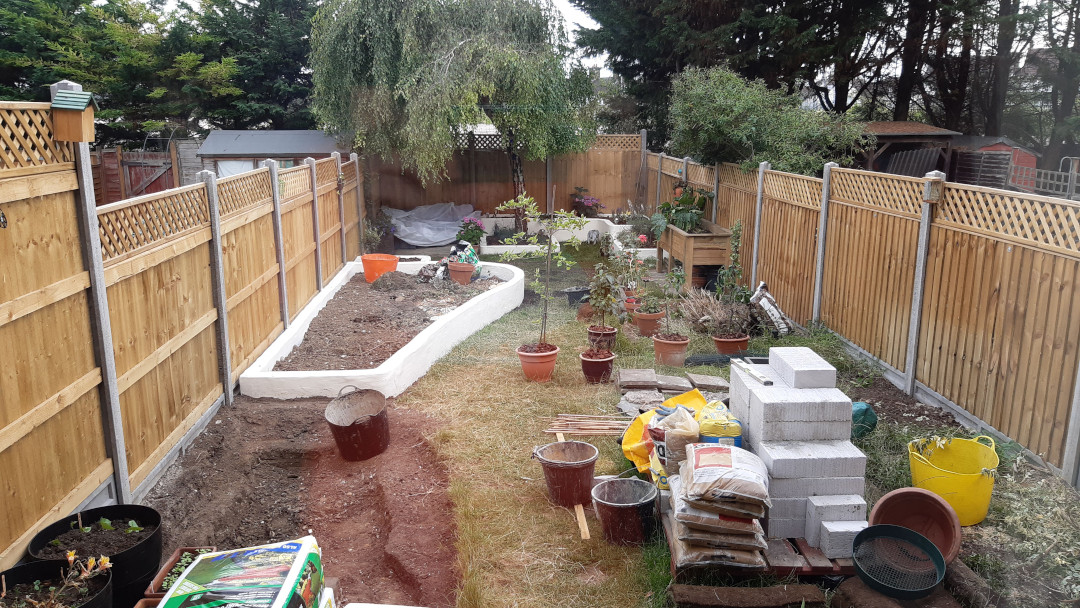
Ponds aren’t difficult to make, just ensure you:
- Dig it deep enough to keep the water cool
- Have a nice deep layer of sand underneath the liner to keep it safe
- Have levels if you want to put plants on (Tip: use blocks or bricks underneath to make sure they are level)
- The whole thing needs to be level
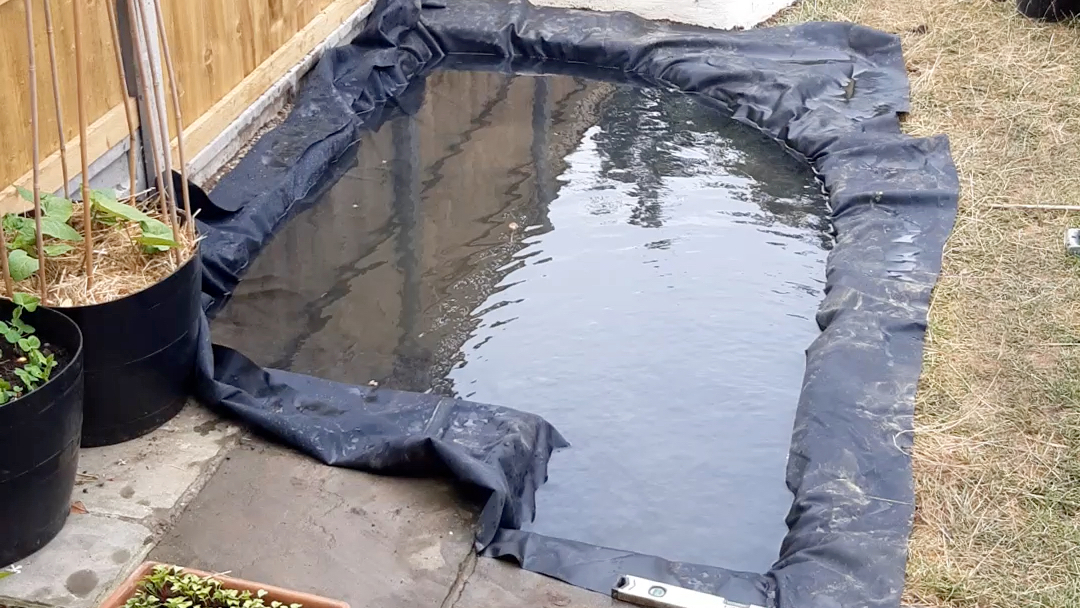
We surrounded the liner edge with rocks to keep it looking neat. I left a little space against the fence where I loaded some compost and sprinkled a few packets of wildflower seeds.
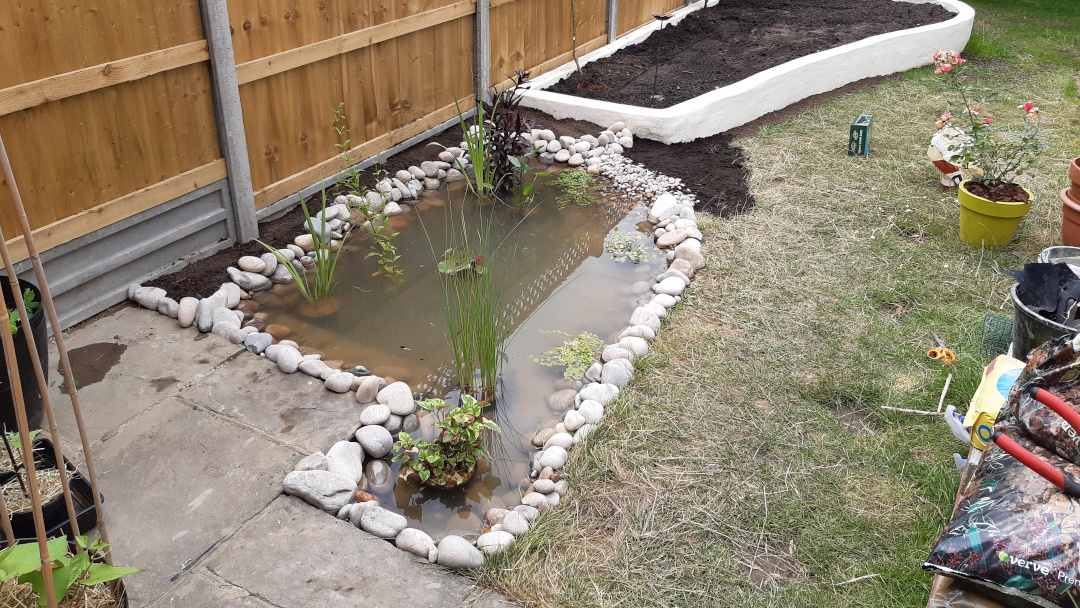
Bed 3:
The third bed is an important one because it’s on the sunny side of the garden and will be the most productive bed. It’s also the only one which is 100% dedicated to growing veg.
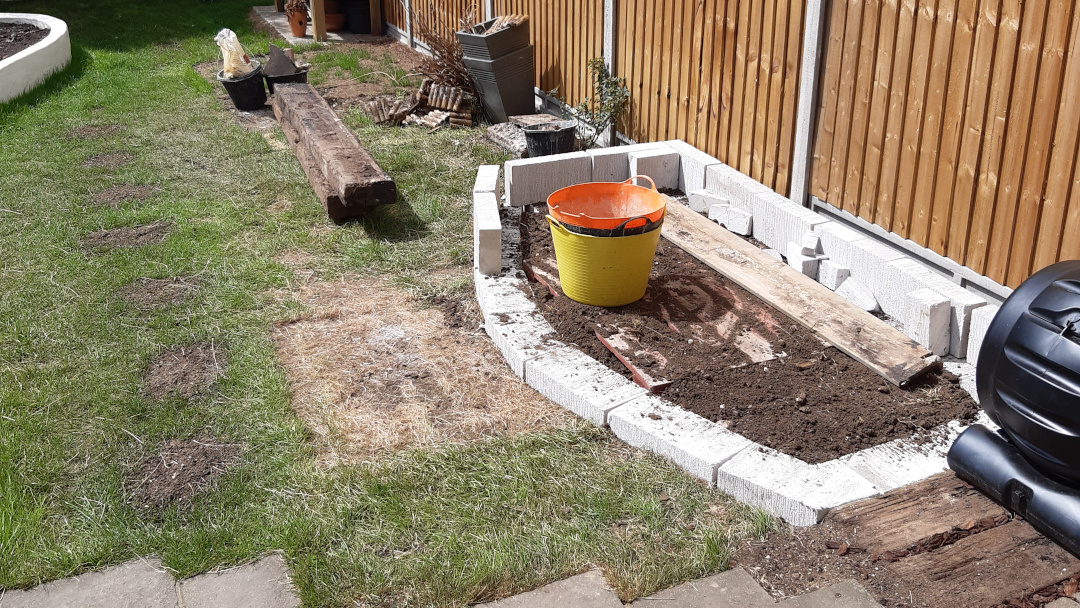
It was at this time that I thought it would be a good idea to save those railway sleepers, they may be useful. All of the wooden pallets from the sand and block delivery and any remaining soil from digging out the pond went into this bed.
Bed 4:
For some reason, I felt I didn’t have enough growing space, so I used the railway sleepers to create a narrow bed between the hard standing and bed 3. I was quite happy with how it makes a nice transition between them. We also laid a little turf to clean up some areas which were badly damaged by our construction. The garden was starting to clear.
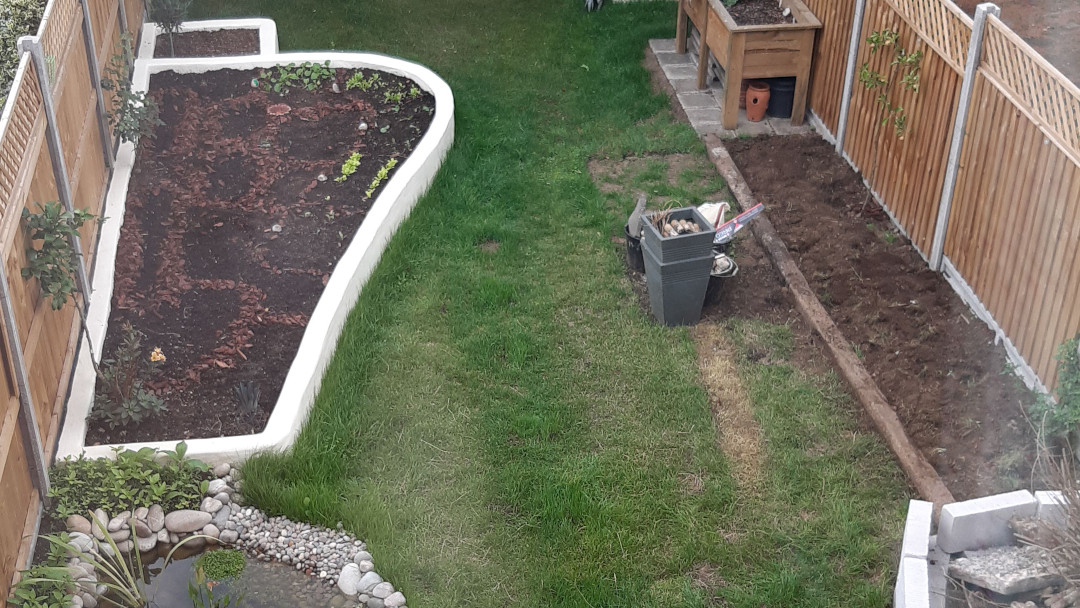
All that was left was to render and paint bed 3.
Done
Well, not really. It’s never done, but the first phase was after a few boxes of grass seed, a little time for the wildflowers to pop up, some mulch and lots of compost. I even had enough time to get a quick harvest of onions and Swiss chard.
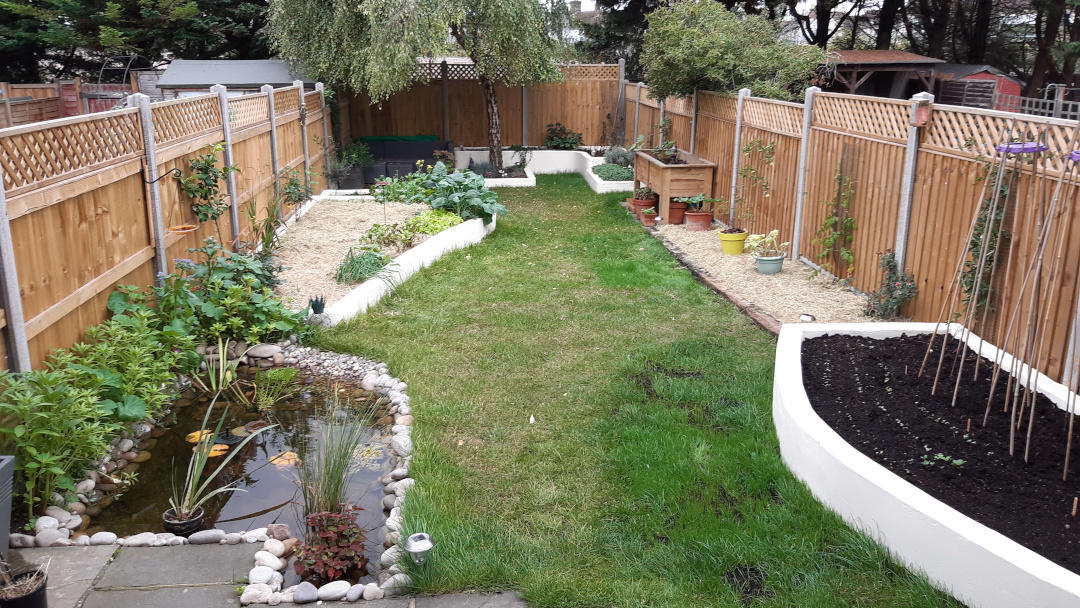
The apple trees that had been moved around the garden all summer went in the ground, the daisy-like thing and the tiger lilies were given their forever home and we added some pond plants.
That leads us up to today, a drizzly Friday at the start of May the following year. I’m happy with the knowledge that the hard work, cuts and bruises, endless trips to the garden centre and the tip and an almost write-off of the garden for half a year, has meant that this year will be the most productive of my life so far.
The garden, before I went all destructive on it, was not unpleasant at all. It was full of life and colour. It just wasn’t mine or what I needed from my space though I’m sure that my style of garden won’t be to everyone’s taste. It will also fill up with time, as I find new plants to fill in the empty spaces.
I understand that and this post is to encourage you to make your space what you need it to be, to spend quality time in… even if it means that for a year it’s a bit of a construction site. I can assure you, it was worth it.
The bugs are back, the robins are nesting in our Jasmine plant, the tree is always host to birds and we will continue to make it a haven for all wildlife.


Now, to get sowing.
Article written on May 01, 2020
Updated May 01, 2020