Back to Basics
Weeding
For a beginner, weeding your plot, patch or garden can seem like a drawback to growing your own food, something which is a chore or possibly a distraction away from the fun of nurturing your crops.
It doesn’t need to be though and can become quite therapeutic, it also doesn’t require any time set aside for it.
You can weed while you work.
What is a weed?
For the purposes of this quick guide, I’ll use “weed” to refer to anything growing which was not intended, and that you aren’t interested in keeping… rather than specifically defining what a weed is and isn’t.
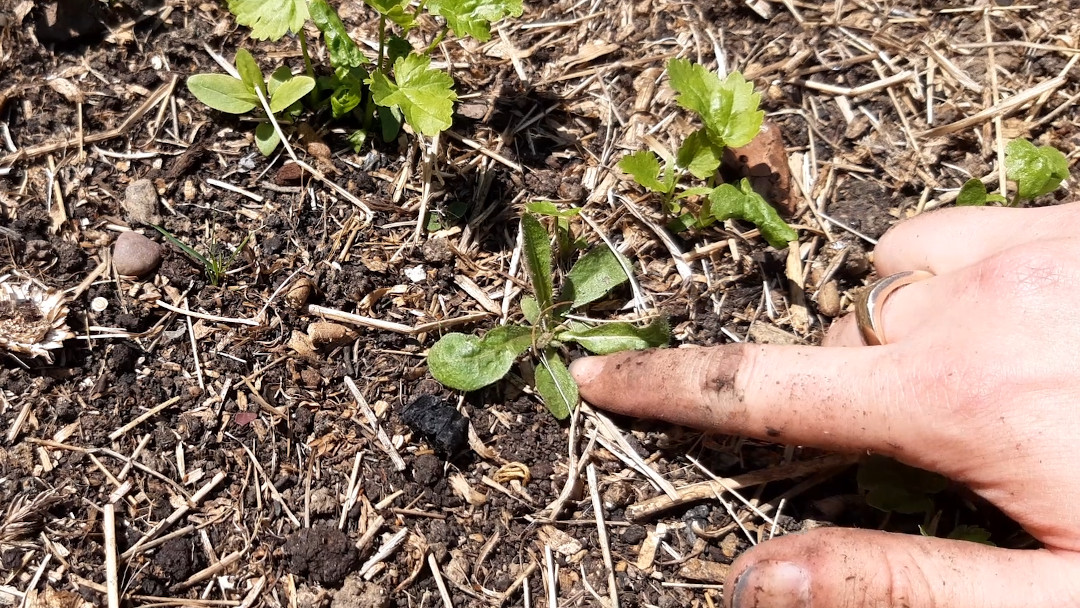
For example, if you have a raised planter or a pot of lettuce, then a “weed” in this case is anything which isn’t lettuce.
Seeds from perennial weeds, flowers, trees and vegetables get caught in the wind, eaten and “dropped” by birds, spread by nearby plants and sometimes arrive in the soil you purchase.
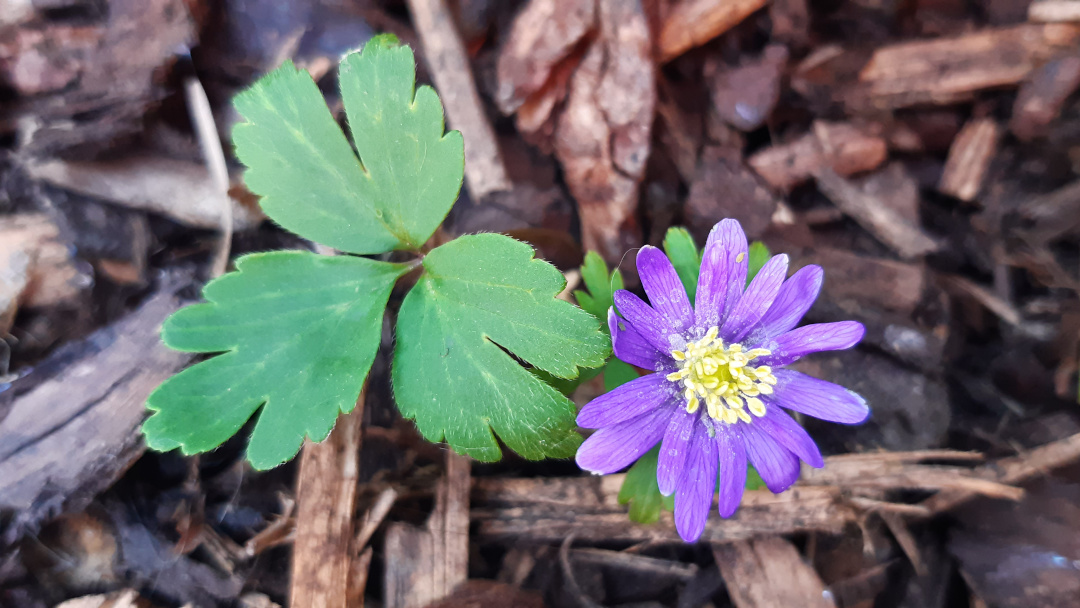
It’s safe to say that plants are pretty good at spreading themselves across the planet, but it doesn’t have to be difficult or time consuming to limit them in the garden or allotment.
Why weed?
Weeds are taking nutrients away from the other plants in the area. They are also competing for root space and, as they have evolved to grow quickly, they can often tower over other seedlings, stealing sun from them.
Some weeds are pretty:
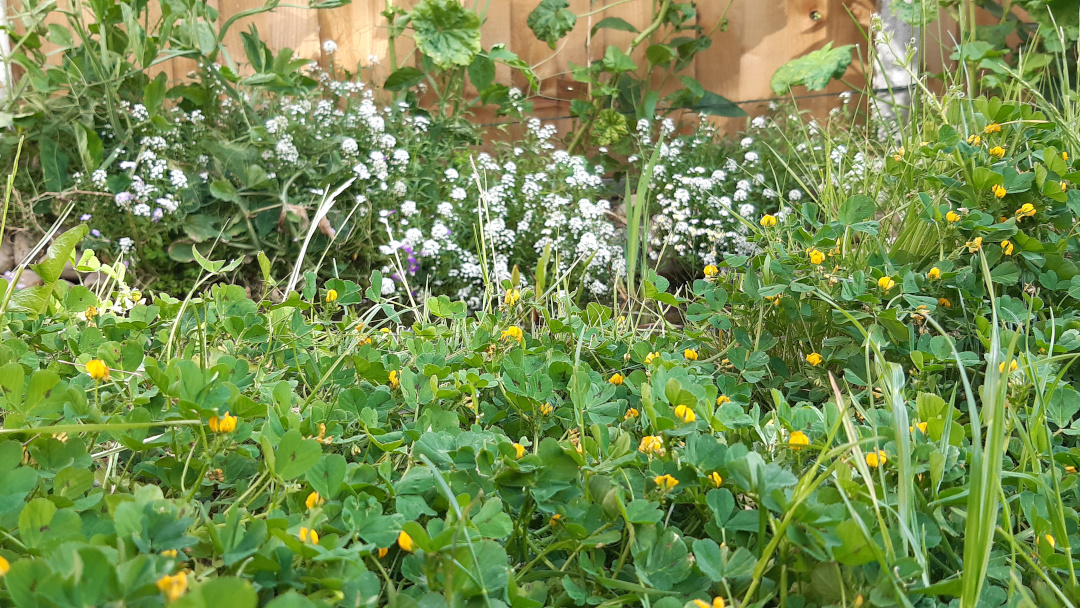
But allowing them to spread and take over reduces the amount of space you have to grow what you want to grow, eat or see.
Clearing weeds
So you’ve a bit of space or a new plot which you want to start growing in. It could be that this is pretty clear of weeds already, which would be marvellous.
It’s more likely that it’s been sat doing nothing for a while and weeds have moved in without permission (I believe it’s called squatting?).
There are a few simple steps to clear an area ready for growing.
1. Pull them
The first step is to cut back and pull up the largest of the weeds in the area. Put on some gloves, grab a trowel (or I use a knife which I don’t mind blunting), put some rock music on and get pulling.
Anything which is ground cover or close to the ground could be left if its difficult to remove.
2. Smother them
Now that we have a smoother area, free from tall obstacles, the next step is to smother the ground. No plant, not even a weed, can survive without any sun for a prolonged period of time.
Depending on your budget and the size of the area, you have a few options:
- Cardboard: Lay sheets of cardboard over the soil, making sure to overlap any gaps
- Newspaper: My preferred option as it’s free - Lay 10-15 sheets thick over the whole area
- Plastic sheeting: A good option if you have a larger area but does not allow the next step and does not break down
If using cardboard or newspaper, water the surface to make it heavy to better hold it in place.
3. Feed the soil
Adding a layer of organic matter on top of our cover does two things:
- Adds nutrients and feeds the soil
- Makes the surface look prettier and stops the cover from blowing away in the wind
Spread either a compost or other mulch (e.g hay, manure, cut grass, fallen leaves) over the top of the cover. You want this quite thick (A couple of inches would be great) to hold the cover down and add plenty of nutrients.

Over the next few months, the nutrients will be washed down into the soil by the rain and the ground organisms will get to work mixing it into your soil.
If you chose a cover which would break down, this will also become food for the soil.
Now you need to wait. This process will take a good few months and you should leave it as long as possible before planting. A good time to do this would be at the start of winter… by spring, it’ll be ready.
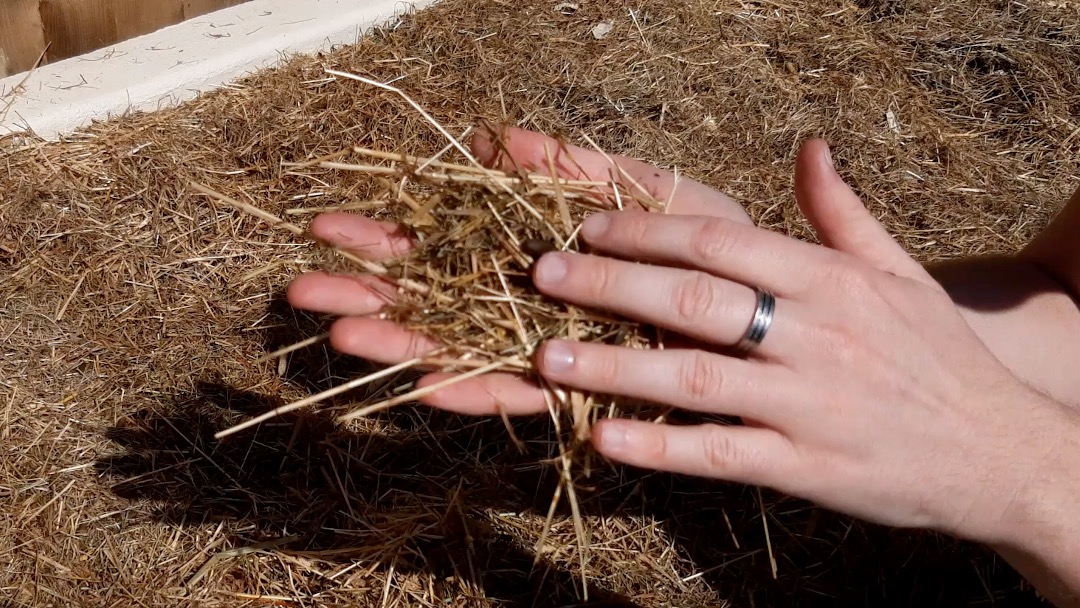
We did this last autumn and covered our new growing areas in hay:
Maintaining your growing area
If you already have, or have inherited a plot or garden, maintaining the area is much simpler than starting from scratch.
It can also be incorporated into the rest of your gardening time.
Each time you visit a part of your plot or garden, take a couple of seconds to inspect the ground to see if there is anything there which shouldn’t be.
This is our carrot bed. Just before watering I spotted a couple of little seedlings popping up which didn’t match the other ones. Pinch and pull them out and lay the seedling back on the surface. It’ll break down quickly and feed the soil.
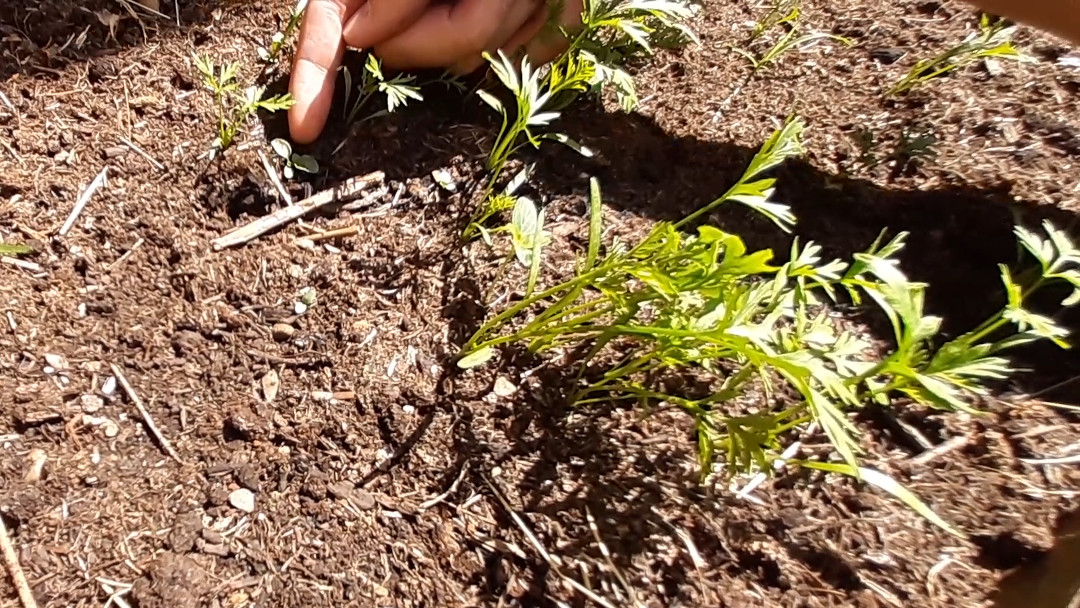
Here’s another hiding in our parsnip bed which I spotted before thinning them out:

If you use hay as a mulch, like we do, you often get the odd grass seed germinating. Here’s some around our onions which I spotted whilst gathering some for our dinner:
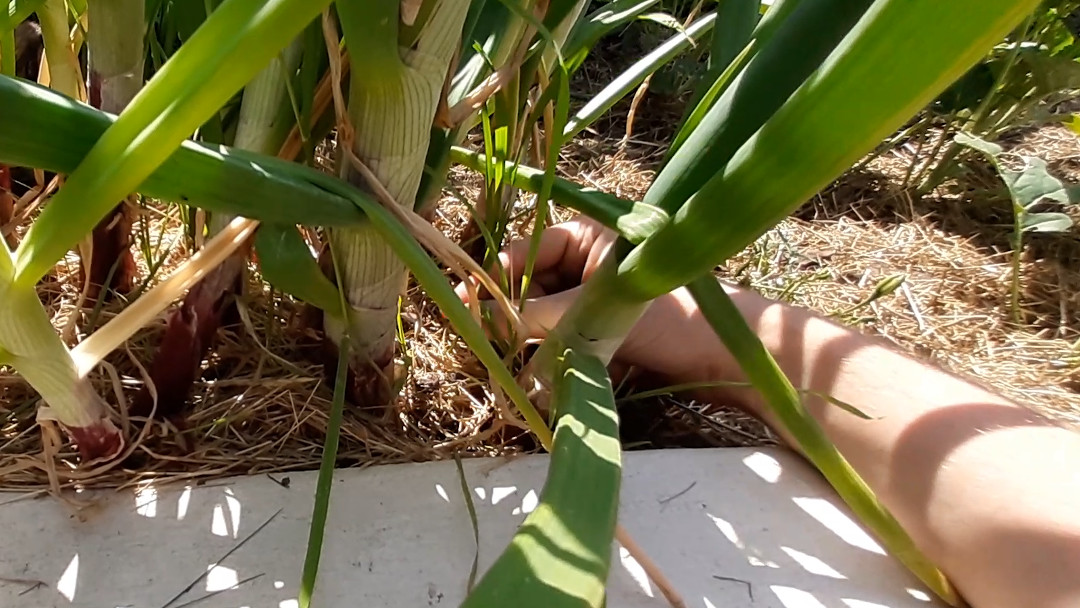
Hopefully this will show you that weeding can easily be done as a part of your regular gardening.
Over time and by doing this often, you will become much quicker at spotting something out of place.
Share your learnings
I hope this has helped take some of the pressure and stress out of weeding.
I’d love to hear from you though. What weeds do you have trouble with? Are there any you leave alone? What mulch have you had the most success with?
If you liked this article, consider joining us on social media where the community shares their stories and tips:
Article written on May 27, 2020
Updated May 27, 2020