Paint your own
Stone labels
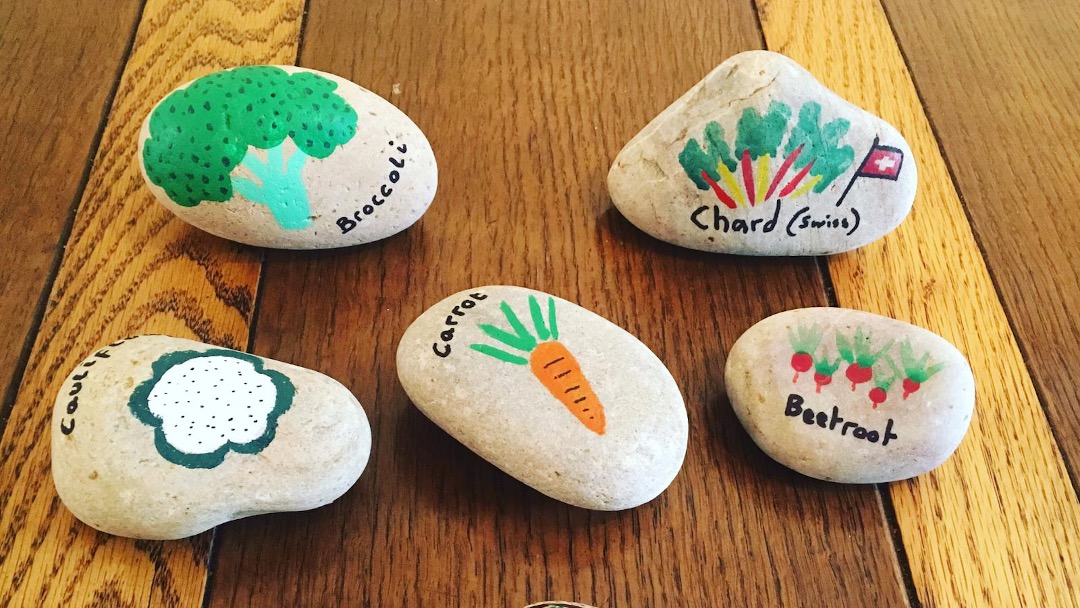
I’m not a fan of buying plastic labels and they don’t look very natural in the garden. If you have any spare stones and paint laying around, try creating your own stone labels. They look great in the garden and will last for years.

Things you will need:
- Stone: A variety of sizes will look great in the garden but ideally ones that wont get buried and hidden too easily. Give them a brush or wash so the paint sticks easily.
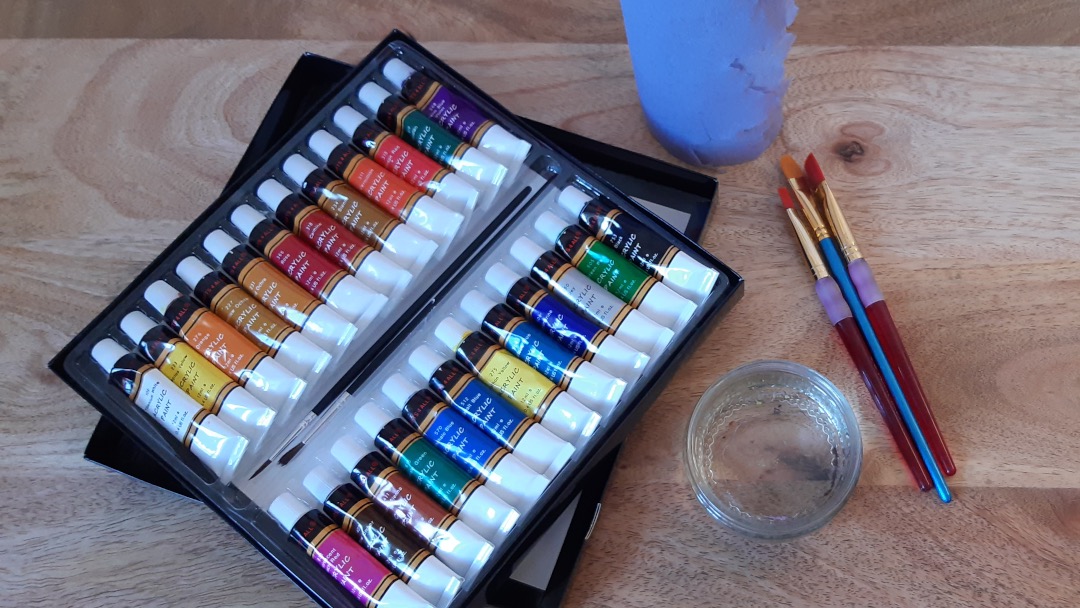
- Paint: Acrylic is the best to use as it’s waterproof and will resist scratches pretty well.
- Brushes: An assortment of sizes would be perfect.
- Pot of water: To clean your brushes.
- A sponge or paper towels: For any accidents.
Step 1: Make sure your stones are nice any clean
Give them a brush with a…brush… and make sure they are dry before you start. The paint will have trouble sticking otherwise. Maybe put some newspaper down too.
Step 2: Paint
This is your time to unleash your inner creativity. The thicker you put the paint on, the longer it will last so don’t be shy.
Step 3: Let them dry
Make sure they are nice and dry before they go outside or they may run (not the stones, that would be weird. The paint) when it rains or when watered.
Step 4: Put them outside
If you’re rotating your plots in your garden, you can simply move the stones around and not need to worry about writing out new labels each year.

I hope you found this guide useful and I hope it brings some extra colour to your garden. Please tweet us your creations at @athornypot to inspire others. If there is anything that can be improved, you have any ideas of your own to share or anything missing, please let me know in the comments below so I can update this guide.
Article written on Apr 22, 2020
Updated Apr 22, 2020